
This section explains steps to set up Client Credentials grant type in OAuth 2.0 specification. In this grant type, the client can request an access token using only its client credentials (consumer key and secret)OAuth enables authorization of applications by generating an Access Token and then by verifying this access token instead of relying on a specific password.
Topics related to OAUTH
-
Under the "Secure API with" option in the From REST or HTTP Service section
Sections below explain how to use OAUTH mentioned in the sections above.
Configuring OAUTH Token End Point
To configure OAUTH Token End Point, the first step is to create a project using OAUTH Token Endpoint.
Create an OAUTH Token End Point project
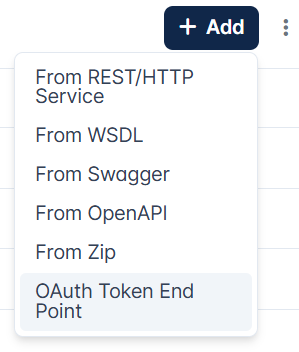
In the API Projects screen, click the Add icon and click the OAuth Token End Point option.
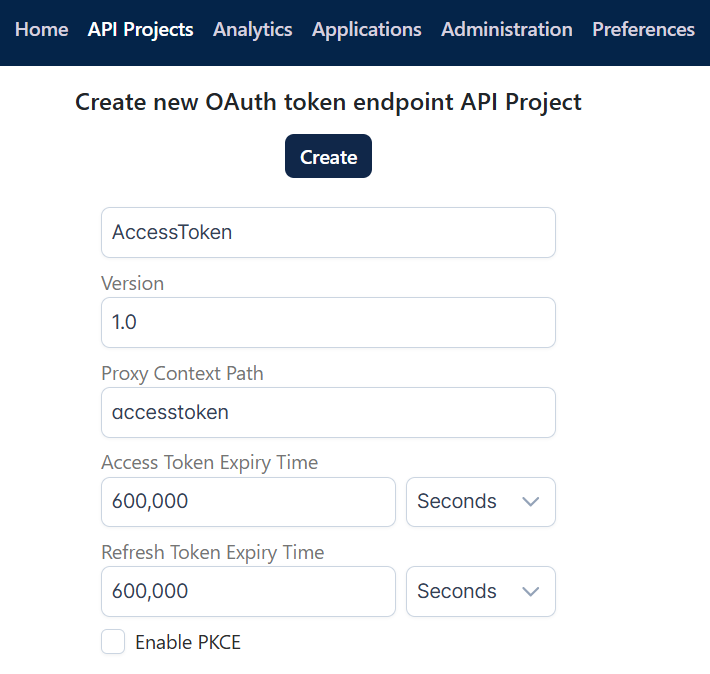
Provide values as in the table below and click Finish.
|
Property |
Description |
|
Display Name |
AccessToken |
|
Version |
1.0 |
|
Proxy Context Path |
accesstoken |
|
Method |
POST |
|
Access Token Expiry Time |
600000 |
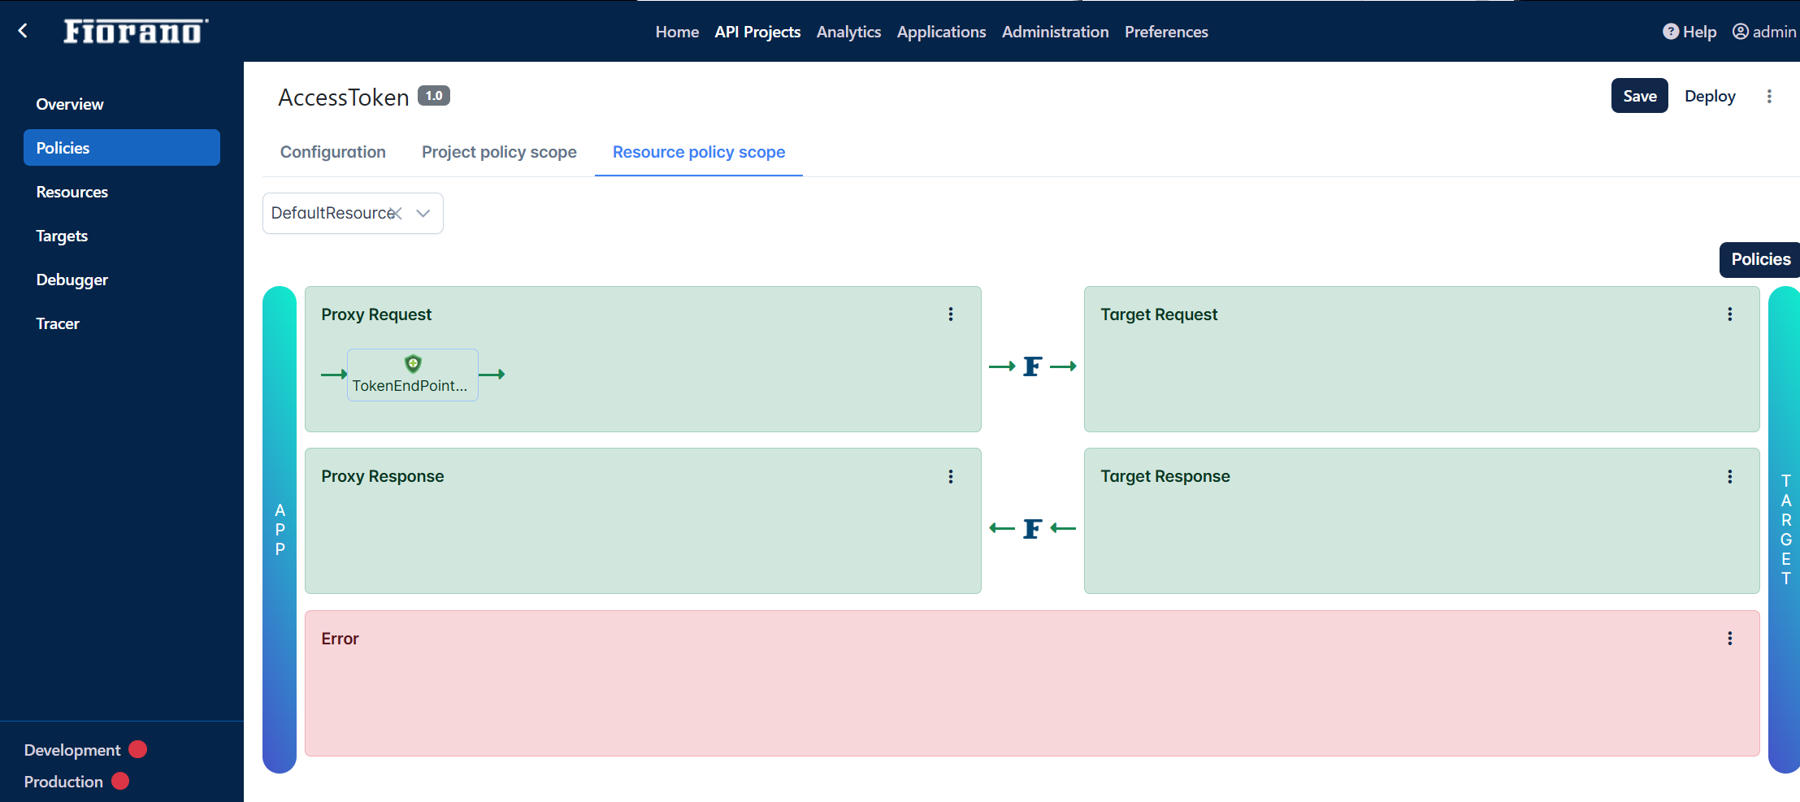
Notice the OAUTH Token End Point Policy added and the policy attached to the Resource
After creating the project, double-click the AccessToken project to get into the project. Notice the configuration settings that take place automatically:
a) Go to the Policies section to check the OAUTH Token End Point Policy that is automatically configured.
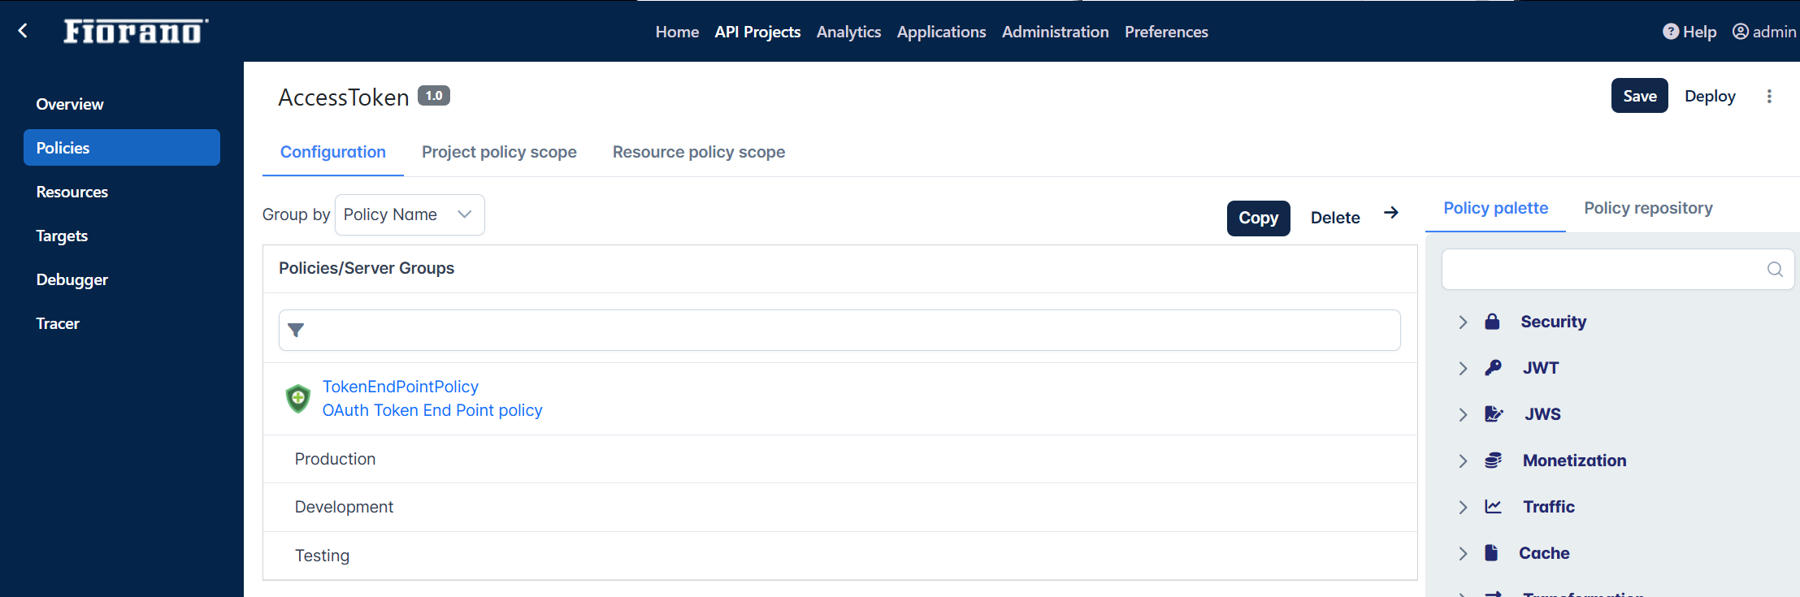
b) Go to the Resource policy scope tab to check the OAUTH Token End Point Policy that is added to the Proxy Request endpoint.
Deploy the OAUTH Token Endpoint project
To deploy the project, click the Deploy button on the upper-right part of the screen and then choose a Server Group of your choice.
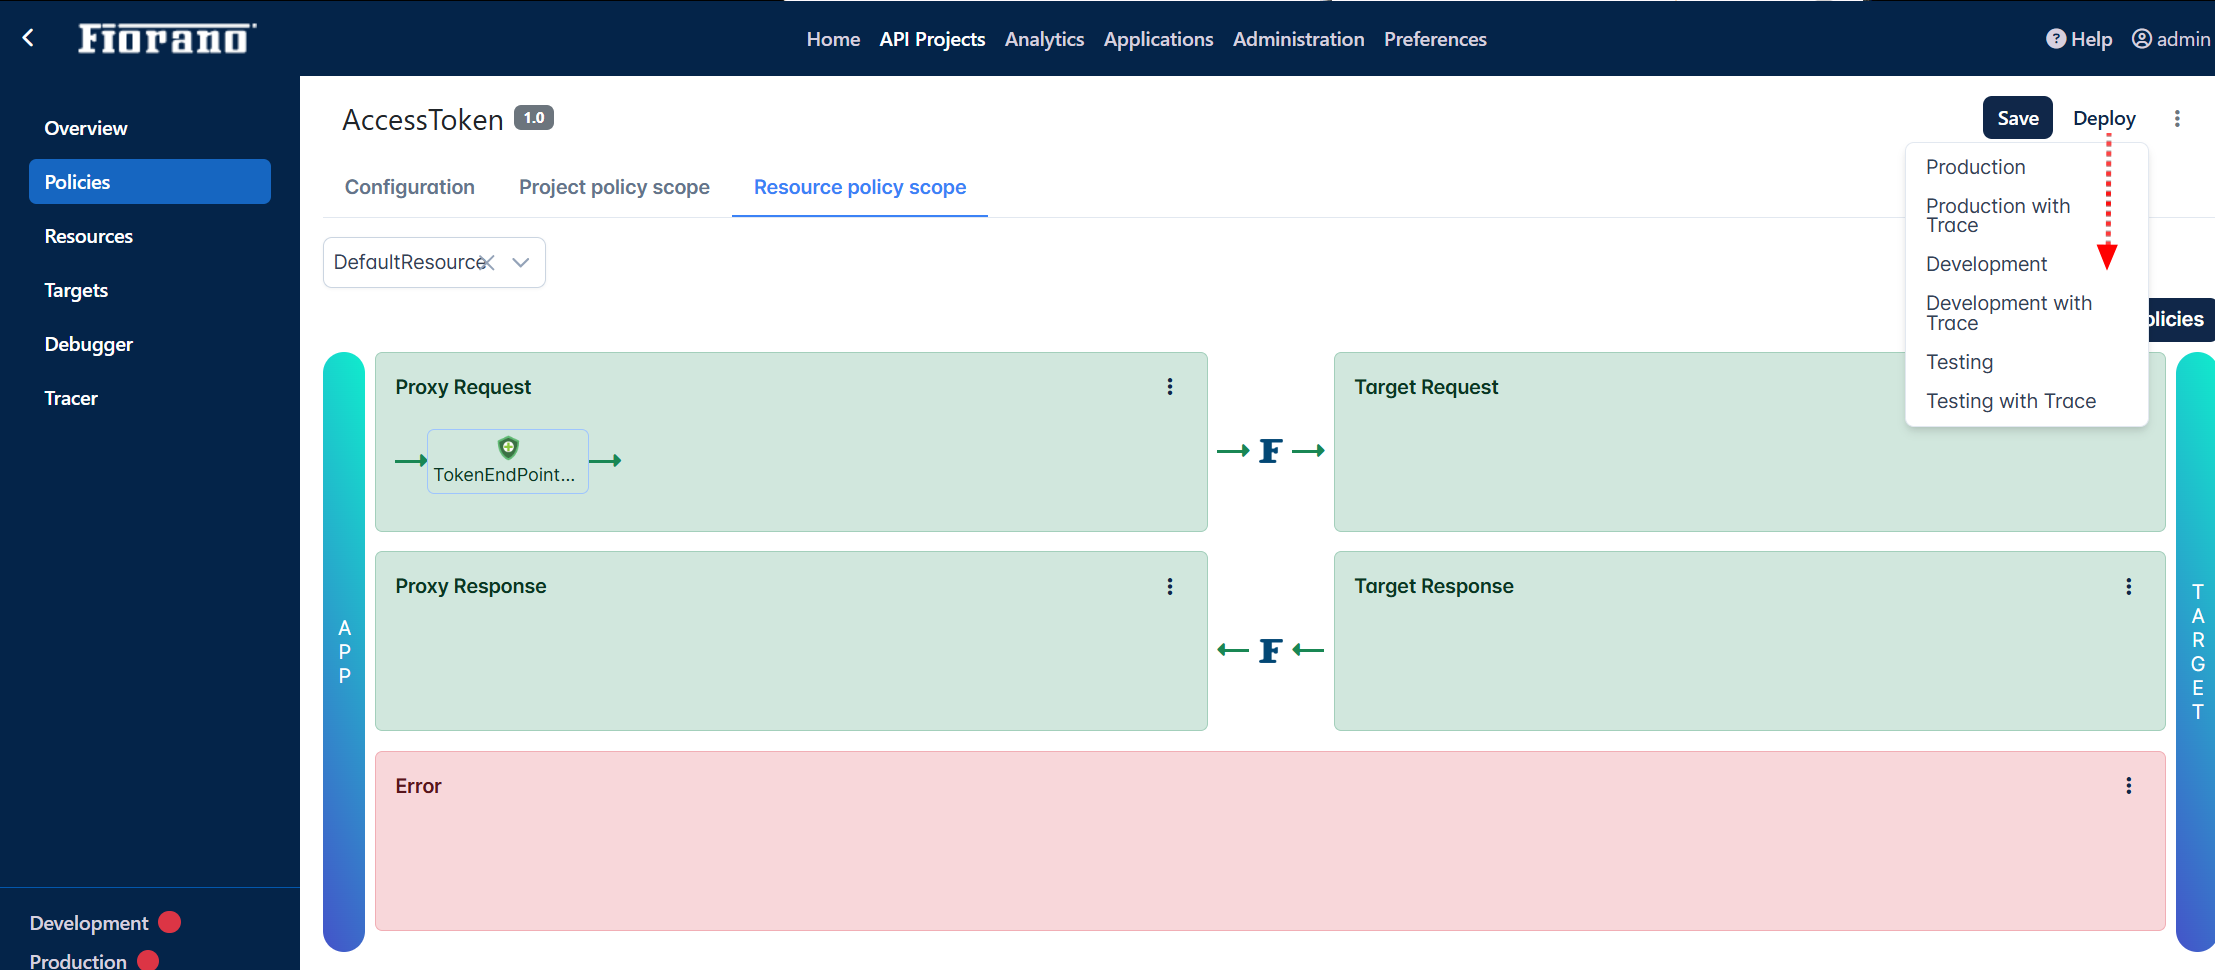
This project acts as an endpoint to generate access tokens which can be published to clients for obtaining tokens.
Enabling OAUTH security for Protected API Resources
Now that the Access Token Endpoint is ready to receive requests from the clients with valid registration. The OAuth Verify Access Token policy can be created and attached to the Proxy Request endpoint of the resource. This can be done while creating a project or on an existing project.
While creating a project
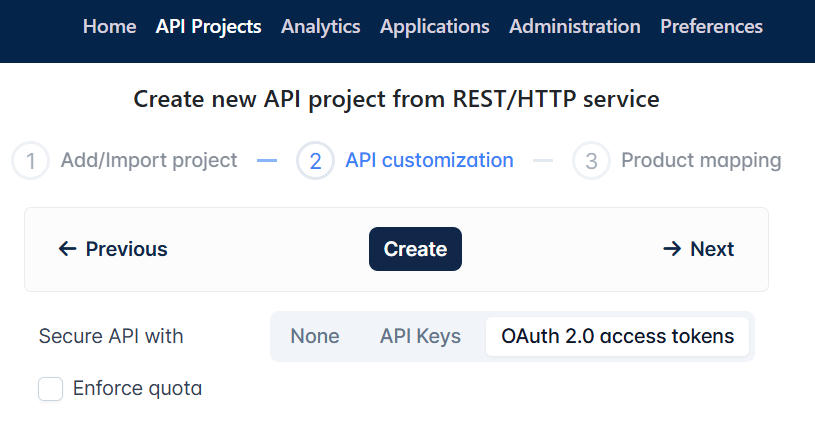
While creating a new REST/HTTP or WSDL project, choose the "OAuth 2.0 Access Tokens" option in the API customization section for the Secure API with property.
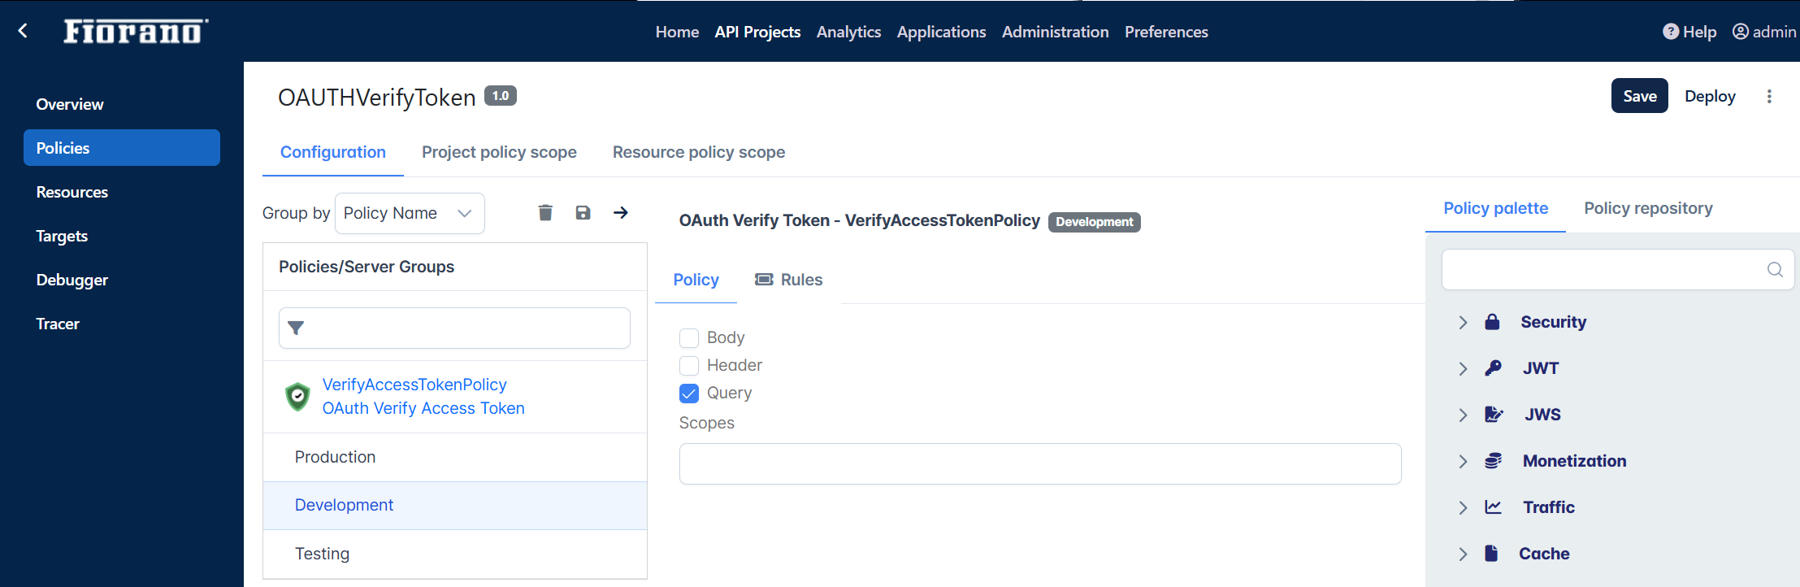
a) Go to the Policies section to check that the Verify Token Policy configuration is set.
Notice the following configuration settings that take place automatically.
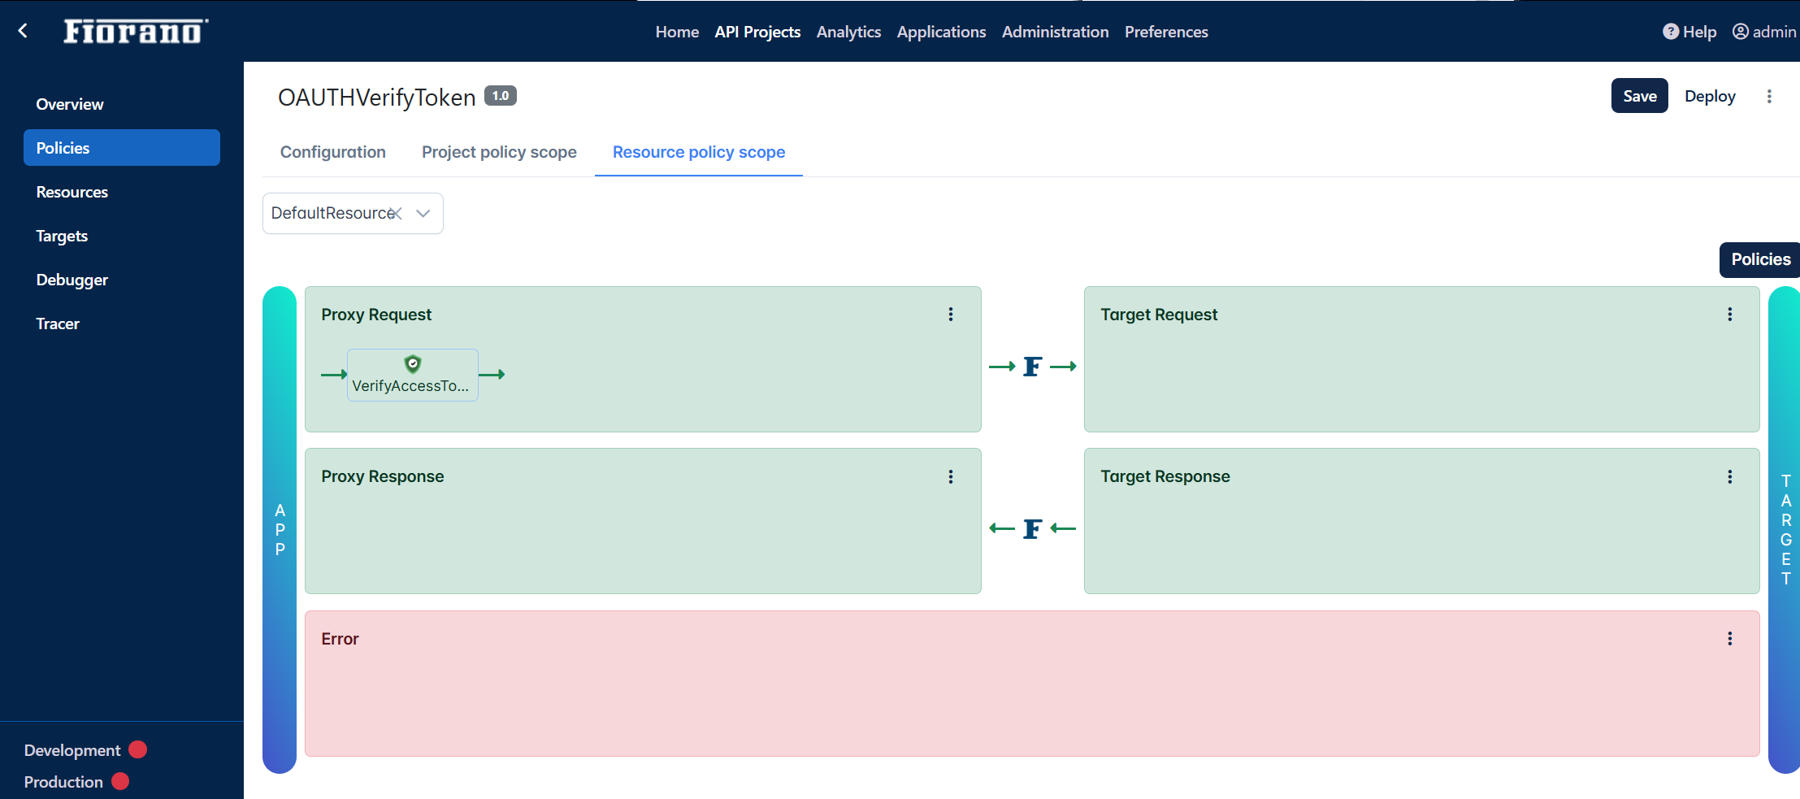
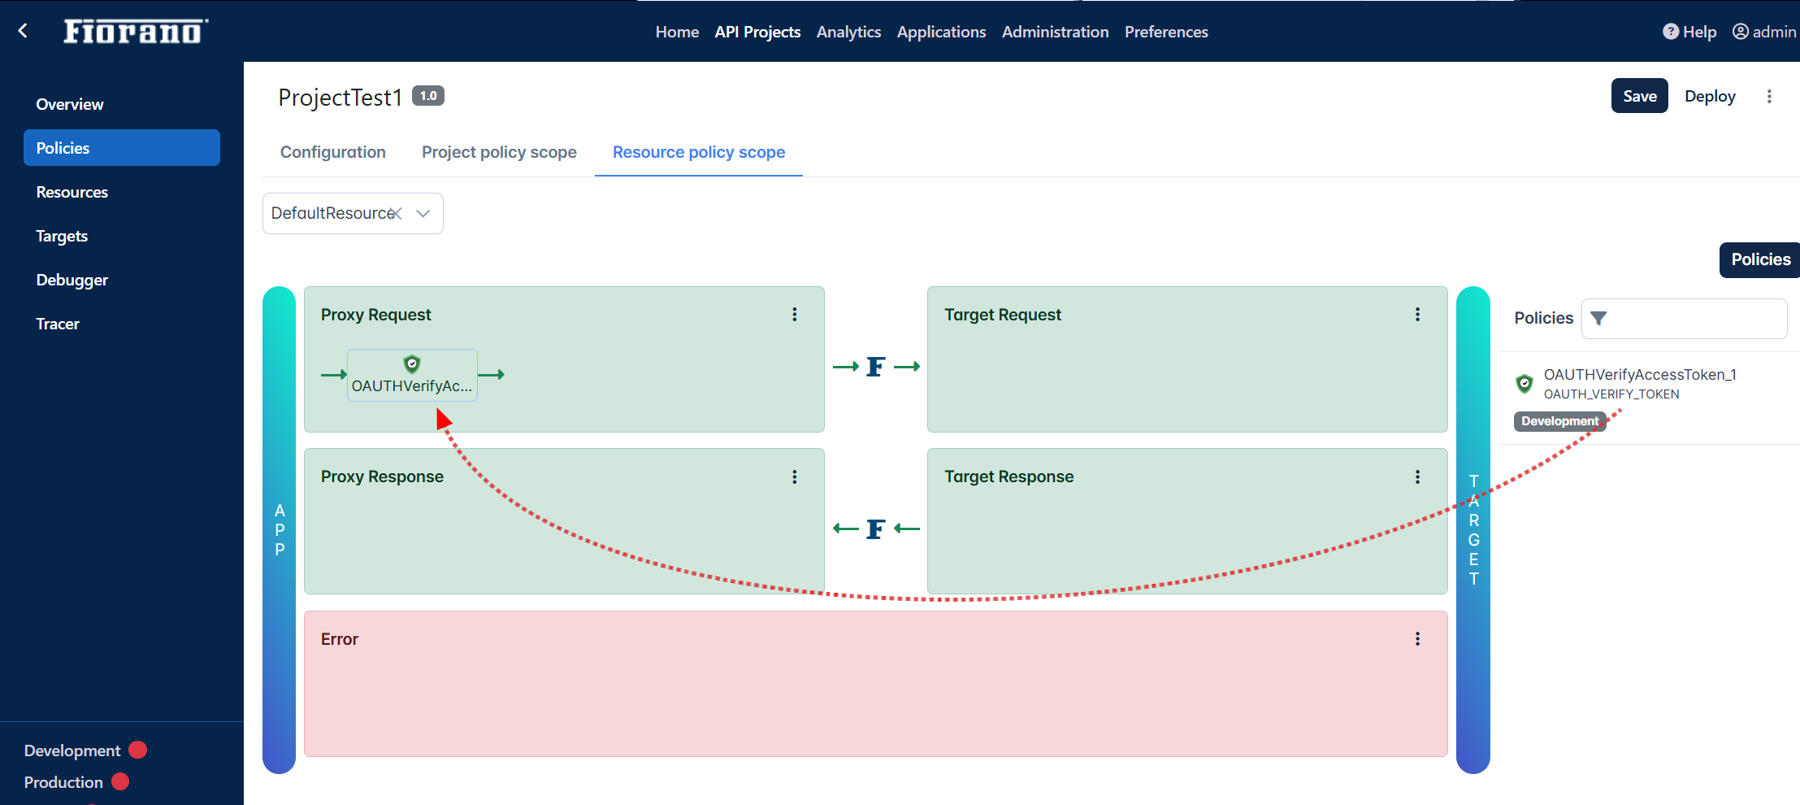
b) Go to the Resource policy scope tab to check that the Verify Access Token Policy is added to the Proxy Request endpoint.
On an existing project
With an already existing project, the policy needs to be manually added and attached to the resource.
-
Refer to the Adding a Policy section for adding the OAuth Verify Access Token policy
-
Refer to the previous section - OAuth Policies for manually selecting the Query option as the access token location.
-
To add the policy to the Proxy Request endpoint, perform the following actions:
-
Go to the Resource policy scope tab, select the DefaultResource option.
-
Click the Policies button.
-
Drag and drop the OAuth Verify Access Token policy to the Proxy Request endpoint section.
-
Configuring Client Subscription and Generating API Key
Create a product and add the OAuth-secured API project to it. Then create a Client and Client Subscription. To do this, use Apps - Manage API Products and Client Subscriptions prompt in the Dashboard and follow the steps mentioned in the Adding Products, Clients and Client Subscriptions section.
After creating the Client Subscription with the product, generate Consumer Key and Consumer Secret.
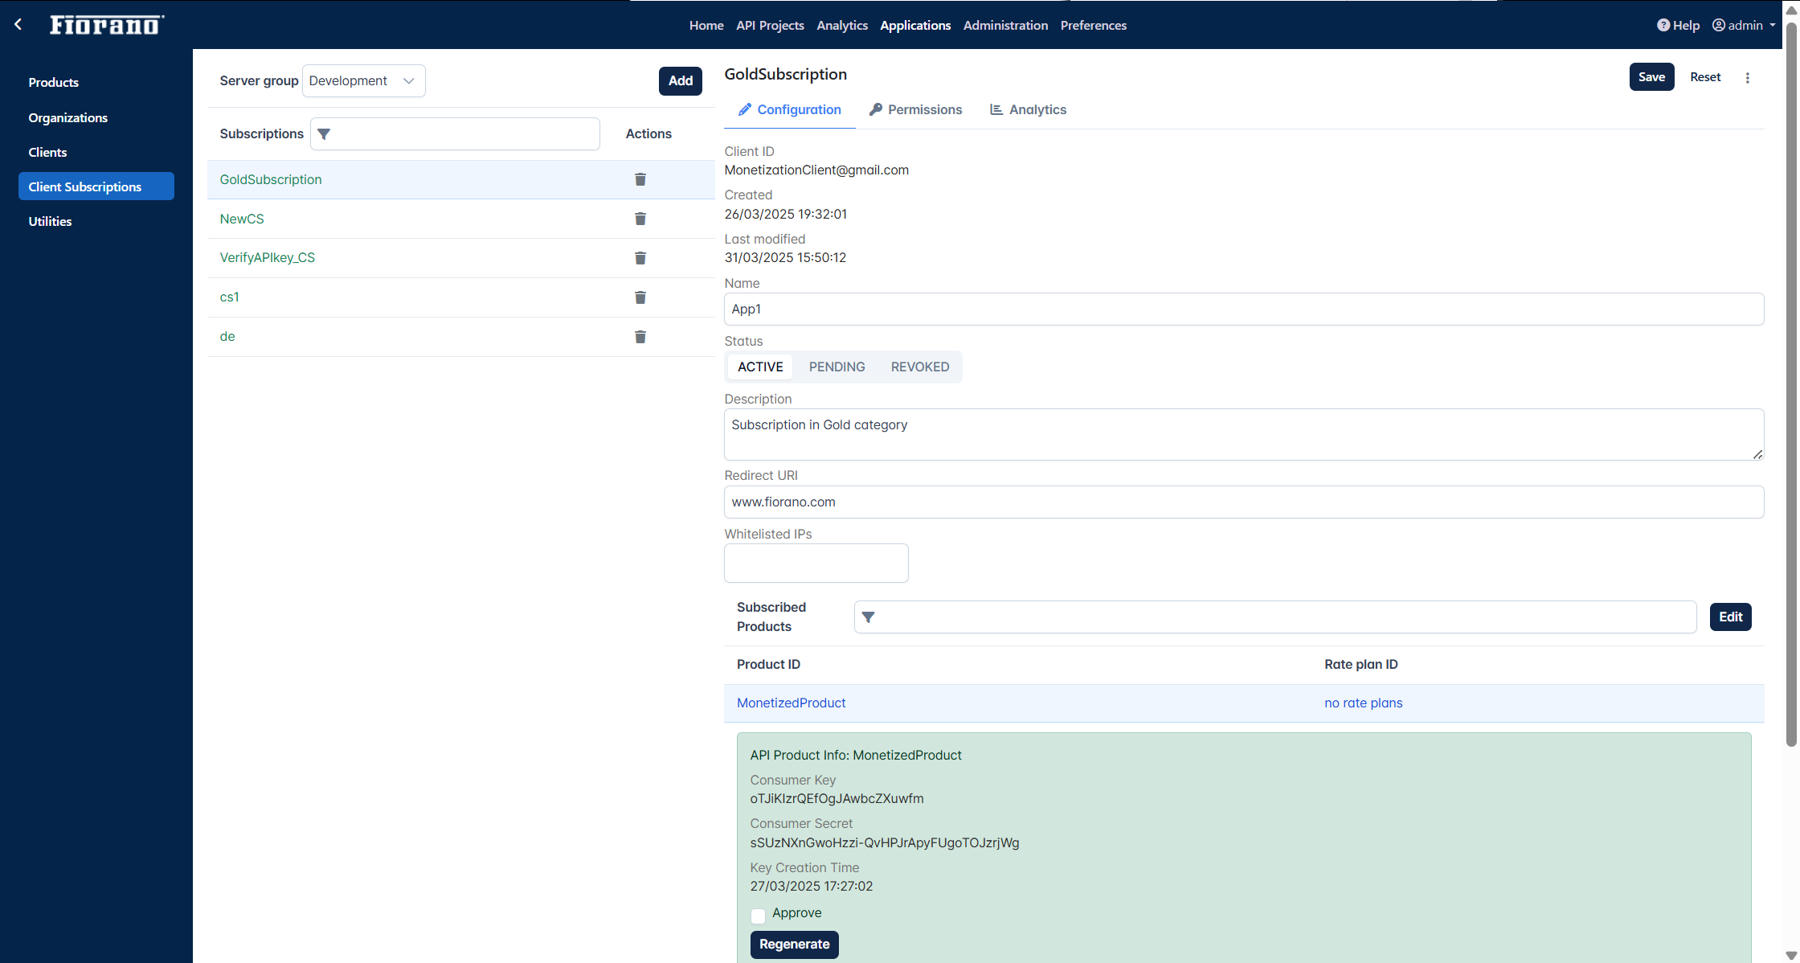
Once the setup on the API Dashboard is complete, the client may be provided with the keys generated for communication.