
Installing the Wamp Server
-
Click the http://www.wampserver.com/en/ link to install WAMP server for the Windows operating system.
-
After installing the WAMP server, right-click the WAMPServer icon from the Start menu and click Run as administrator to start the servers.
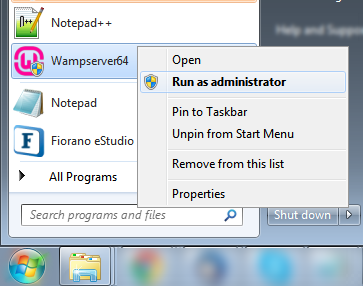
Figure 1: Starting the Wamp server
Hover over the WAMP icon to ensure that the servers are running.
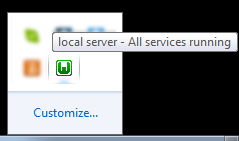
Figure 2: Checking whether all servers are running
Creating a database in the database server
-
In the httpd.cnf file, provide the IP address and the corresponding Port number of the system where the Web Server is running.
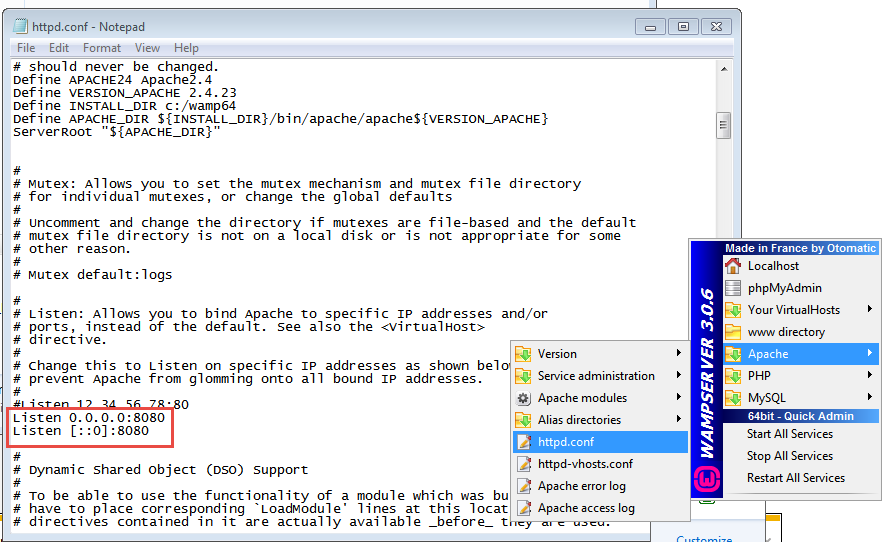
Figure 3: Setting the IP Address and Port number of the webserver machine
-
Open the WAMP database portal by one of the following ways:
-
Use the URL in the following format:
http://<IPAddress>:<PortNumber>/phpmyadmin/
http://192.168.2.33:8080/phpmyadmin/
-
Click the WAMP icon present in the taskbar and click the phpMyAdmin option and then edit the IP address and Port number as above.
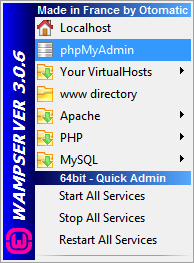
Figure 4: The phpMyAdmin option to open the URL
-
-
Provide the default Username "root" and click Go.
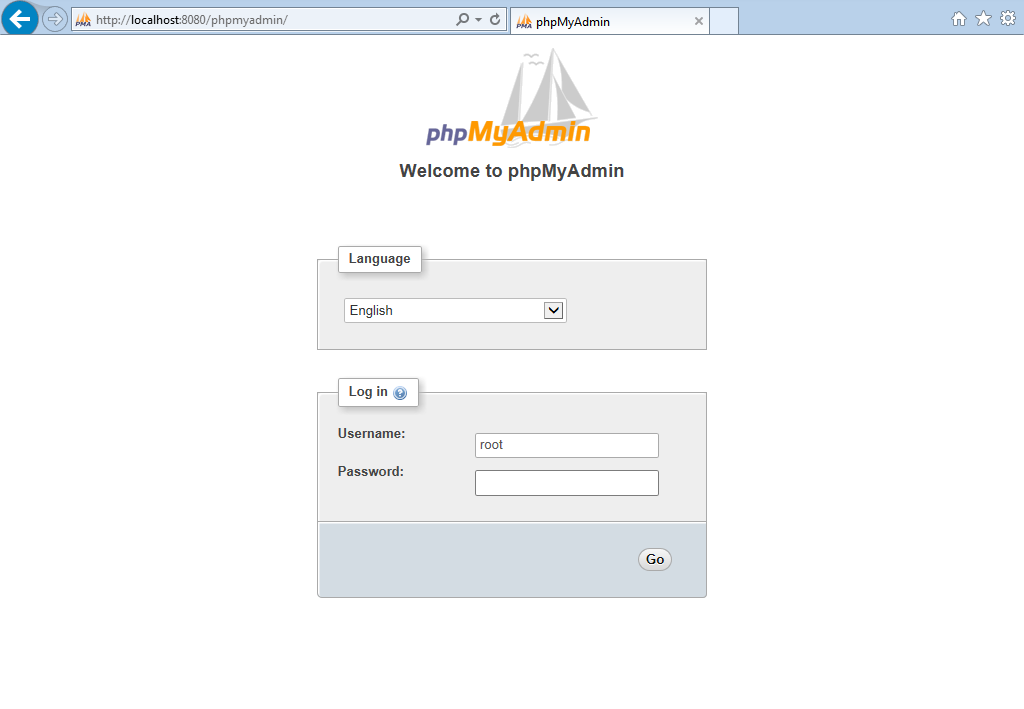
Figure 5: Logging on to the PHP database
-
Click the Databases tab, provide a database name in the Create database field and click Create.
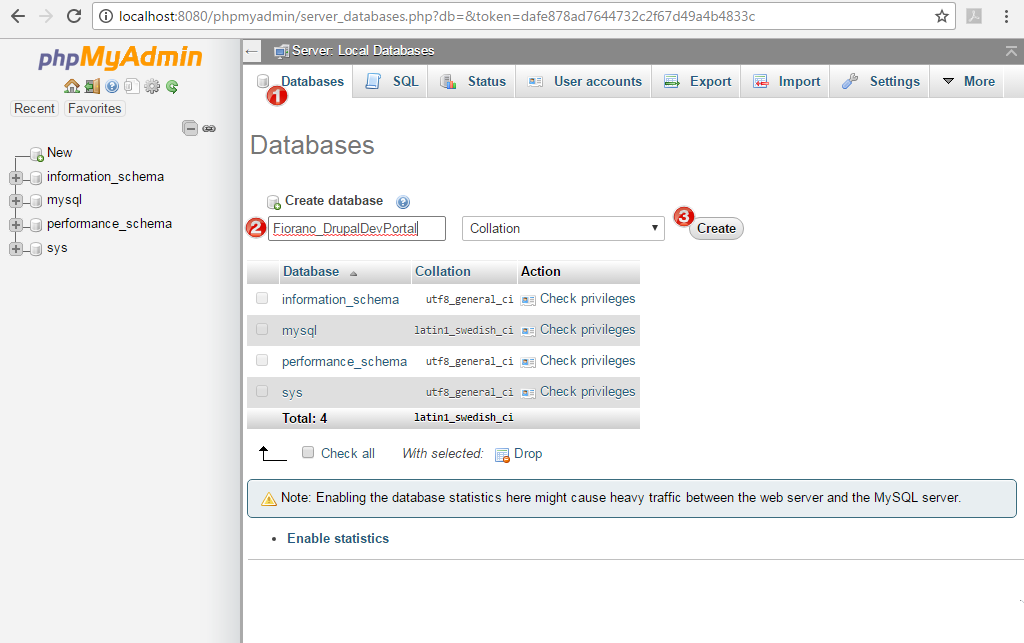
Figure 6: Creating a Developer Portal Drupal database
The database that is created appears in the left navigation pane.
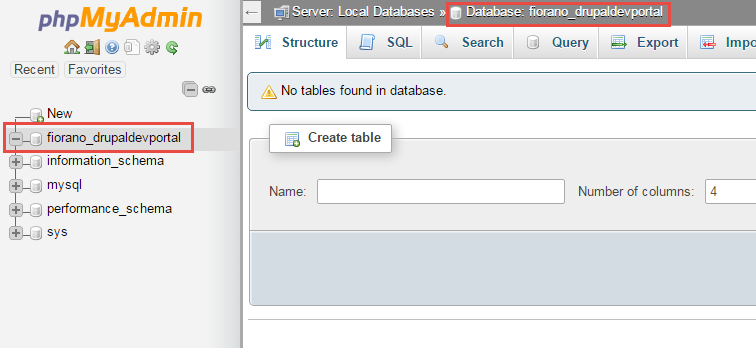
Figure 7: Newly created Developer Portal Drupal database