
Bitnami LAMP Stack provides a complete PHP, MySQL and Apache development environment for Linux that can be launched in one click.
Click the https://bitnami.com/stack/lamp/installer link to download LAMPP 5.6.x version executable for the Linux operating system.
-
Give permissions to the executable file and run the executable in the command line by typing the below commands:
cd <path-to-folder-where-executable-exists>
./<executable-name>.run
The following wizard appears.
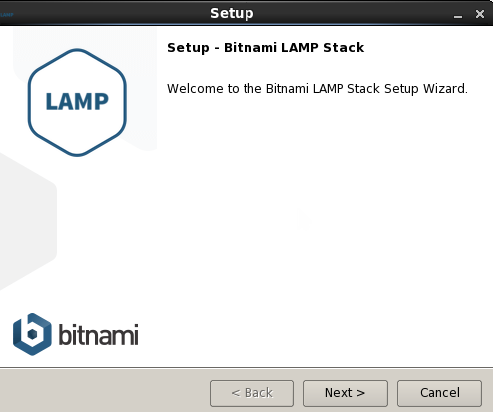
Figure 1: LAMP Setup wizard
-
Click Next twice and provide the installation folder and click Next.
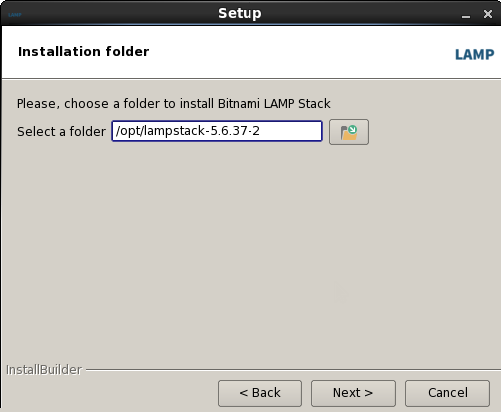
Figure 2: Setting the installation folder
-
To access the MySQL database, it requires an account with credentials. Type in the password and click Next.
The default username is 'root'.
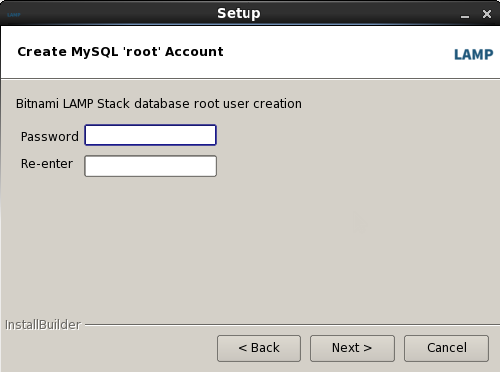
Figure 3: Setting the MySQL password
-
Provide an unused port to the Apache Web server and click Next.
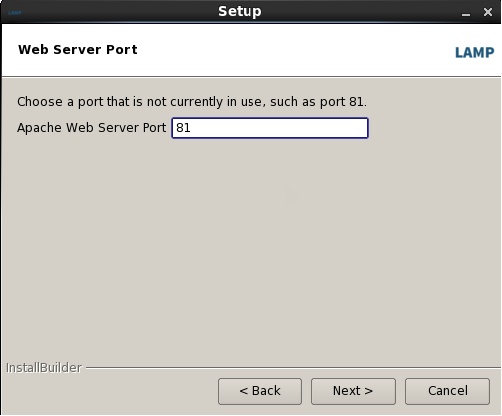
Figure 4: Providing the Apache Webserver port number
-
Provide an unused port to the SSL configuration and click Next.
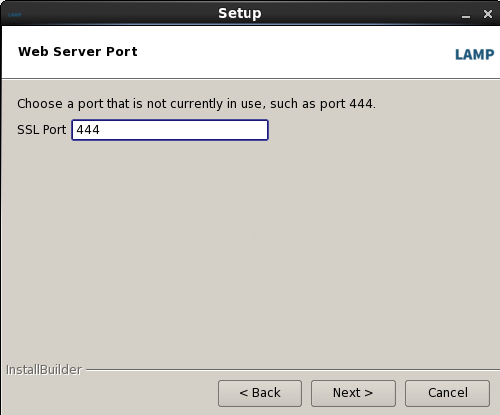
Figure 5: Providing the SSL Port number
-
Provide an unused port to the MySQL server and click Next twice.
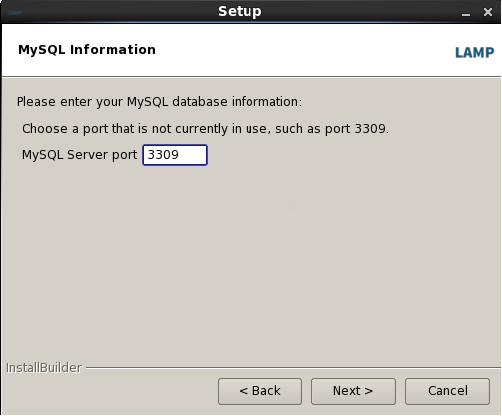
Figure 6: Providing the MySQL server port number
Installation starts.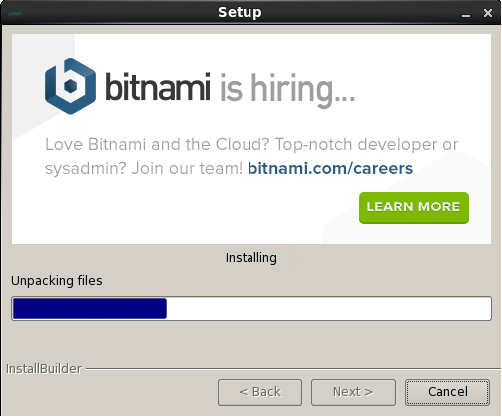
Figure 7: Installation status screen
-
After the installation is completed, click Finish.
-
To start the apache and web servers, go to the LAMP installation folder and type in the following command in the command line:
./manager-linux-x64.run -
Go to Manage Servers and click Start All in the bottom to start the servers.
-
Status of the servers can be seen in the Status column in the dialog box.
-
The default configuration for servers can be changed by clicking the Configure button against the server.
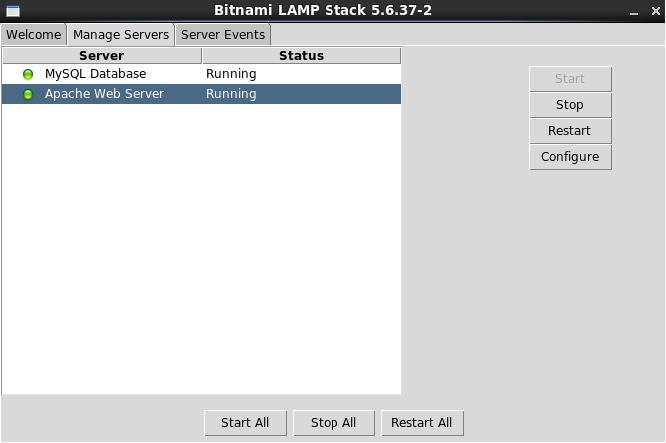
Figure 8: Starting the servers -
Creating a database in the database server
-
Open the LAMPP database portal by using the URL in the following format:
http://<IPAddress>:<PortNumber>/phpmyadmin/ -
Provide the default Username "root" and the password created in the previous steps, and click Go.
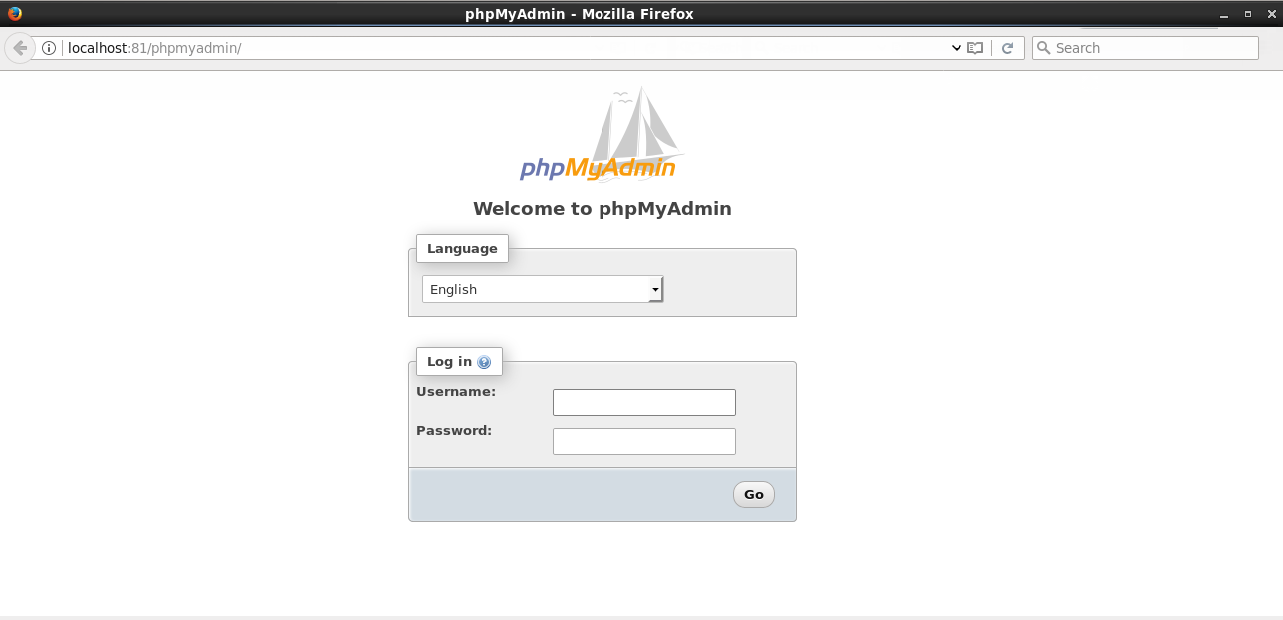
Figure 9: Logging on to the PHP database
-
Click the Databases tab, provide a database name in the Create database field and click Create.

Figure 10: Creating a Developer Portal Drupal database
-
The database that is created appears in the left navigation pane.

Figure 11: Newly created Developer Portal Drupal database