Installing the Developer Portal
Copying the FioranoDeveloperPortal folder to the Webserver
- Go to the DeveloperPortal folder at $FioranoAPIManagement_Home and copy the FioranoDeveloperPortal folder.
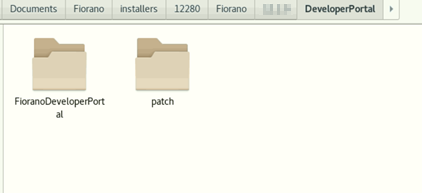
Figure 1: Copying the FioranoDeveloperPortal folder from the API Management directory in Linux - Paste the copied folder into the <AMP stack folder>/apache2/htdocs folder.

Figure 2: Copying the FioranoDeveloperPortal folder to the <AMP stack folder>/apache2/htdocs folder
Granting Write permissions for files in Linux and Mac
Give Write permissions on the files folder and settings.php file at FioranoDeveloperPortal/sites/default/ directory so that the webserver gets the permission to write.
To enable Write permissions, type the following commands in the command line:
cd <path/to/FioranoDeveloperPortal/sites/default/>
chmod a+w files/
chmod a+w settings.php
In case the files folder is missing at FioranoDeveloperPortal/sites/default, please use the command below before enabling Write permissions:
cd <path/to/FioranoDeveloperPortal/sites/default/>
mkdir files
If the write permissions are not set, then an error is thrown during installation.
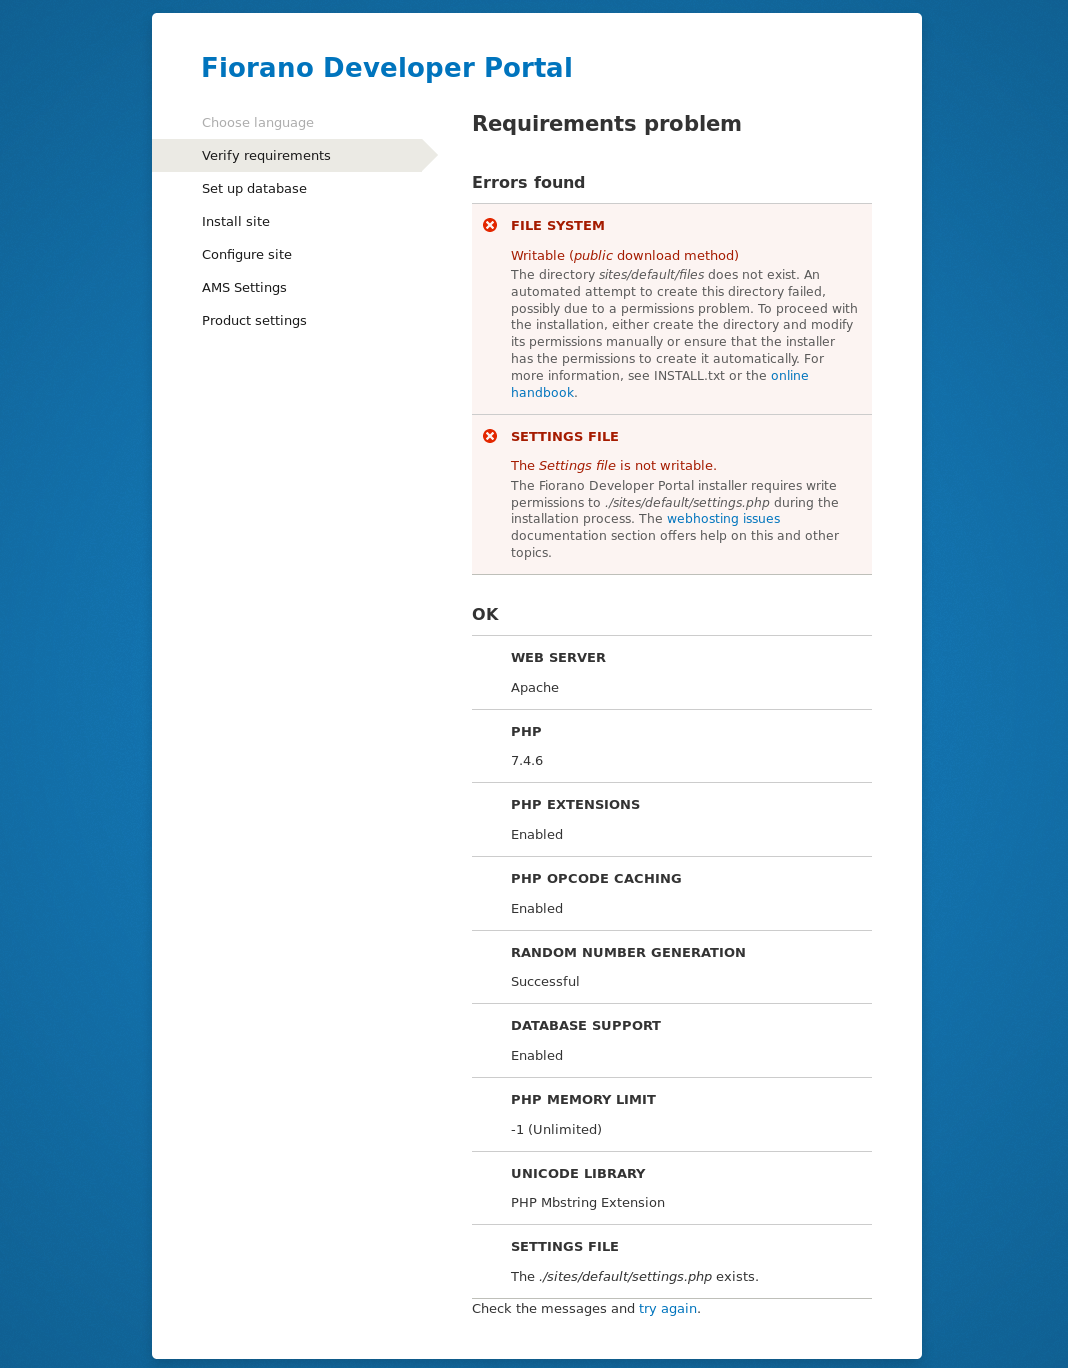
Figure 3: Screen displaying error thrown during installation
Disable the Write permissions after installation to avoid security risks.
To disable write permissions, use the following commad:
cd <path/to/FioranoDeveloperPortal/sites/default/>
chmod a-w files/
chmod a-w settings.php
Refer to the following link for a better understanding on file permissions in Linux, Unix, and Mac: https://www.drupal.org/node/202483
Installing the Developer Portal
- Open the URLhttp://<hostname>:<port>/FioranoDeveloperPortal (hostname and port corresponding to the webserver).
- Enter the following and click the Save and continue button:
- Database name: The name of the database created by following the steps in the section above.
- Database username: root
Database password: As provided while setting up the Webserver.
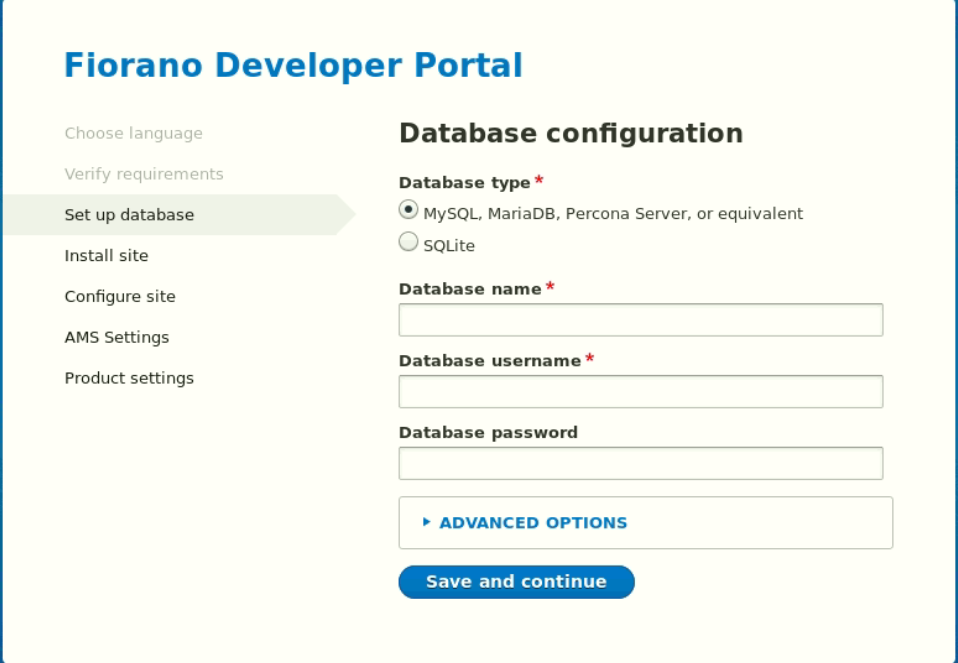
Figure 6: Providing the default database user nameIgnore the ADVANCED OPTIONS section.
In Configure site page, provide the following and click on save and continue:
Site name
Site mail
Site Administrator Mail
Site Administrator password
Remember administrator mail and password.
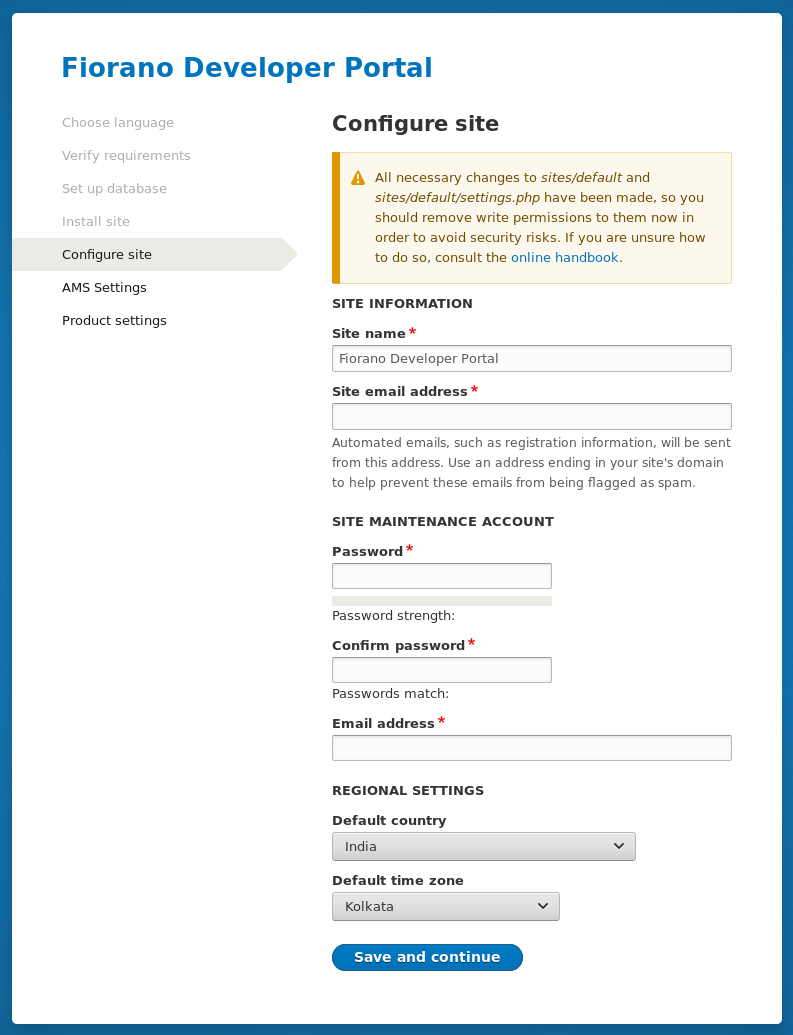
Figure 7: Providing Site Maintenance Account details
Navigate to the AMS Settings section. Provide the AMS Details in the corresponding fields and click the Save and Continue button.
Please make sure that AMS servers are running!
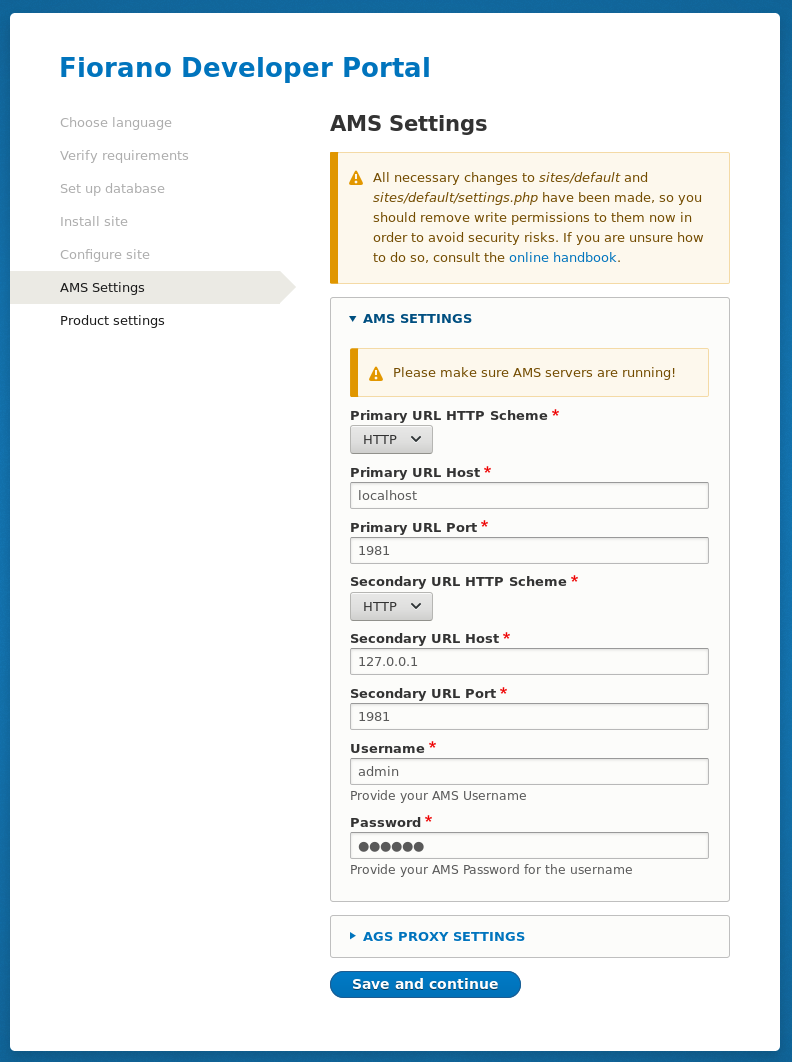
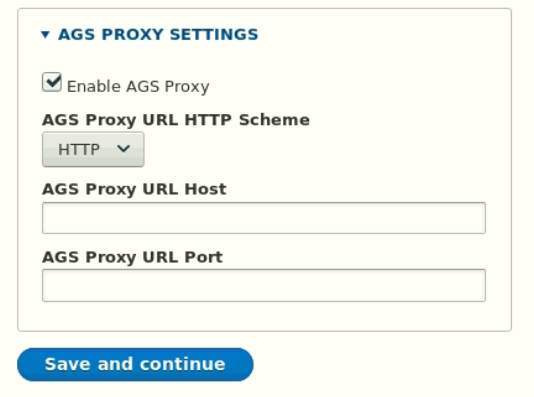
Figure 8: Providing AMS detailsIf an AGS Proxy is available, in the AGS PROXY SETTINGS section, Click the Enable AGS Proxy option and provide the AGS Proxy details.
- In the Product settings section, set the access level of products that should be visible to developers. Click Save and continue.
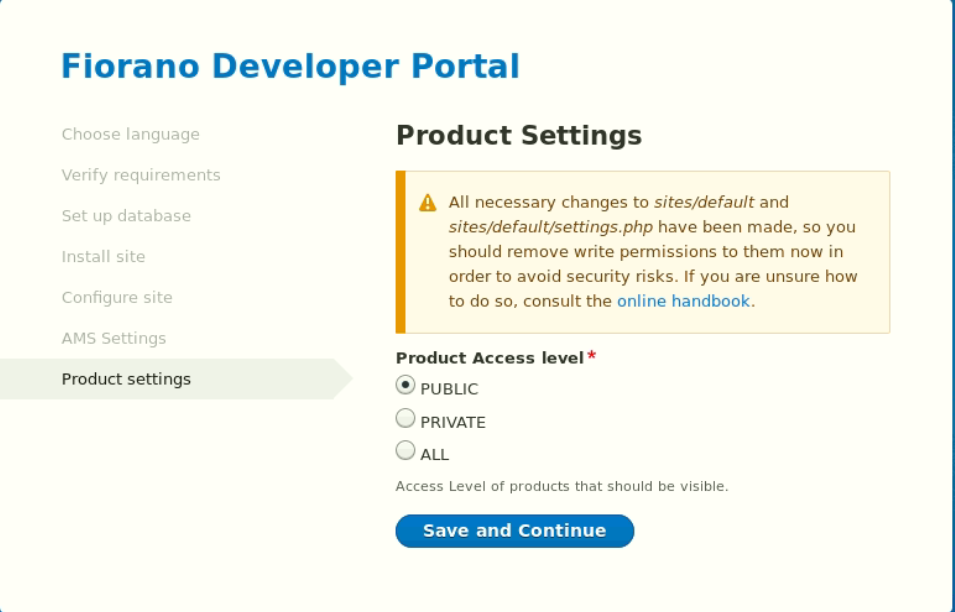
Figure 9: Configuring the access level of the product - The Developer Portal will be successfully installed.
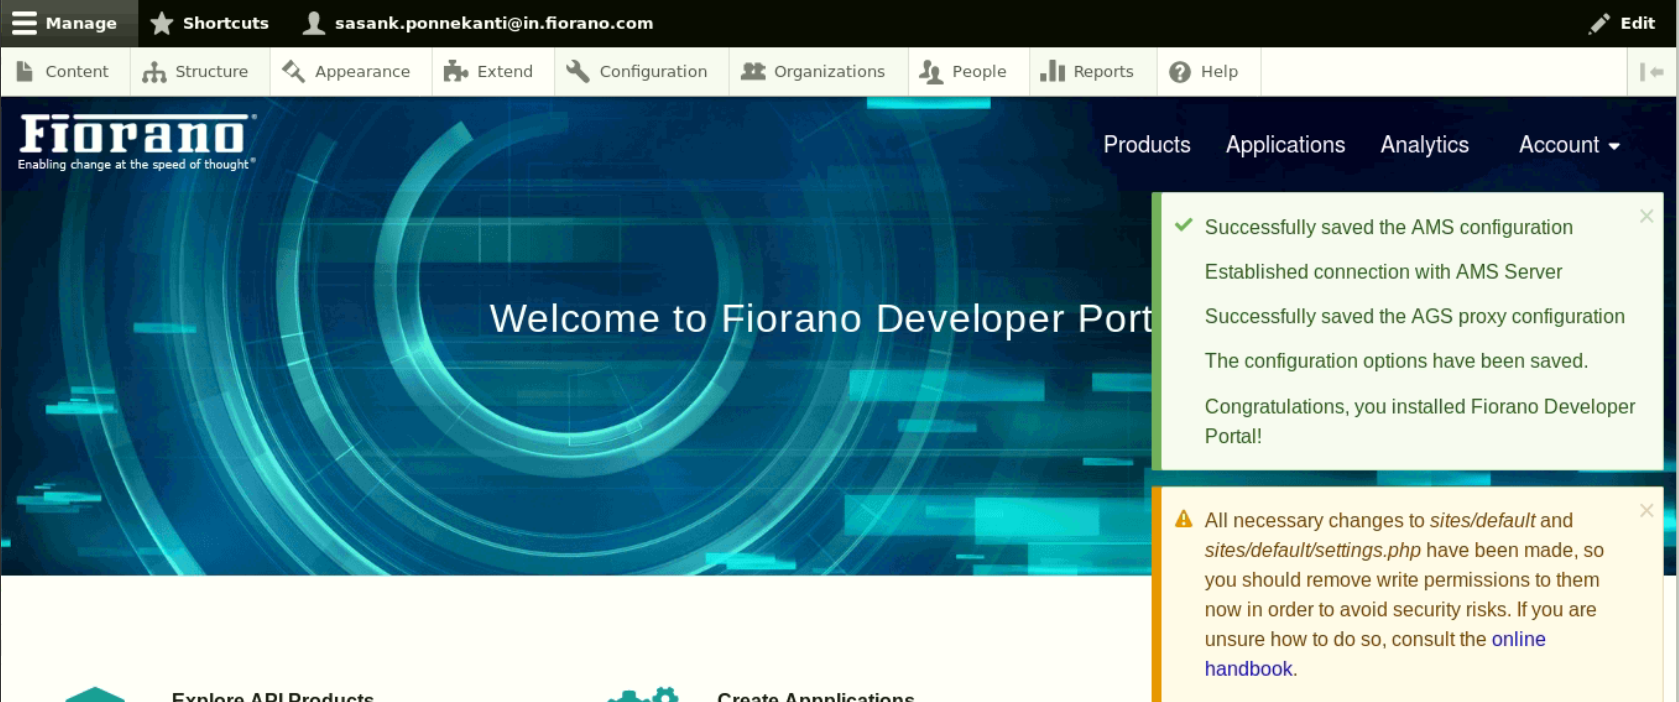
Figure 10: Developer Portal home page with acknowledgement messages
