
Copying the FioranoDeveloperPortal folder to the Webserver
-
Go to the DeveloperPortal folder at $FioranoAPIManagement_Home and copy the FioranoDeveloperPortal folder.
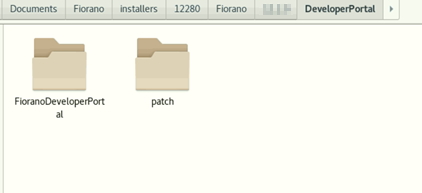
Figure 1: Copying the FioranoDeveloperPortal folder from the API Management directory in Linux
-
Paste the copied folder into the <AMP stack folder>/apache2/htdocs folder.
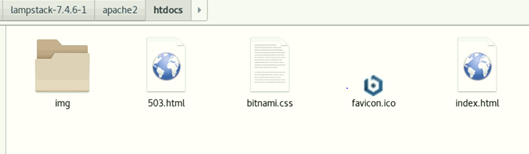
Figure 2: Copying the FioranoDeveloperPortal folder to the <AMP stack folder>/apache2/htdocs folder
Granting Write permissions for files in Linux and Mac
Give Write permissions on the files folder and settings.php file at FioranoDeveloperPortal/sites/default/ directory so that the webserver gets the permission to write.
To enable Write permissions, type the following commands in the command line:
cd <path/to/FioranoDeveloperPortal/sites/default/>
chmod a+w files/
chmod a+w settings.php
In case the files folder is missing at FioranoDeveloperPortal/sites/default, please use the command below before enabling Write permissions:
cd <path/to/FioranoDeveloperPortal/sites/default/>
mkdir files
If the write permissions are not set, then an error is thrown during installation.
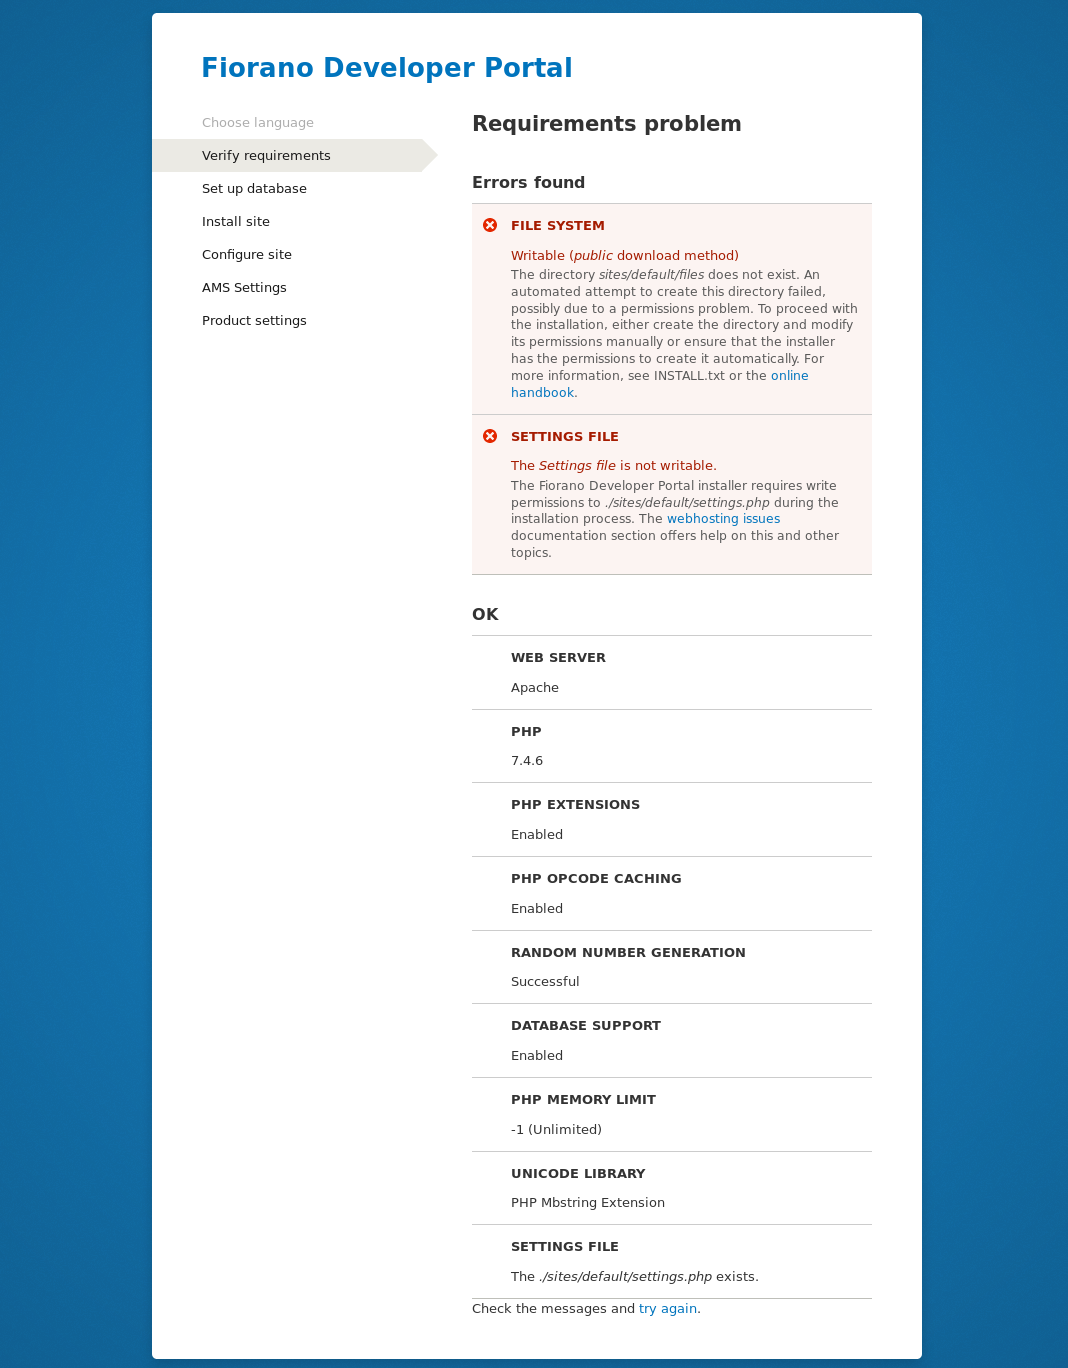
Figure 3: Screen displaying error thrown during installation
Disable the Write permissions after installation to avoid security risks.
To disable write permissions, use the following commad:
cd <path/to/FioranoDeveloperPortal/sites/default/>
chmod a-w files/
chmod a-w settings.php
Refer to the following link for a better understanding on file permissions in Linux, Unix, and Mac: https://www.drupal.org/node/202483
Installing the Developer Portal
-
Open the URLhttp://<hostname>:<port>/FioranoDeveloperPortal (hostname and port corresponding to the webserver).
-
Enter the following and click the Save and continue button:
-
Database name: The name of the database created by following the steps in the section above.
-
Database username: root
-
Database password: As provided while setting up the Webserver.
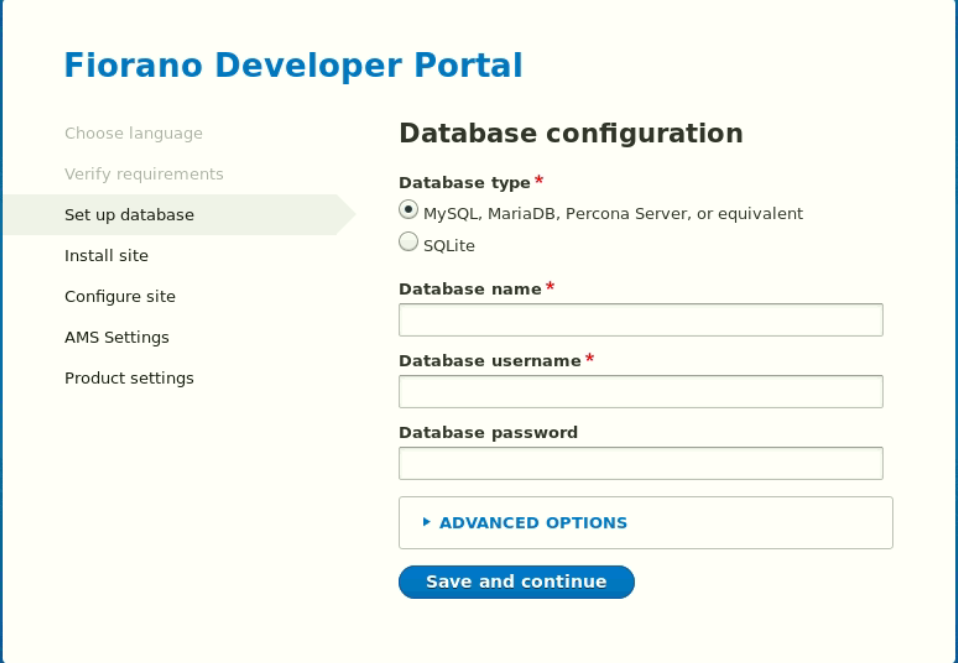
Figure 6: Providing the default database user nameIgnore the ADVANCED OPTIONS section.
-
-
In Configure site page, provide the following and click on save and continue:
-
Site name
-
Site mail
-
Site Administrator Mail
-
Site Administrator password
Remember administrator mail and password.
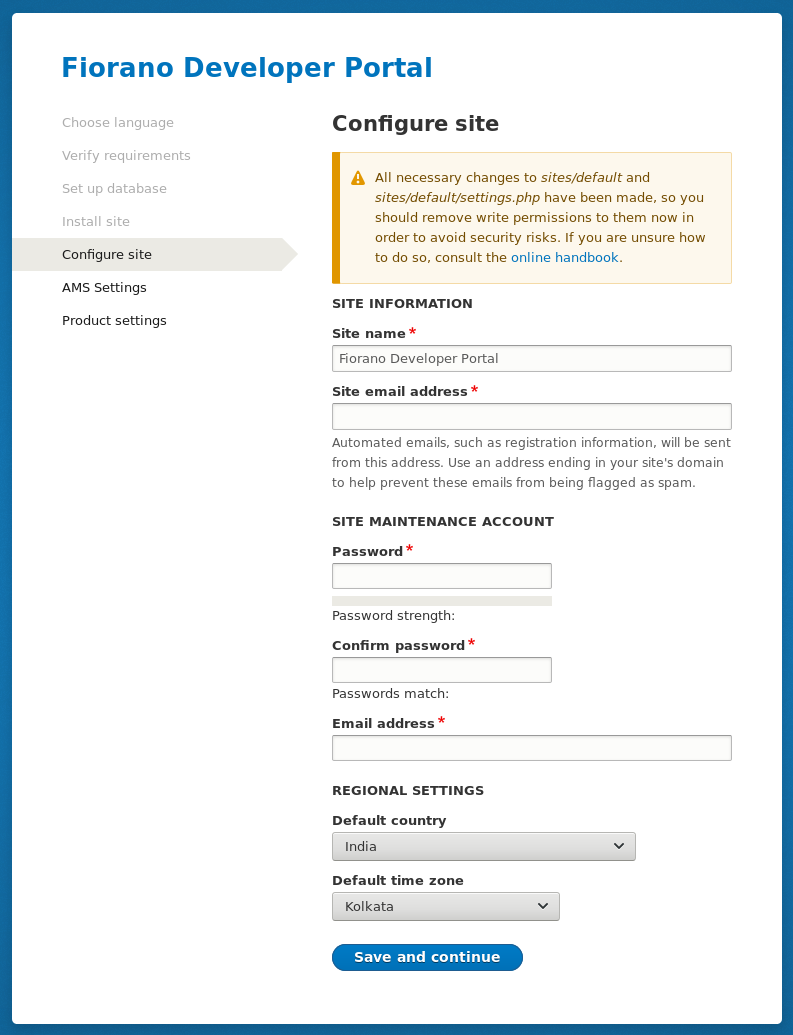
Figure 7: Providing Site Maintenance Account details
-
-
Navigate to the AMS Settings section. Provide the AMS Details in the corresponding fields and click the Save and Continue button.
Please make sure that AMS servers are running!
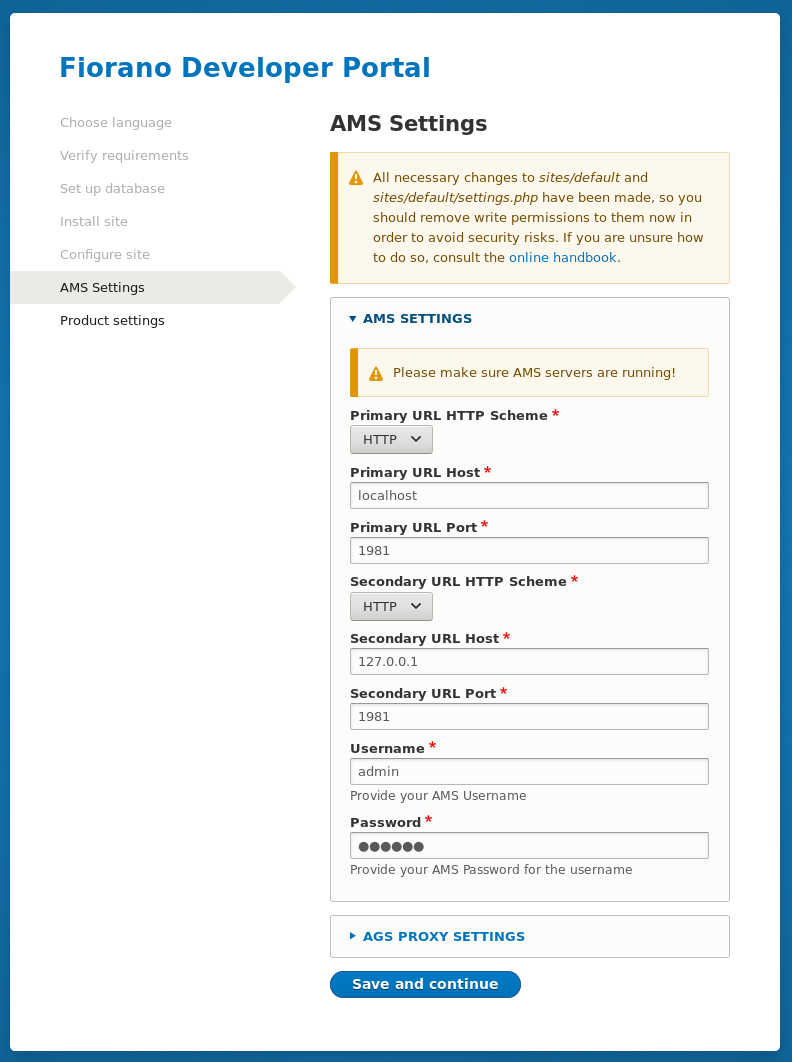
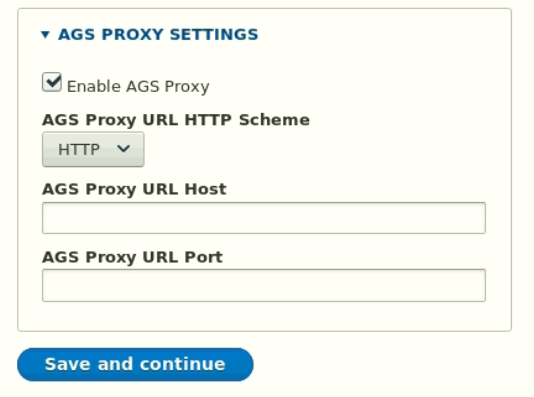
Figure 8: Providing AMS detailsIf an AGS Proxy is available, in the AGS PROXY SETTINGS section, Click the Enable AGS Proxy option and provide the AGS Proxy details.
-
In the Product settings section, set the access level of products that should be visible to developers. Click Save and continue.
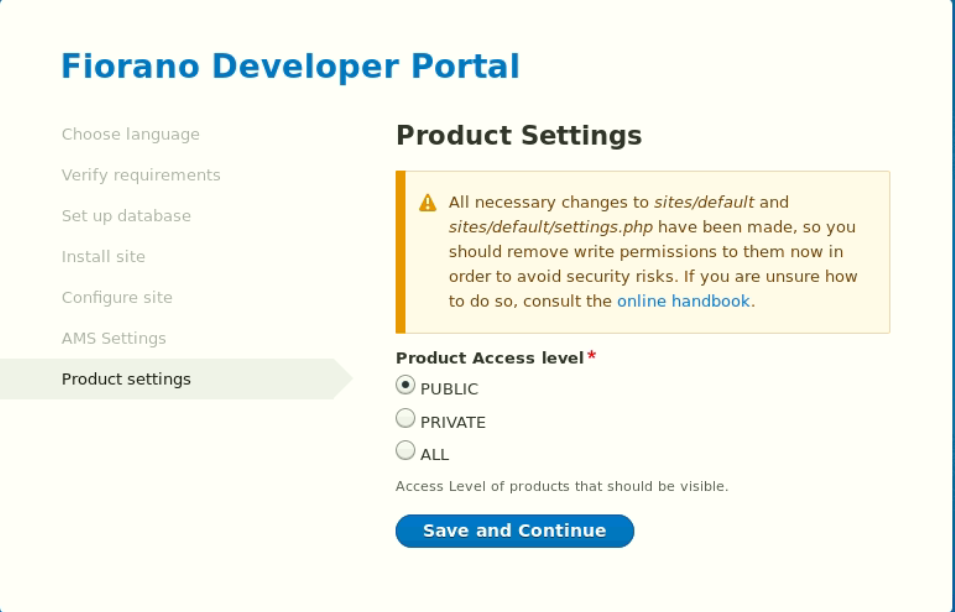
Figure 9: Configuring the access level of the product
-
The Developer Portal will be successfully installed.
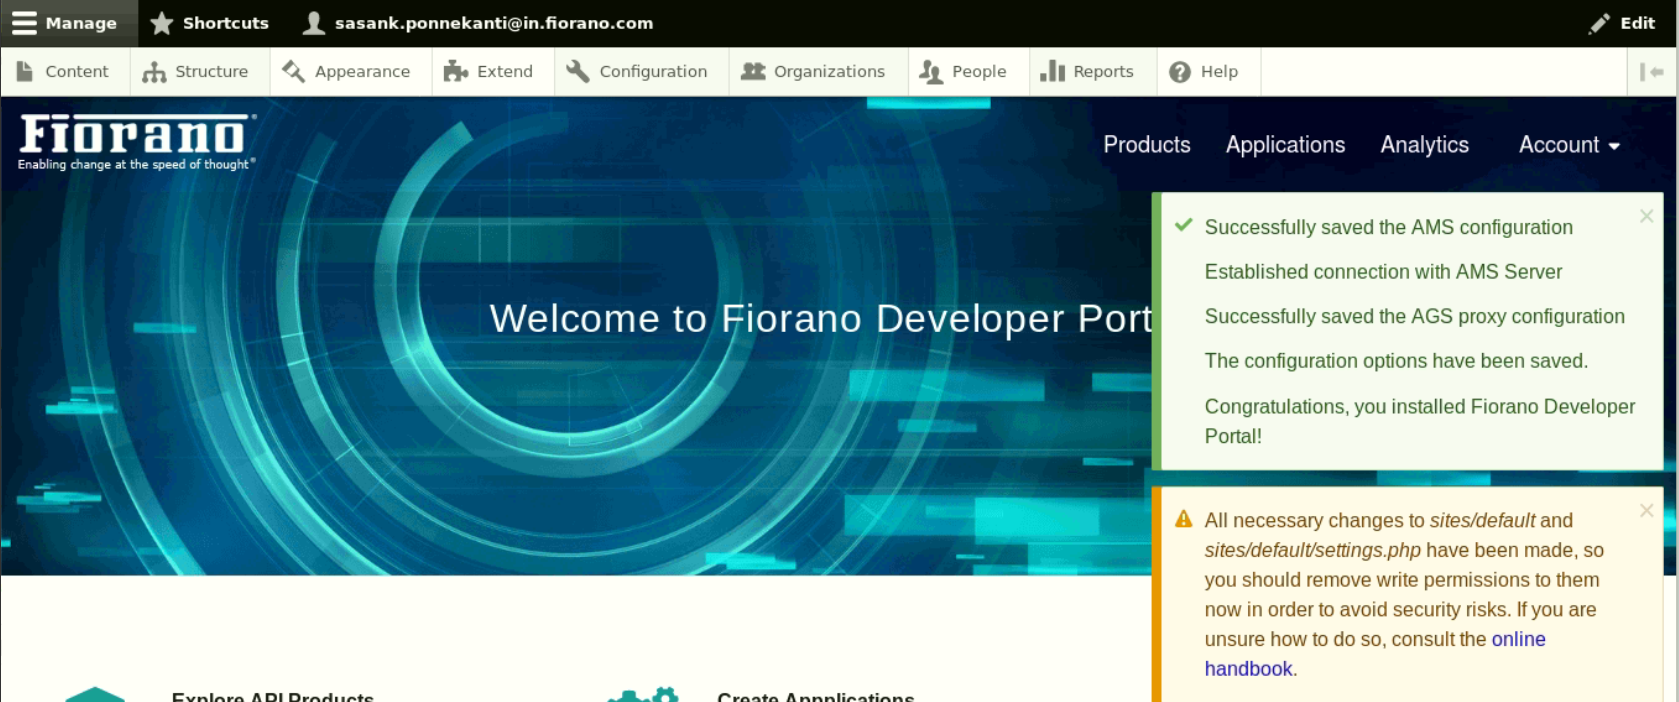
Figure 10: Developer Portal home page with acknowledgement messages