TPP User Guide
Introduction
The Developer Portal tool simplifies the process of developer onboarding by self-signup and automates the interaction of developers with the services published using the API manager. A developer can register an application and add different products which are published by the organization. For products with automatic approval, the developer is able to interact directly with the APIs grouped as part of the product. Alternatively, the administrator of the concerned organization can approve the subscription at a later point.
Launching the Fiorano Developer Portal
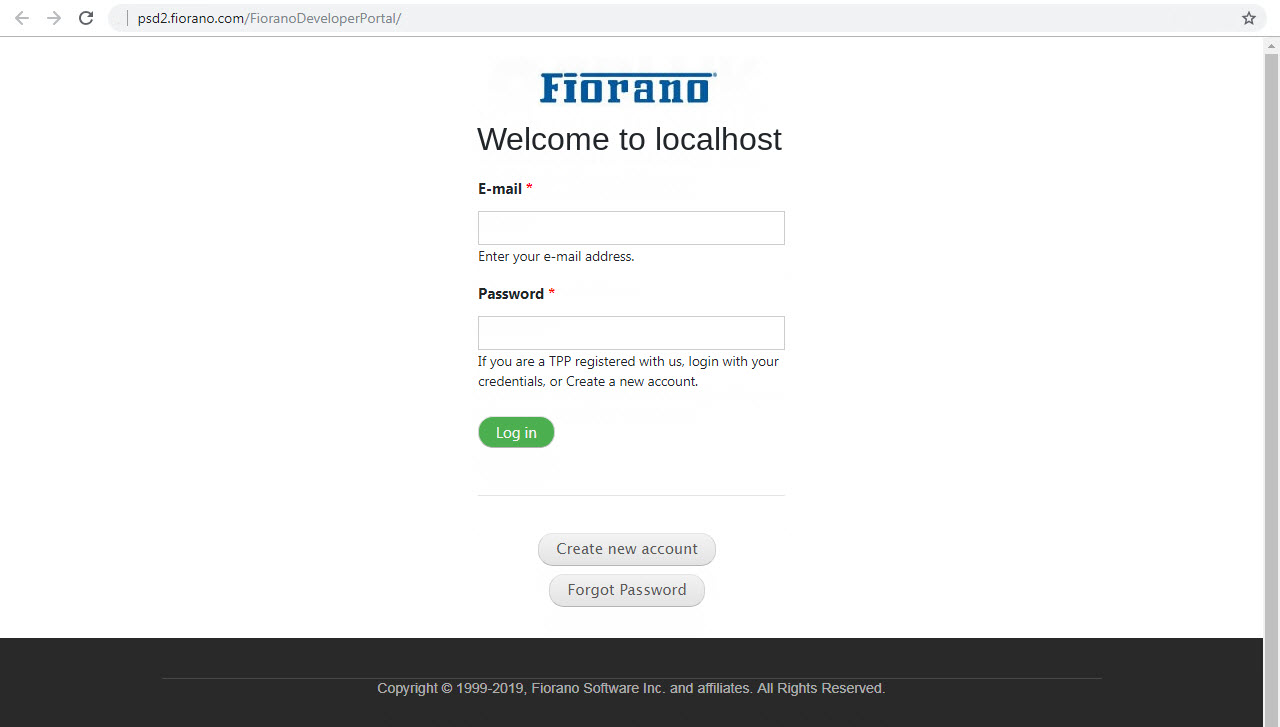
Go to the Login Page using the Developer Portal URL provided to you, for example, http://sbiuk.psd2.fiorano.com/FioranoDeveloperPortal/
Logging in
If you are a registered user, please skip to the User Login section.
New User Registration
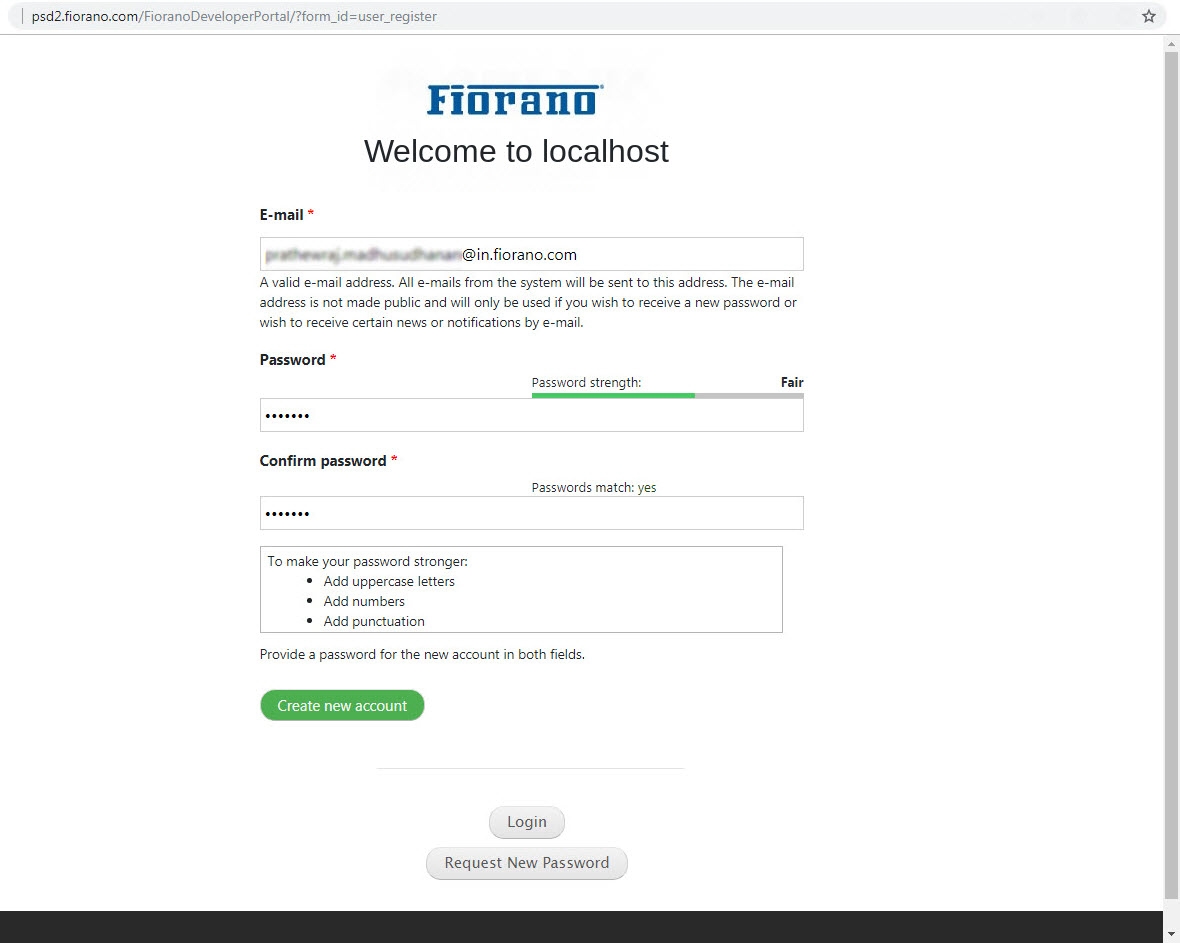
- Click the Create new account button below the Log in button to register as a TPP.
Provide a valid email address.
- This ID will be considered as the registered Email ID
- The registration details will be sent to this ID.
Provide password of your preference and click the Create new account button.
An acknowledgment message appears on top of the Login page.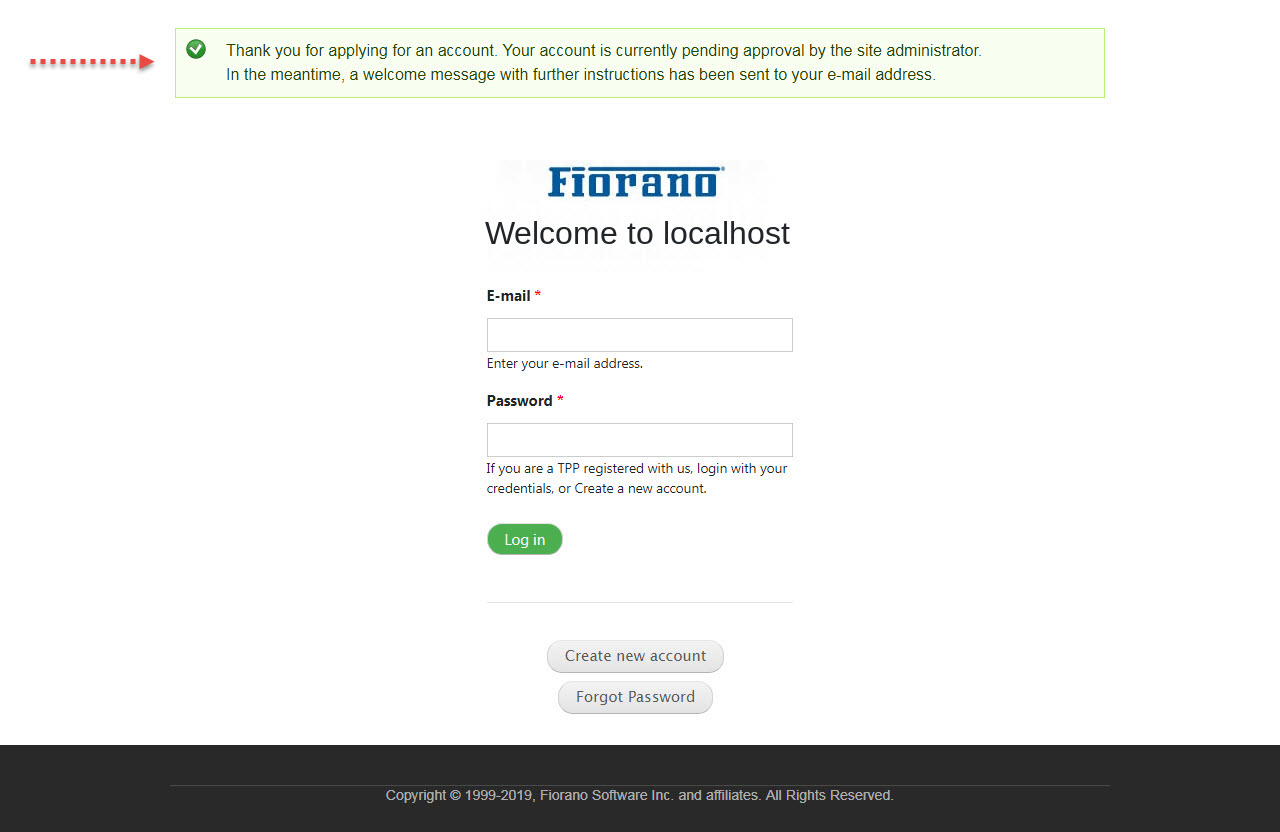
- After the account is activated by the administrator, the information will be sent to the email address with which the new account is created.

User Login
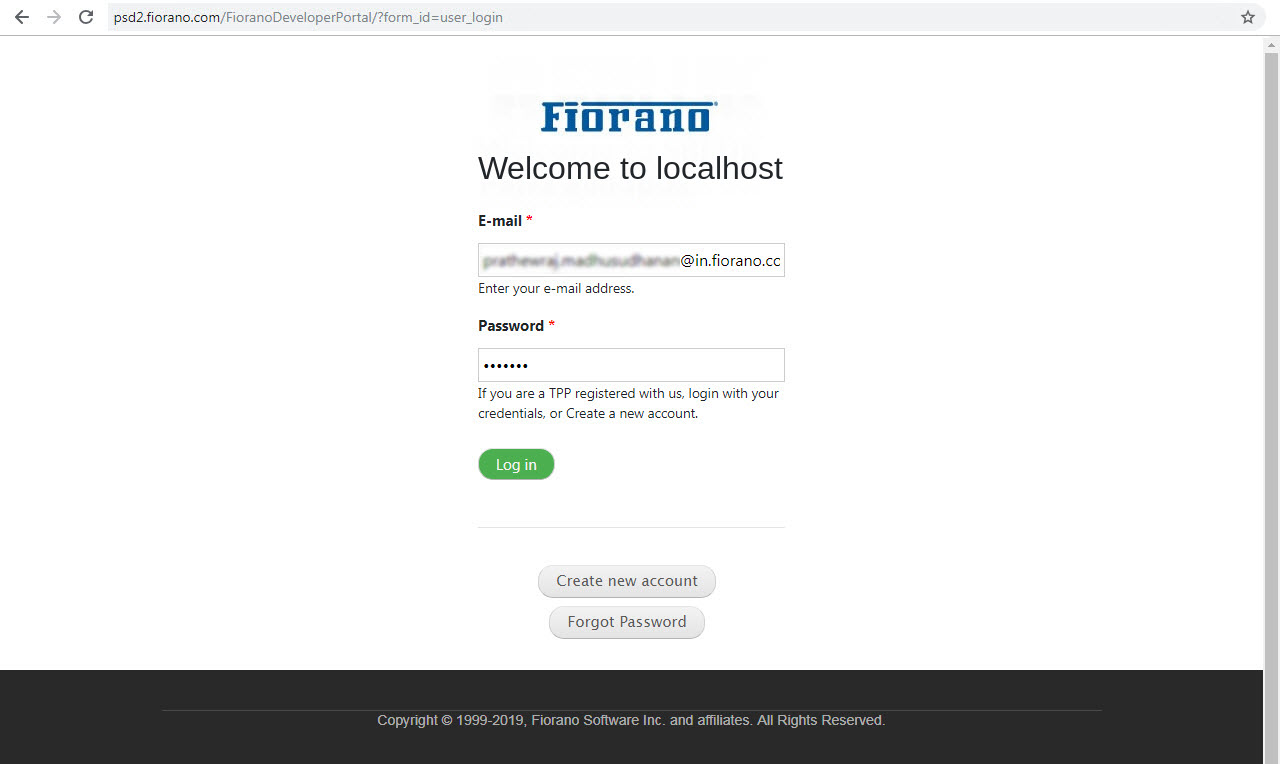
Provide the registered Email ID and password set while registering and click the Log in button to log on to the Fiorano Development Portal.
Forgot Password?
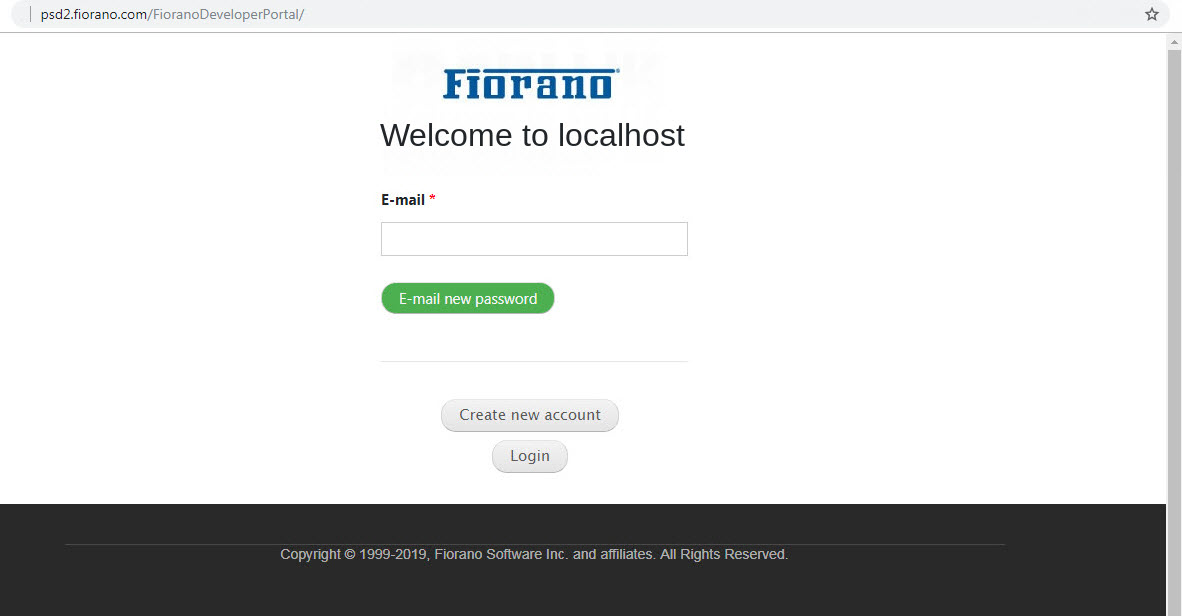
To reset the password, click the Forgot Password button below the Login button (see the figure above). Provide the registered email address and click the E-mail new password button.
The new password will be sent to the email address.
API Products
The API Products screen displays the products available to be used in applications.
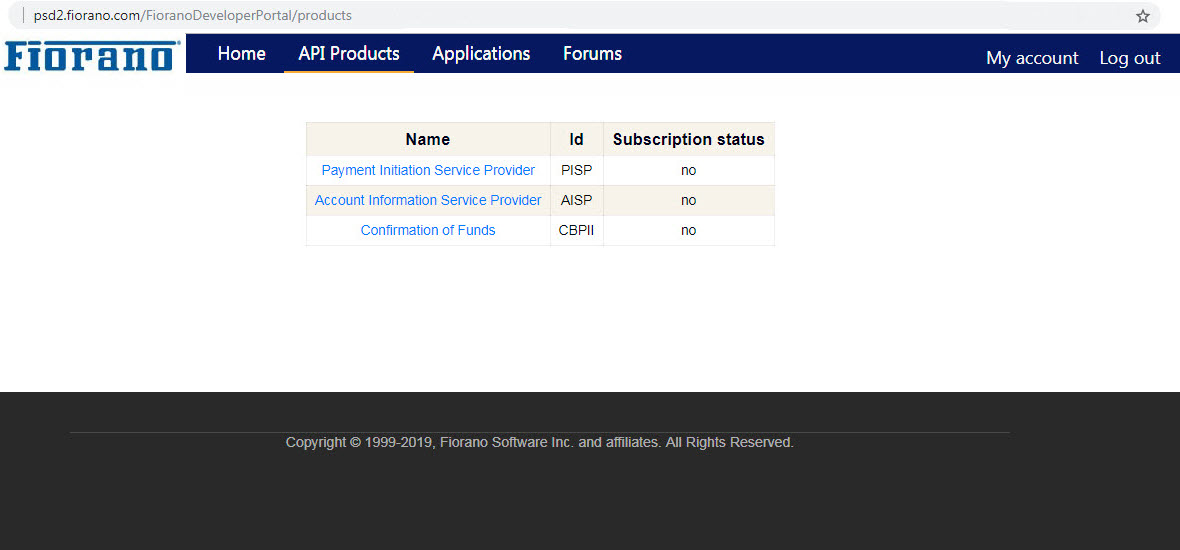
Subscription status will be "no" if products are not used by any application. To subscribe to a product, register an application.
API Catalog
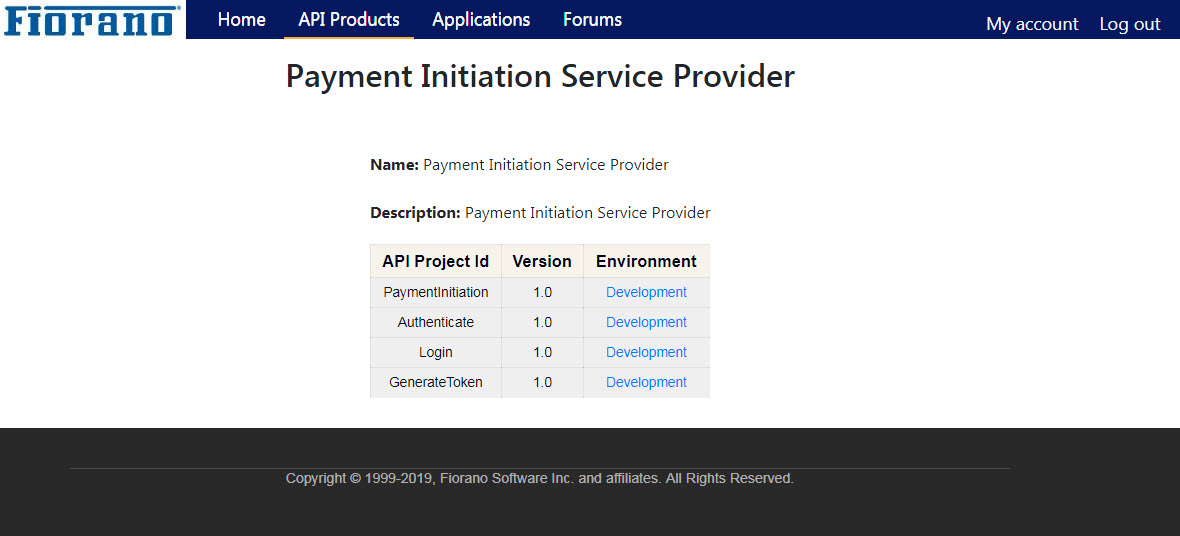
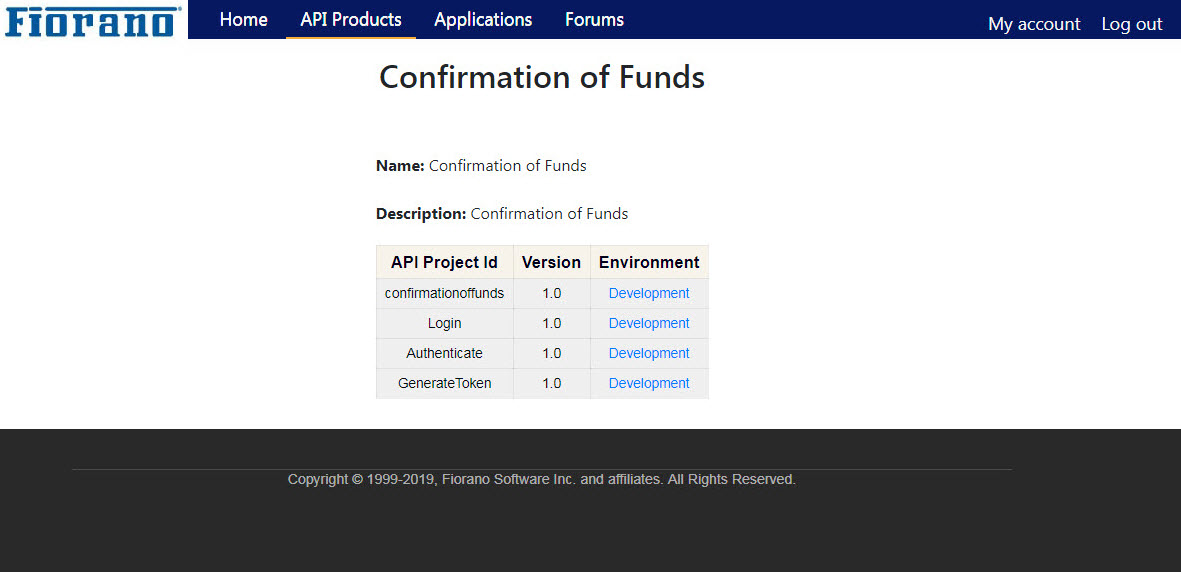
Click the product name to see the API projects (various functions of the product) available in the selected product.
Registering an application
To register an app,
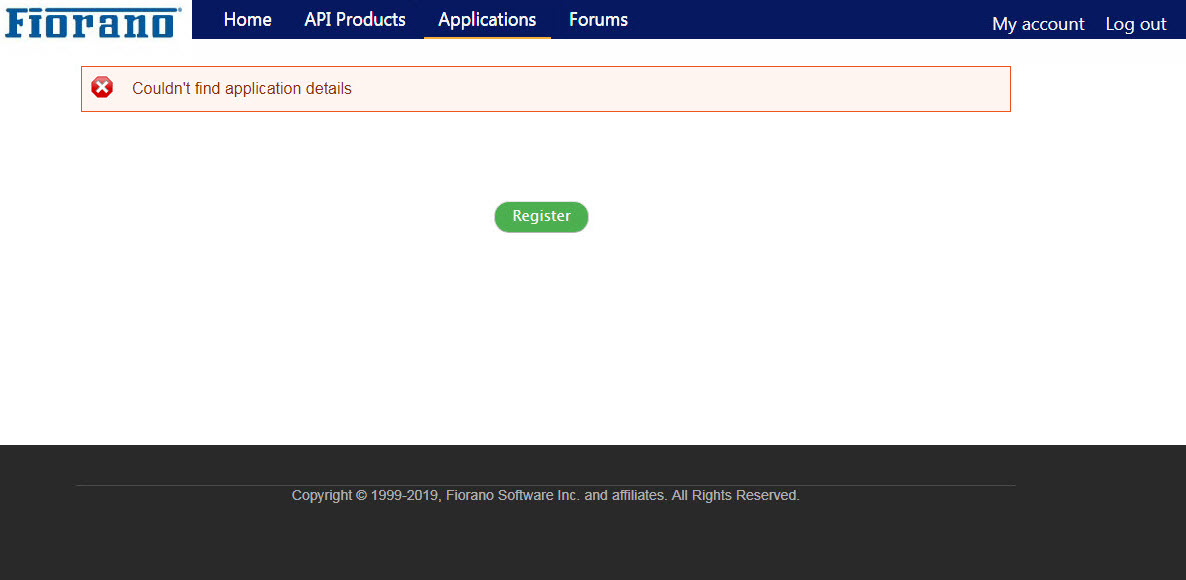
- Click the Applications tab and click the Register button.
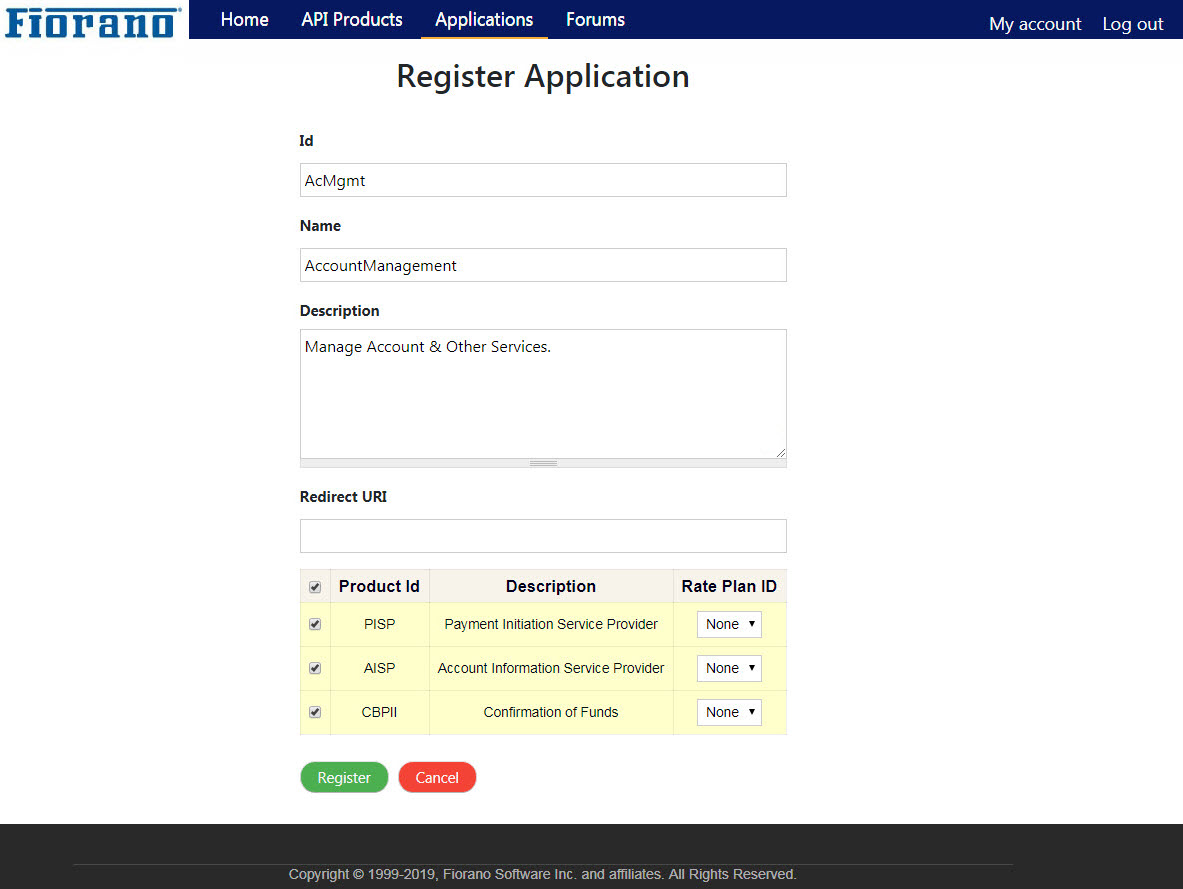
Select the products required for the app and provide name and details that represent the function of the application and click Register.
Redirect URI:
Provide the URI to redirect to a particular page after authorization.
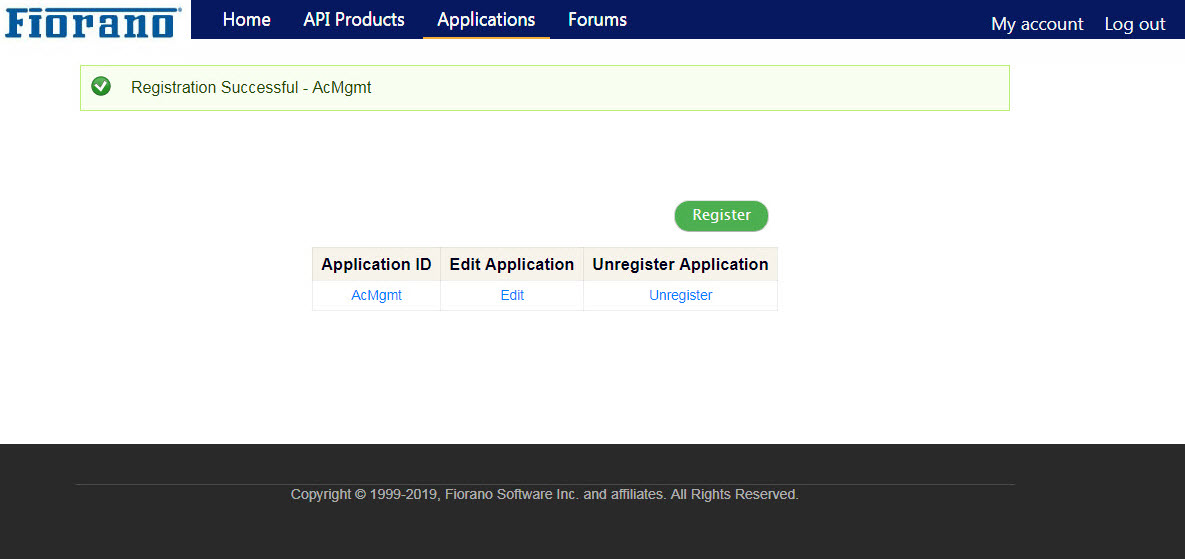
The app gets registered with the ID provided.
An acknowledgment message appearing on the top of the page.
- Click Edit to make any changes to the application.
- Click Unregister to unsubscribe the products.
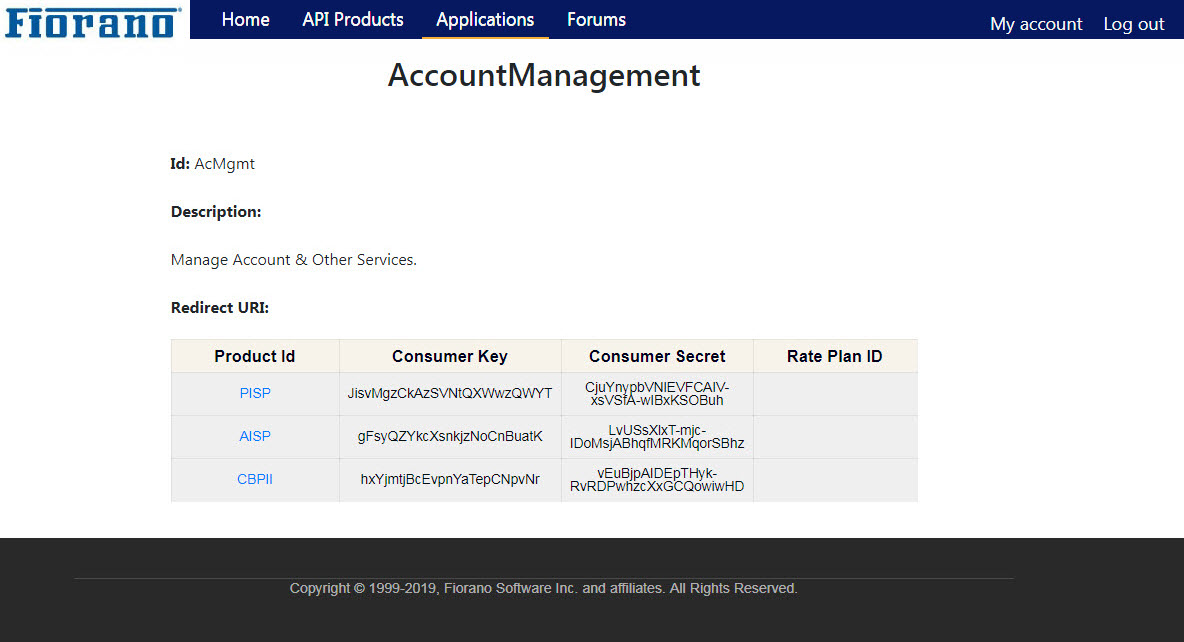
Fetching Consumer Key and Customer Secret
Click the Application Id name (see the figure above) to see the Consumer Key and Consumer Secret generated for the respective product.
Checking API Documentation
Click the Product Id name (see the figure above) or click the API Products tab to go to the API Products page.
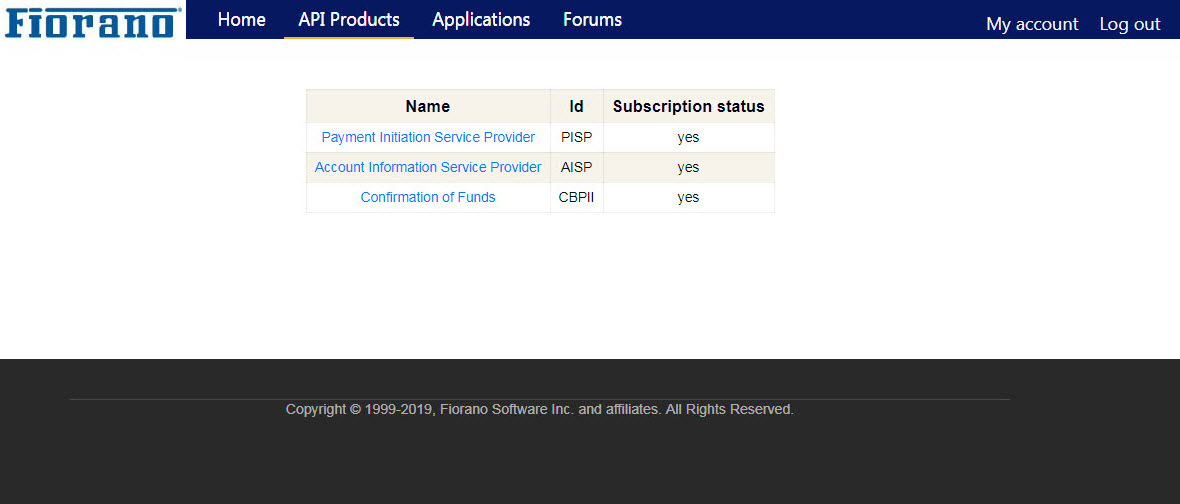
Notice that the Subscription status is changed to "yes" as the products are subscribed by the application.
Click the Product name (see the figure above) to see the projects under the product; click the environment name of the respective project to work with the APIs associated with the project.
Authorization
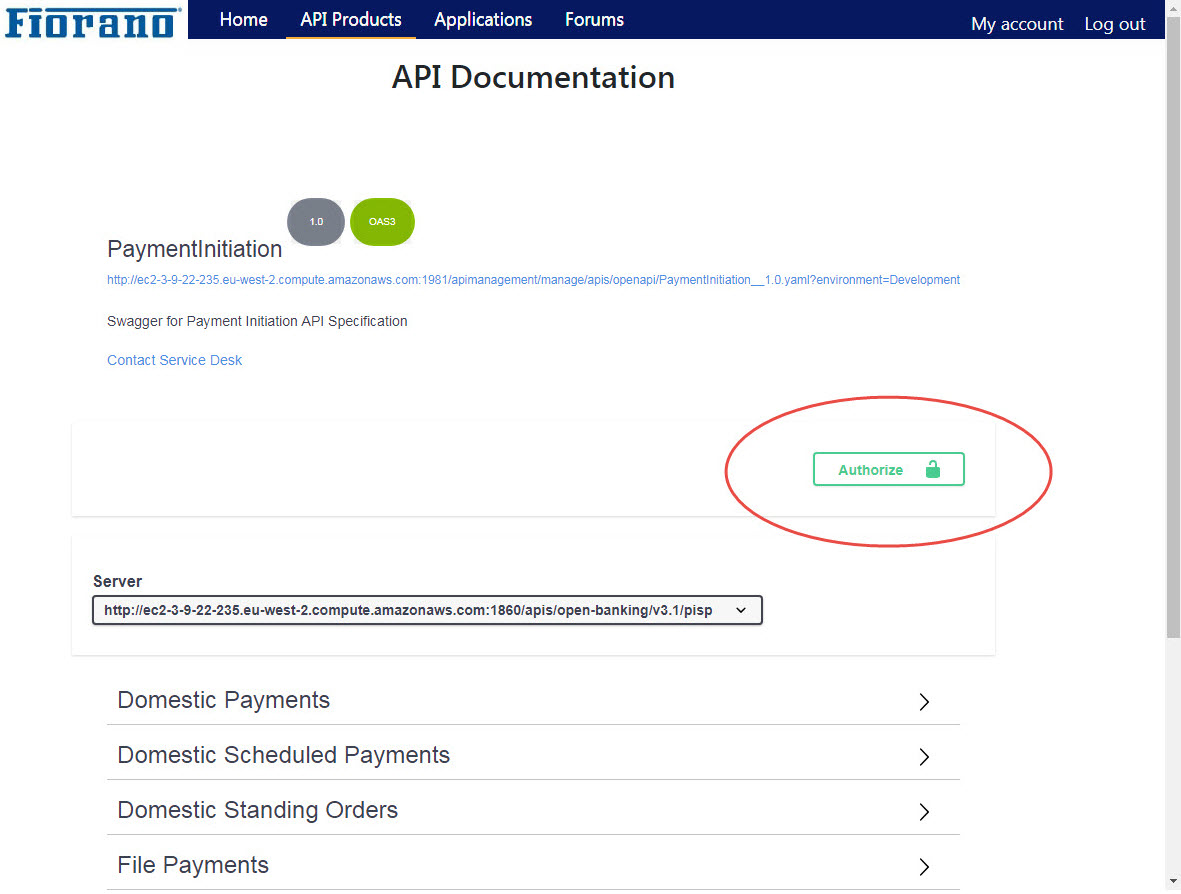
Detailed documentation of the API with complete information about the parameters involved, sample requests and responses, and authentication mechanisms used can be viewed in the API Documentation section.
If the REST APIs are protected, click the Authorize button to unlock the APIs.
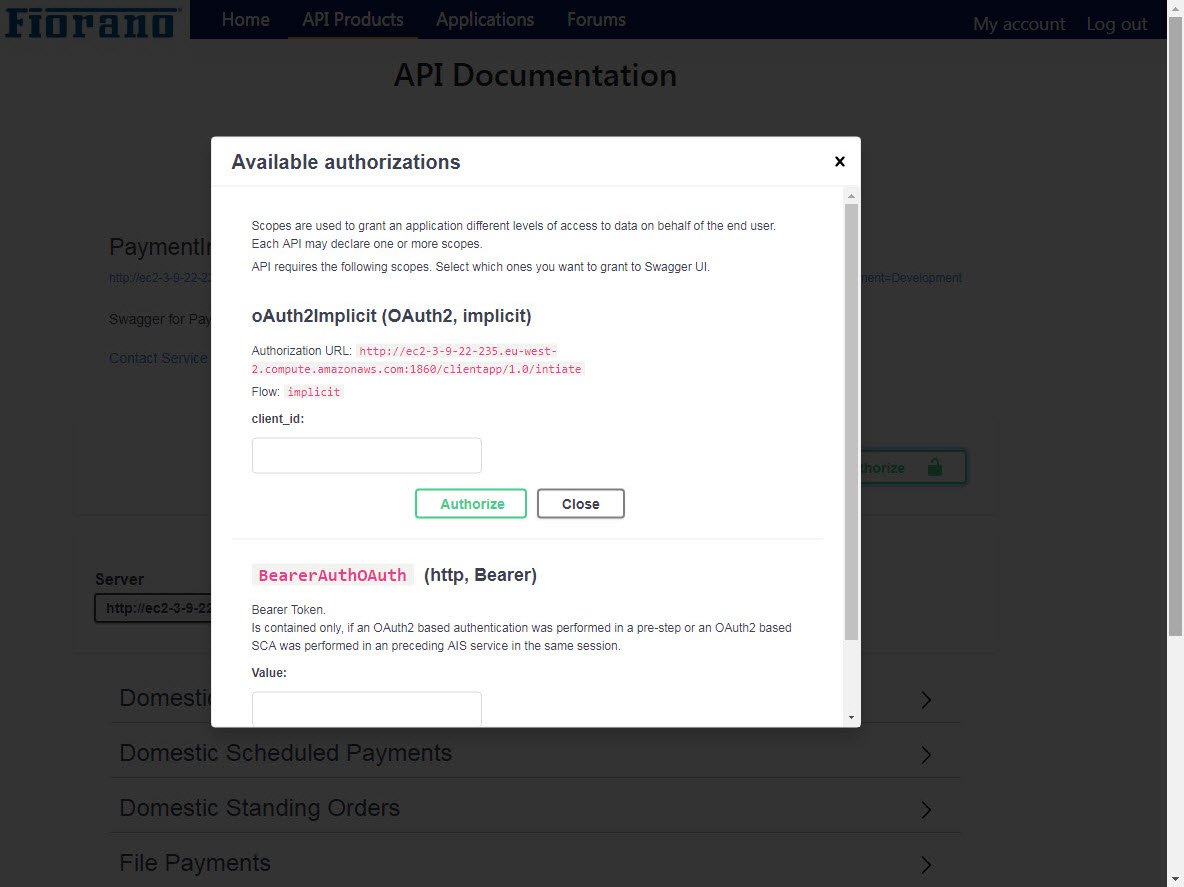
Provide the Client ID which is the Consumer Key mentioned in the Fetching Consumer Key and Customer Secret section of the respective product and click Authorize.
An error message gets displayed for invalid input.
Testing the APIs
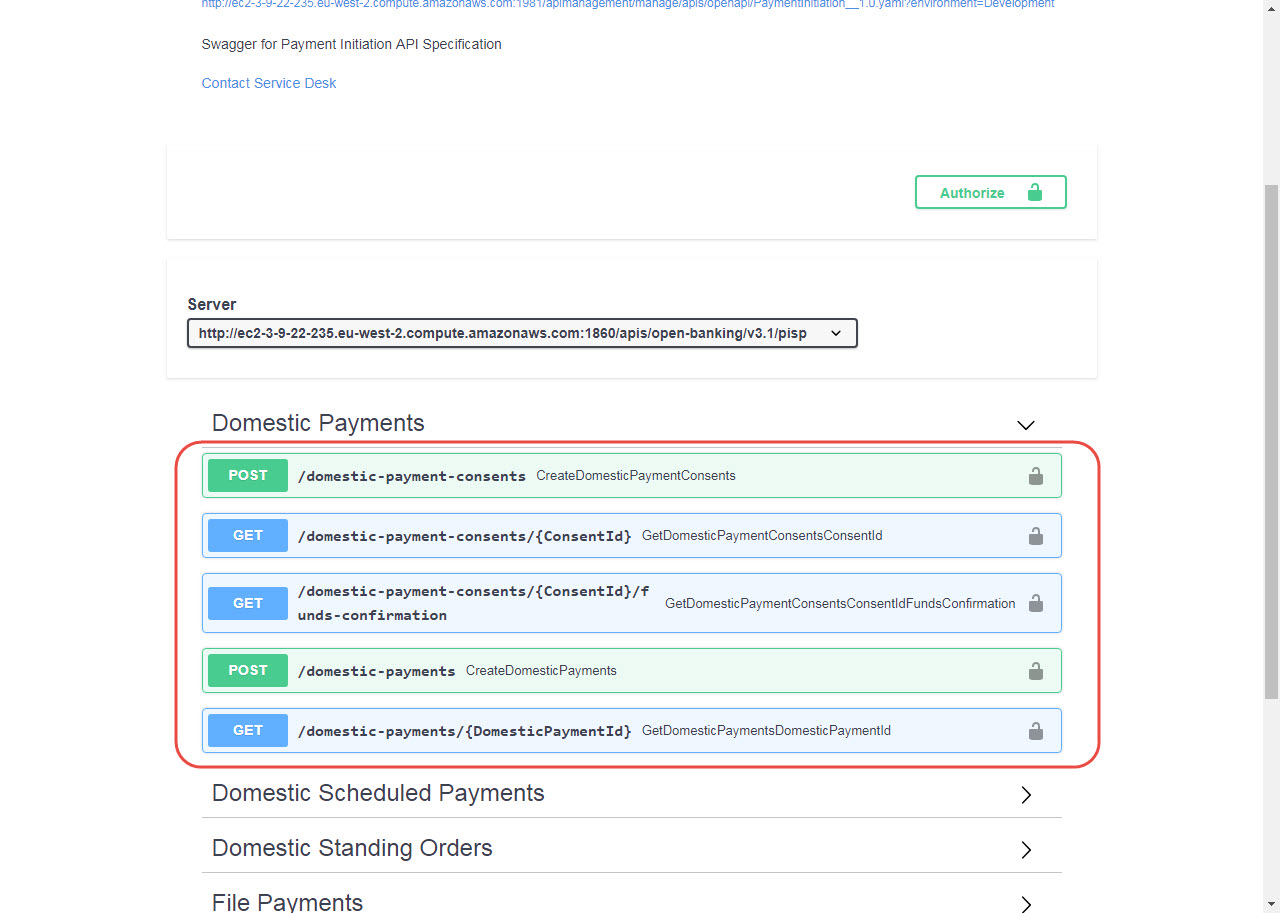
Expand a tag to see the APIs available under it.
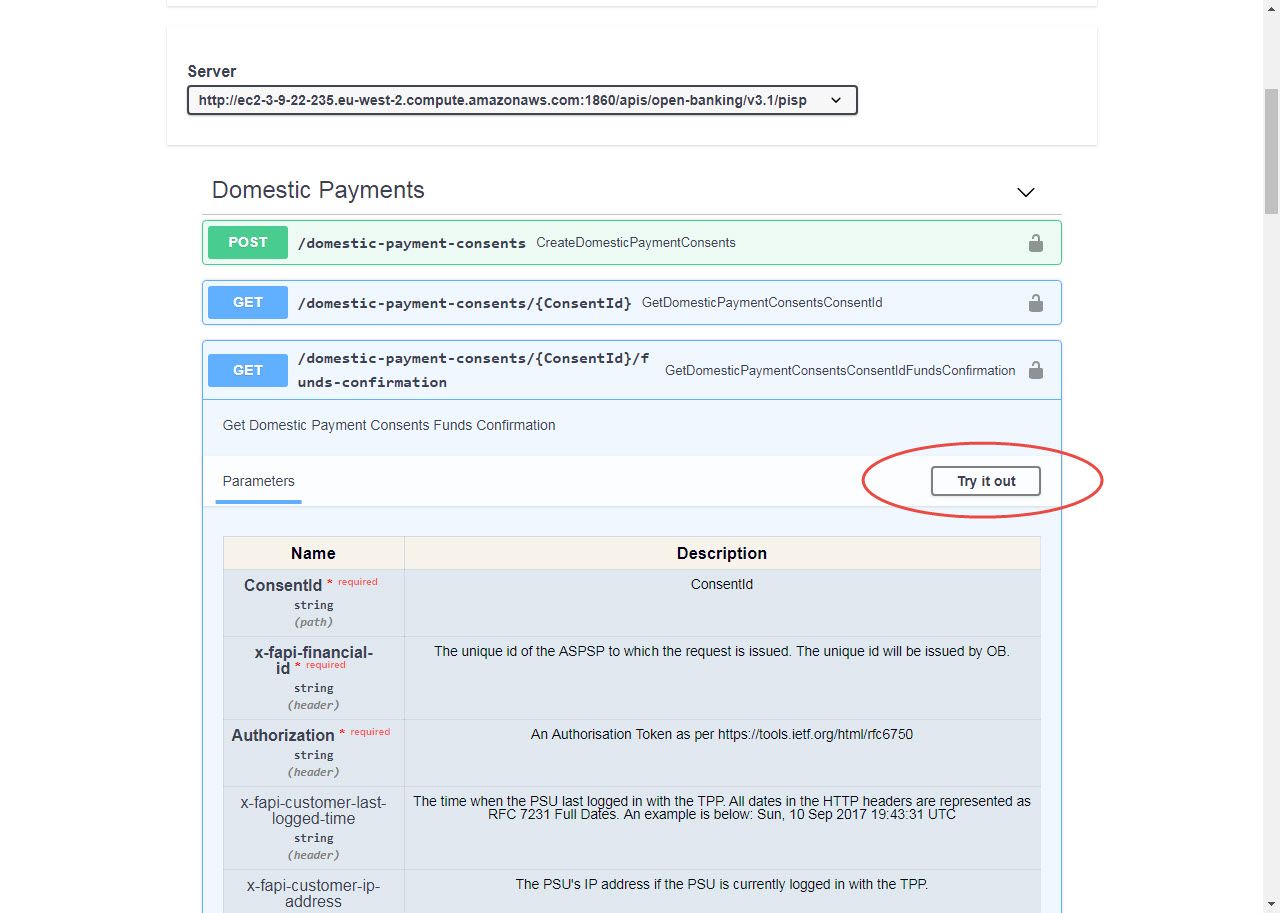
Expand the API to see the parameters under it and click the Try it out button to test the API.
Forums
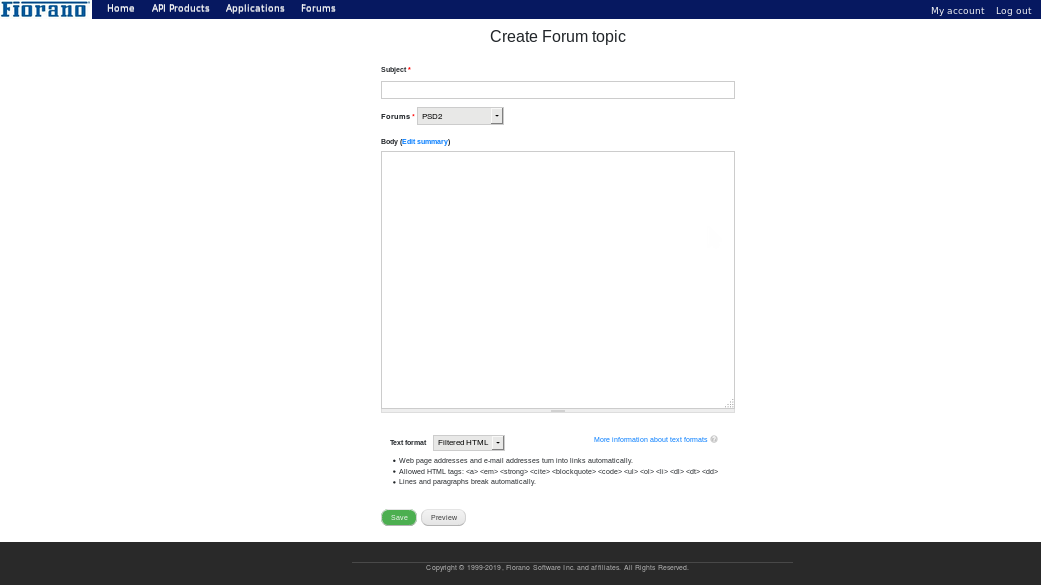
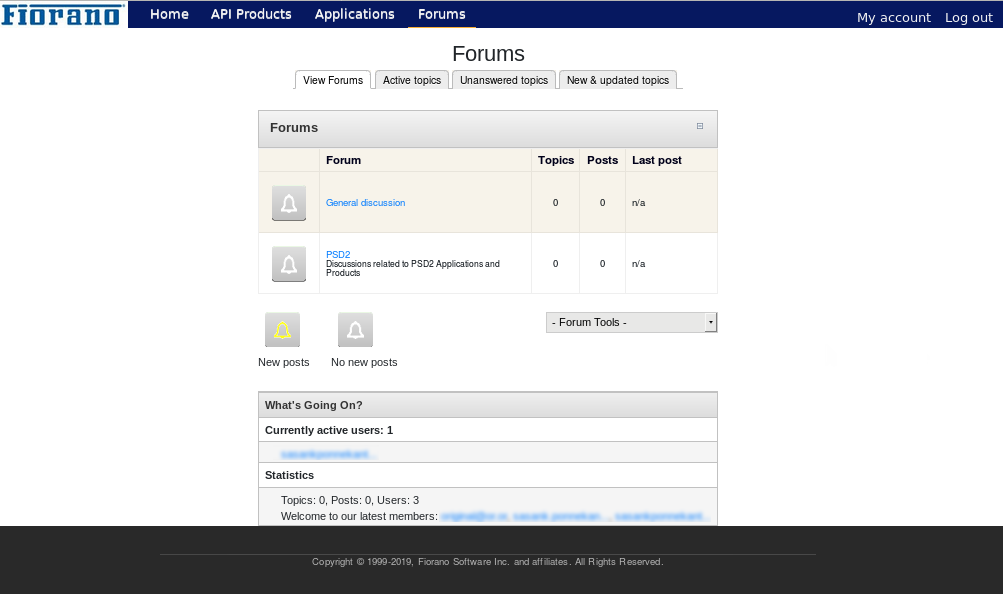
Forum section helps to start a discussion or take part in a discussion. For any questions or suggestions to the administrator, post them in the Forums section as a new Topic.
Users will be able to interact using the forum only after the administrator approves the user to post in the forum.
To post content in the forum,
- Click the Forum name (see the figure above) to create a topic.
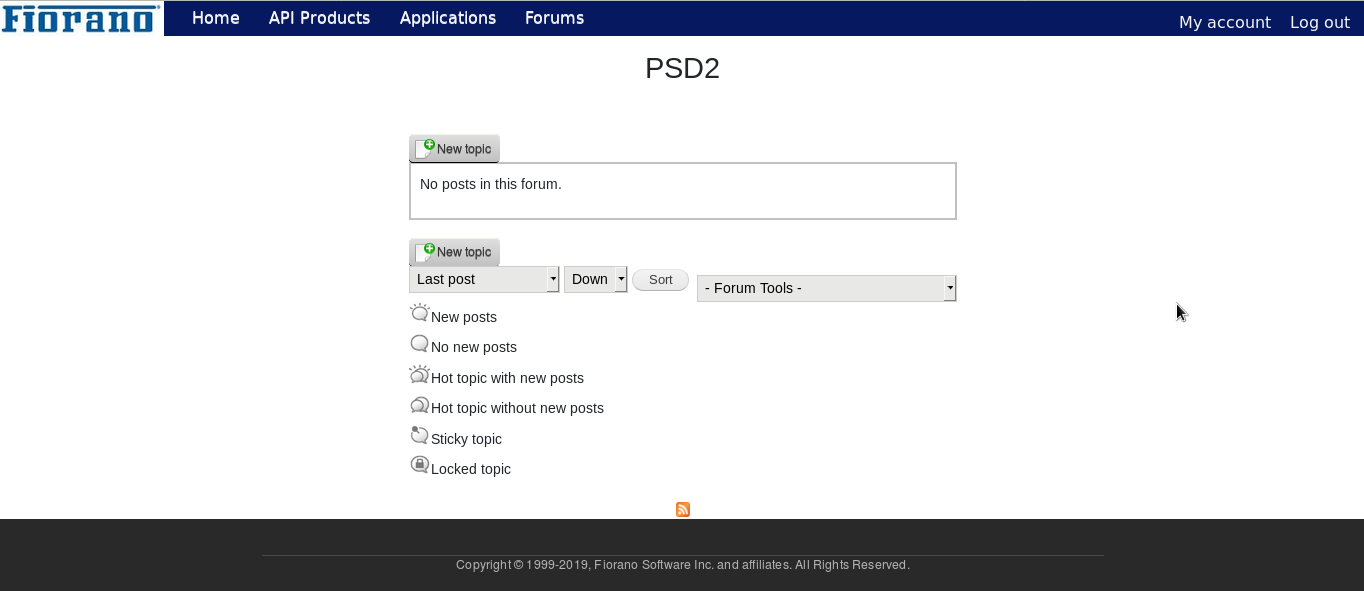
- Provide the following and click Save.
topic heading in the Subject text box.
content in the Body text area.
Before publishing the content, the Preview button helps to have a preview of the content as it appears on the forum.
