
Clients can access APIs after they are added to the Clients section. After adding the client, a Client Subscription is added to the APIs, thereby binding them with a single API consumer key which allows them to access the subscribed API products.
Click the Clients 
Adding a new Client
-
Click the Add

-
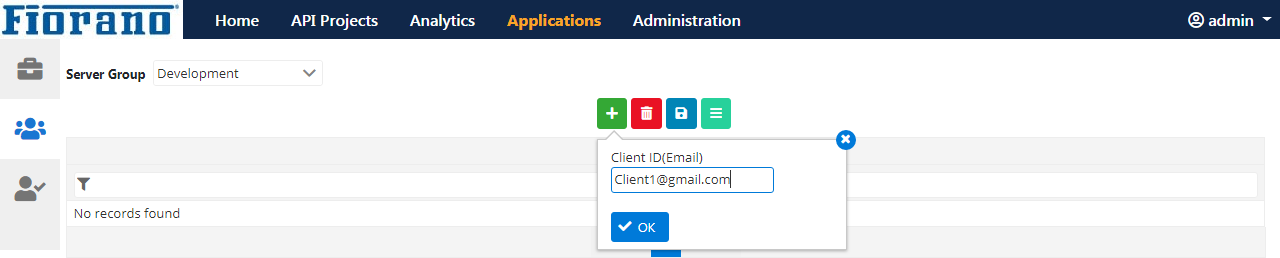
Provide a valid email ID in the Client ID text field.
Client ID text field accepts only a mail ID.
-
Click OK to add the client.
-
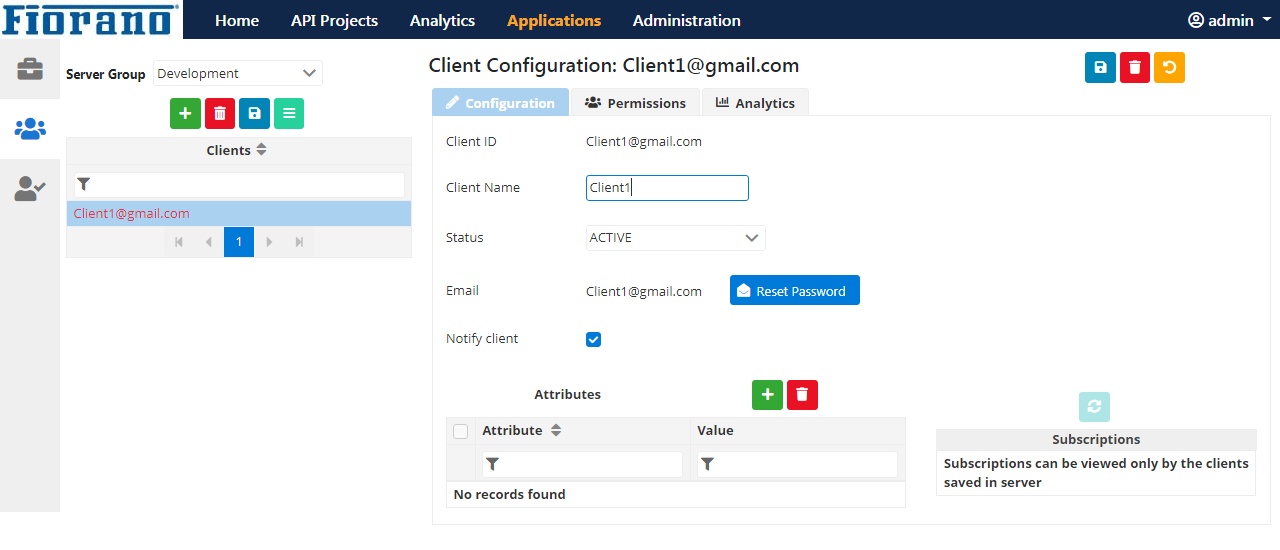
Provide the client name and attributes if any under the Configuration tab.
Email address with which the client gets added and subscriptions (if any are saved in the server) will be auto-populated. Enabling the Notify Client option alerts the client with a notification message with regard to the new client addition.
-
Click the Save

-
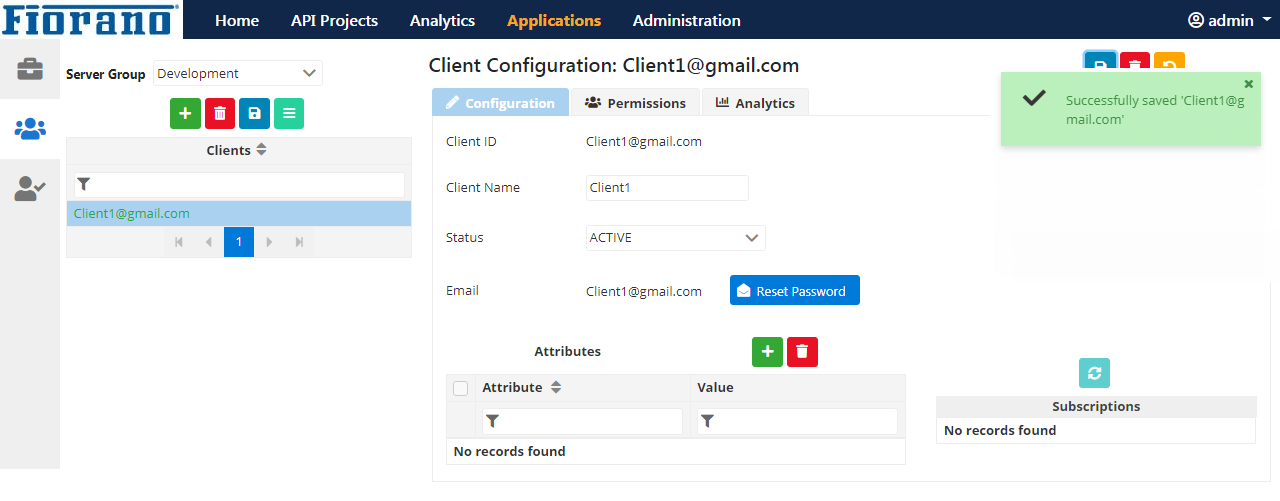
The font colour of the client name changes from red to green after saving.
-
A password will be sent to the client's email address. Click Resend if the client did not receive the mail.
-
An error message appears if the email address is not valid.
-
-
Configuration Properties
|
Attribute |
Description |
Client ID
|
The name provided while creating the client gets auto-populated. |
Client Name
|
Provide a name to identify the client. |
Status
|
Provide the status of the client from the options as below, as per requirement:
|
Email
|
Email address of the client, which is used for all further communications including transmitting the secured keys. |
Notify Client
|
If enabled, an email alert notifying the addition of the new client will be sent to the email ID specified above. As this property is to notify the addition of a new client, this field will not be visible in the UI after the client gets saved. The subject and body of this notification mail are configured in the Client Notification section. |
Attributes
|
If there is a requirement to add additional attributes, click the Add |

Click the Save button to add a client with the above details (clicking the Reset icon at this point discards the changes).
Developers registered through the developer portal can be seen in the Clients list.
Saving and Removing clients and More options
Save
Ensure clicking the Save 
Click Save all
Remove
The Remove 
To remove a client that is already added to a Client Subscription, it has to be removed from the subscription first.
The Remove multiple 
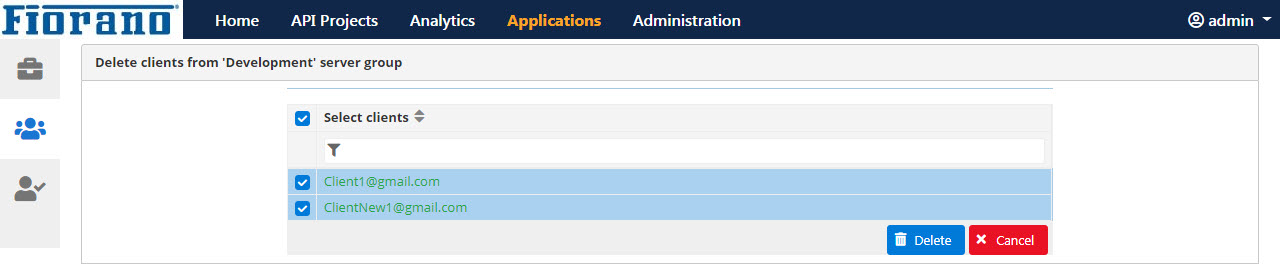
Select the clients and click the Delete button.
Enable Select clients checkbox to select all clients.
More options
This option helps to copy, move, import, and export clients present in the selected Server Group. Refresh option helps to clear unsaved changes in clients.
Select the Server Group from which the operation has to be performed, click the More options button and select the respective option to perform the operation.
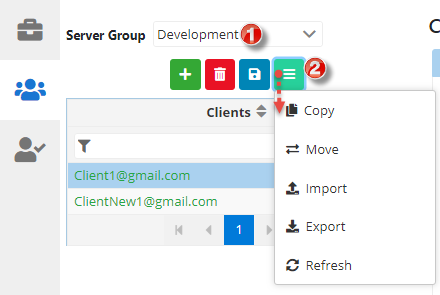
Refer to the More options section in the Products page to understand the functionality, descriptions, and steps of each option.
The Notify Client option is present in each tab to generate an email notification to the registered mail ID of the respective client.