Create JMS module 'SystemModule1' with Destination name 'Queue1' and Destination Type 'Queue' in Weblogic server. Send message using Feeder component to Destination 'Queue1' using JMSIn component in the BEA Weblogic server. JMSOut component fetches this message from Queue1.
2 Display components, one to display the message sent to destination and the other to display the message fetched from the destination.
How it Works
JMSIn component retrieves messages (as Text, Bytes or Map) from a component and sends them to a JMS Topic/Queue and configure the component to publish or send a message on a JMS Server at runtime. JMSOut component retrieves messages from a JMS Topic/Queue and sends the message received from a Topic/Queue to another component.
Setting up the Example
Configuring JMSIn component
To configure JMSIn component, perform the following action in eStudio:
Add a new Event Process with name 'WebLogic_Example'.
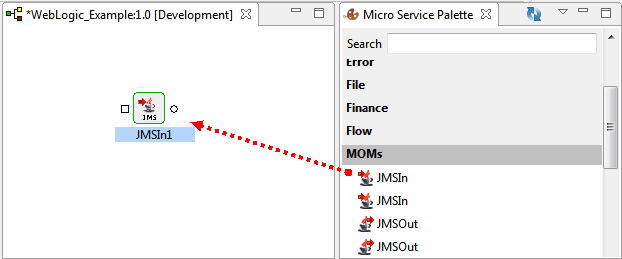
Drag the JMSIn component from MOMs category in the Micro Service Palette to the Fiorano Orchestrator.
Figure 1: Adding JMSIn component to Fiorano Orchestrator
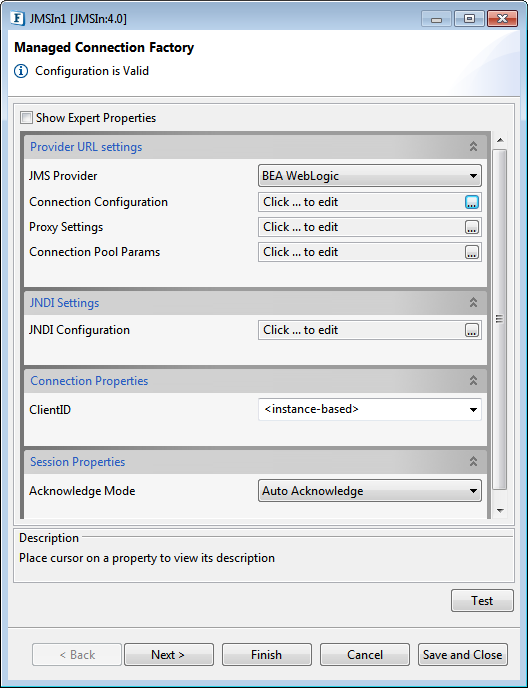
Double-click the JMSIn component in the Orchestrator to open Configuration Property Sheet (CPS).
Figure 2: Managed Connection Factory in CPS
Perform the following actions under Provider URL Settings section:
From JMS Provider drop-down, select 'BEA WebLogic'.
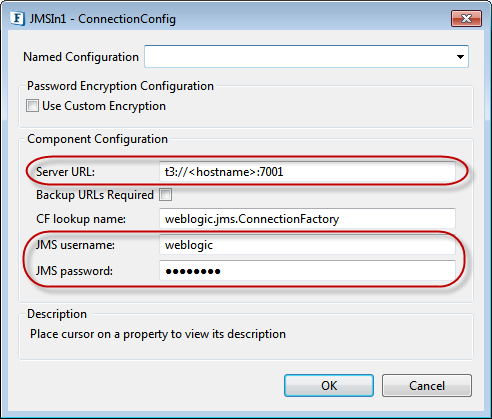
Click the Connection Configuration Ellipsis button, provide the values for Server URL, JMS username and JMS password in ConnectionConfig dialog box and click OK.
Figure 3: Component Configuration in ConnectionConfig dialog box
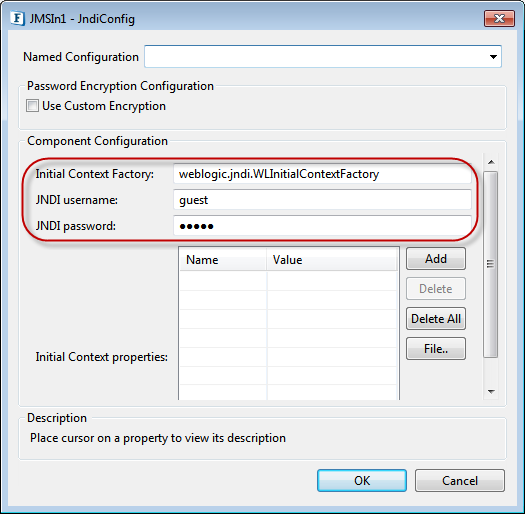
Under JNDI Settings section, click the JNDI Configuration Ellipsis button.
Figure 4: JNDI Configuration
In the JndiConfig dialog box, provide values for JNDI Username, JNDI Password and click OK.
Figure 5: Component Configuration in JNDIConfig dialog box
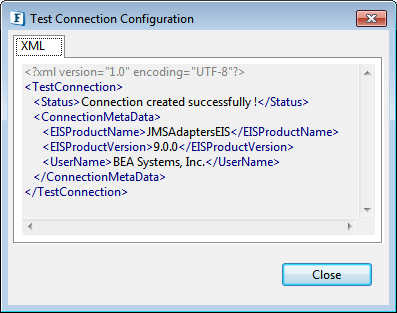
Click the Test button to test the connection. XML message indicating successful connection appears in Test Connection Configuration dialog box. Click Close.
Figure 6: Connection Successful message
Under Connection Properties section, select ClientID '<auto-generated>' to generate unique ClientID (same ID for JMSIn and JMSOut may create connection issues) and click Next.
Figure 7: ClientID changed to <auto-generated> to generate unique ID
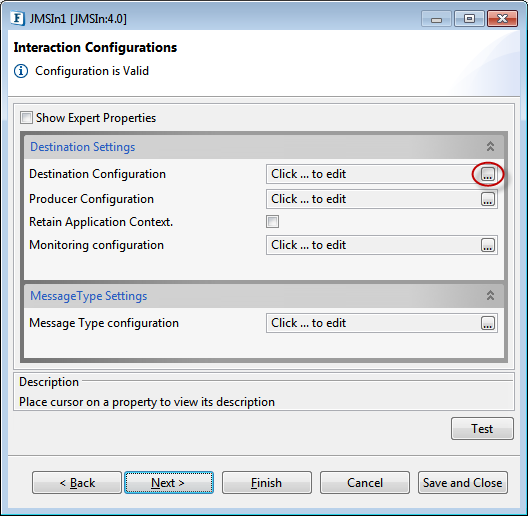
In the Interaction Configurations screen, click the Destination Configuration Ellipsis button.
Figure 8: Destination Configuration
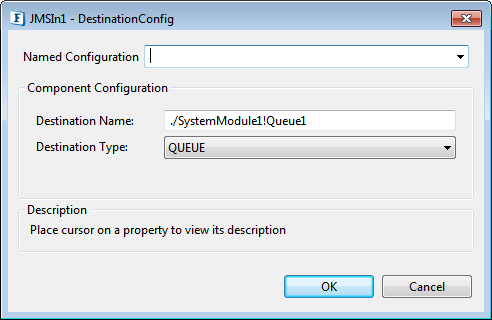
In the DestinationConfig dialog box, provide the following values and click OK.
Destination Name: ./SystemModule1!Queue1 (format is ./<ModuleName>!<DestinationName>)
Destination Type: QUEUE (use QUEUE for single receiver and 'TOPIC' for multicasting the message).
Figure 9: Component Configuration in DestinationConfig dialog box
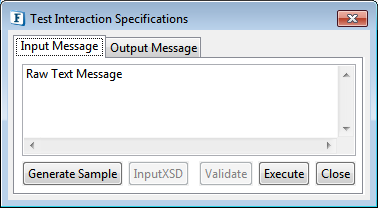
Click the Test button in the Interaction Configurations to send sample input message.
Figure 10: Test message
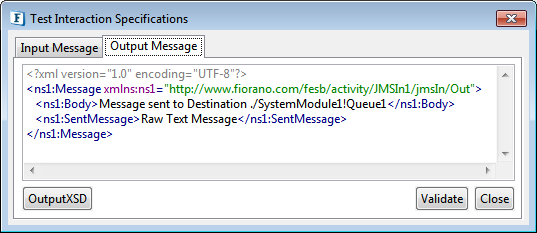
Click Execute in Test Interaction Specifications dialog box; a confirmation message 'Message sent to Destination' with the destination name appears.
Figure 11: Confirmation message that the message has reached the destination
Click Close and click Finish to complete the JMSIn configuration.
JMSIn component will be ready to send messages to JMS Queue/Topic.
Configuring JMSOut component
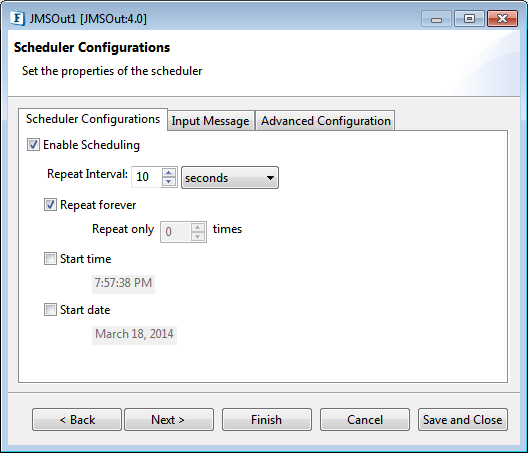
Configure JMSOut component by performing the same actions as mentioned above. After completing the configuration, notice that only the output port will be attached to the component as Scheduling is enabled by default.
Figure 12: Scheduler Configurations settings enabled by default for JMSOut component
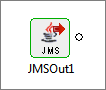
Figure 13: JMSOut component with only the output port after configuration
JMSIn component will be ready to receive messages from a JMS Server Queue/Topic
Composing the Event Process
To work with the JMSIn and JMSOut components, compose the Event Process by performing the below actions:
Drag one Feeder component and two Display components from Util category in the Micro Service Palette to the WebLogic_Example Fiorano Orchestrator.
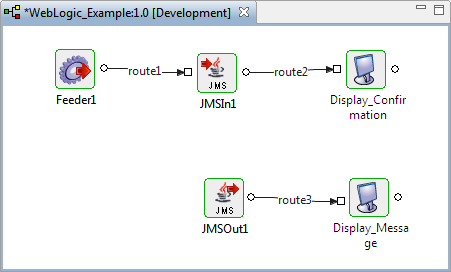
Connect the components in the following manner:
Feeder1 component output port to JMSIn component input port
Default configuration in Feeder component is sufficient to run WebLogic_Example successfully.
JMSIn component output port to Display1 component input port; rename Display1 to 'Display_Confirmation' as JMSIn Output port sends out a confirmation message.
JMSOut component output port to Display2 component input port; rename Display2 to 'Display_Message' as JMSOut output port sends out the message received on the queue.
Figure 14: JMSIn and JMSOut after connecting with supporting components
Running the Example
To run the example, perform the following actions in the Fiorano Orchestrator:
Click Check Resource and Connectivity icon (or press ALT+SHIFT+C) to check resource and connectivity.
Click Run Event Process icon (ALT+SHIFT+R) to run the event process.
One Feeder window and two Display windows appear.
Open Feeder1, provide a custom message (replace the text 'Input Text' with 'Test Message') and click the Send button.
Figure 15: Sending custom message using Feeder
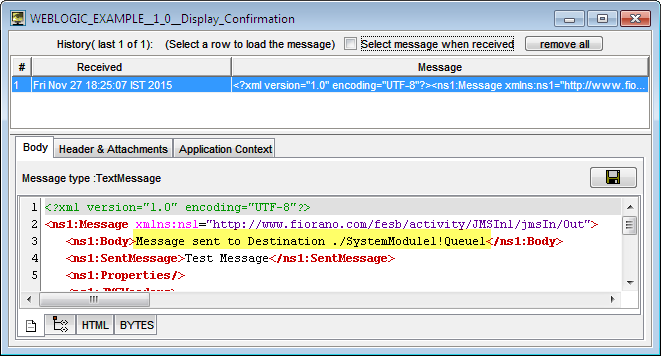
Confirmation message 'Message sent to Destination' with the destination name gets displayed in the Display_Confirmation window.
Figure 16: Confirmation message displayed in the Display_Confirmation window
The message sent to the destination through the feeder gets displayed in the Display_Message window.
Figure 17: Message received from Destination displayed in Display_Message window
Please note that the options used in this example are minimum, which helps you to get an overview of the application. To explore the other options present in the JMSIn4.0 and JMSOut 4.0, Feeder and Display components, refer: JMSIn4.0, JMSOut4.0, Feeder and Display sections.
JavaScript errors detected
Please note, these errors can depend on your browser setup.
If this problem persists, please contact our support.