What are we providing?
-
Documentation of CI/CD with Azure DevOps.
-
A YML pipeline file named “.azure-pipelines.yml”.
Please ensure not to change the file name.
-
A script (CI-CD_azure.sh) which is mentioned in .azure- pipelines.yml file
-
This script is part of the pipeline which helps in executing the desired job
-
Azure Dev Ops flow
-
Detect any change in the GIT repository.
-
Clone the repository in the workspace path specified in the script.
-
Zip the directories (API Projects/ Event Processes) inside it.
-
Undeploy/stop the API Projects/ Event Processes, if running.
-
Import the zipped contents in Step 3.
-
Deploy/start the API Projects/ Event Processes.
-
If any API Project/ Event Process is deleted from the GIT repository, then after Step 4, invoke the delete call.
Build Script
-
The script CI-CD_azure.sh is present inside the following directory:<FIORANO_HOME>/esb/samples/scripts/AzureDevOps.
-
Provide WORKSPACE_PATH, REPO_NAME, CLONE_URL to be cloned till .git.
-
Sample CI/CD scripts are provided to automate deployment of Event Processes.
To do the same for APIProjects, simply provide the correct cURLs.
CI/CD with Azure pipelines
-
Let us assume we have two environments D and P where the Enterprise/ Management server is running.
-
The developer from the D environment will use eStudio to commit the flows or changes to the flows to a git repository.
-
These flows will eventually be deployed to the P environment.
-
For simplicity, we will assume the flows are Event Processes and the git provider is GitHub.
Requirements
-
A git account
-
An account on https://dev.azure.com/
-
Creating a self-hosted runner on the P environment
Development Machine
Downloading certificate
Before getting started, download the certificate from the GitHub website by following these steps:
-
Provide the GitHub URL in a web browser (Firefox is used in this instance) and press Enter.
-
Click the icon on the left side of the URL.
-
Click the Connection secure option.
-
Click the More information option
-
In the dialog box, click the View Certificate button.
-
In the window that opens, scroll down and click the PEM cert link against Download under the Miscellaneous section to download the certificate in the PEM format.
-
Add the downloaded github-com.pem certificate file to jssecacerts properties (present at FIORANO_HOME/esb/server/profiles/certs) file using the keystore explorer Software.
Create a GitHub repo
Create a public GitHub repository.
The repo should not empty. Hence, push the provided .azure-pipelines.yml file.
Configuring eStudio with GIT details
-
Open eStudio and login to the enterprise server.
-
Right-click on the Event Process Repository and go to Version Control > Configuration.
-
Enable the Version Control checkbox and provide the username and password (Personal Access Tokens for GitHub) and the URL where you want to push the flows or the changes.
-
Finally, click Finish.
Creating a project on Azure Dev
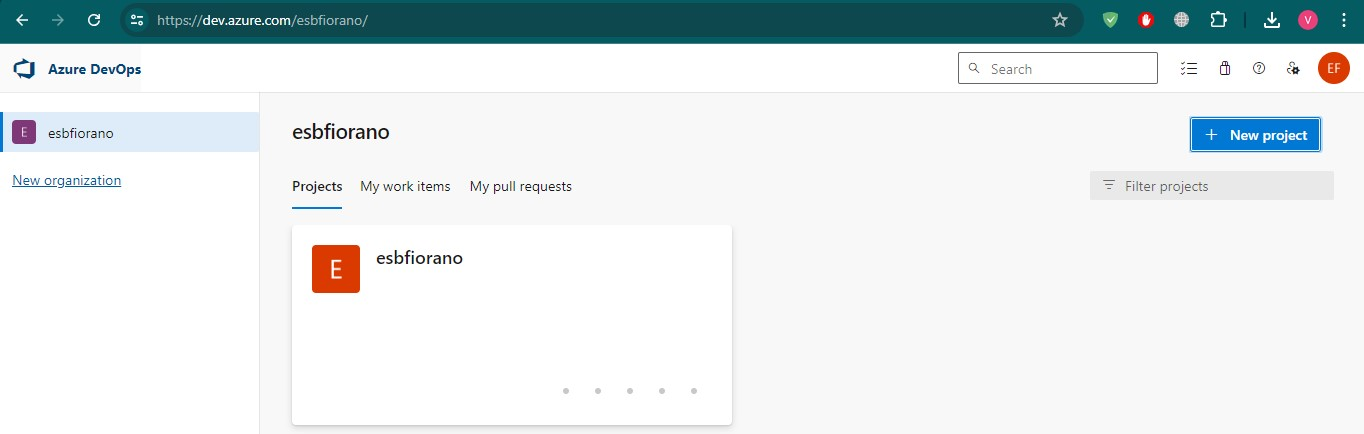
Perform the following actions on the landing page:
-
Create a project by selecting the New Project button on the upper-right part of the page.
-
Provide a name for the project along with a description.
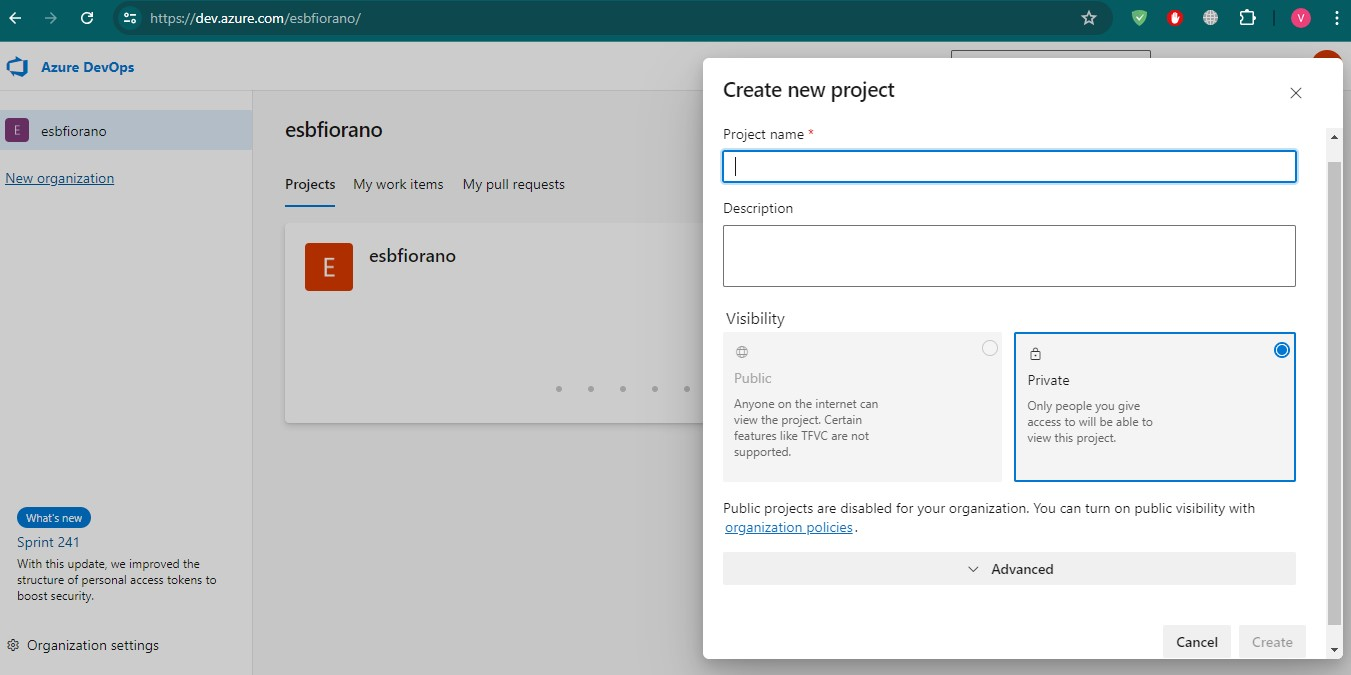
It is advised to leave the visibility of the project as “Private”.
Creating pipelines
After the project is created,
-
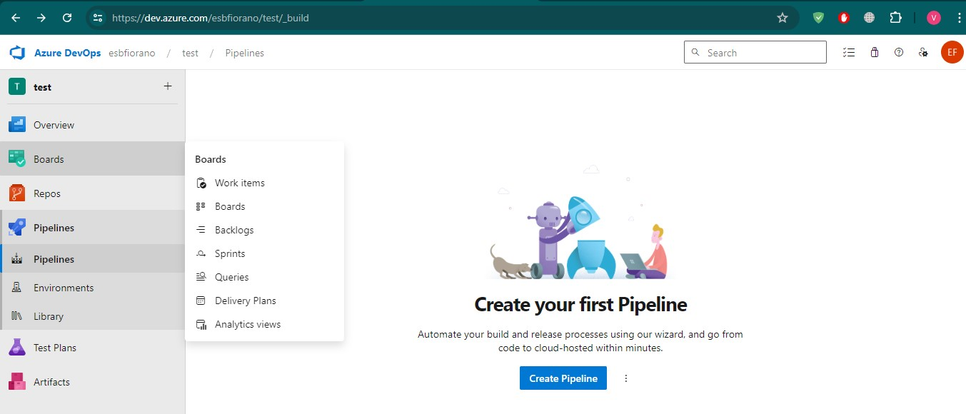
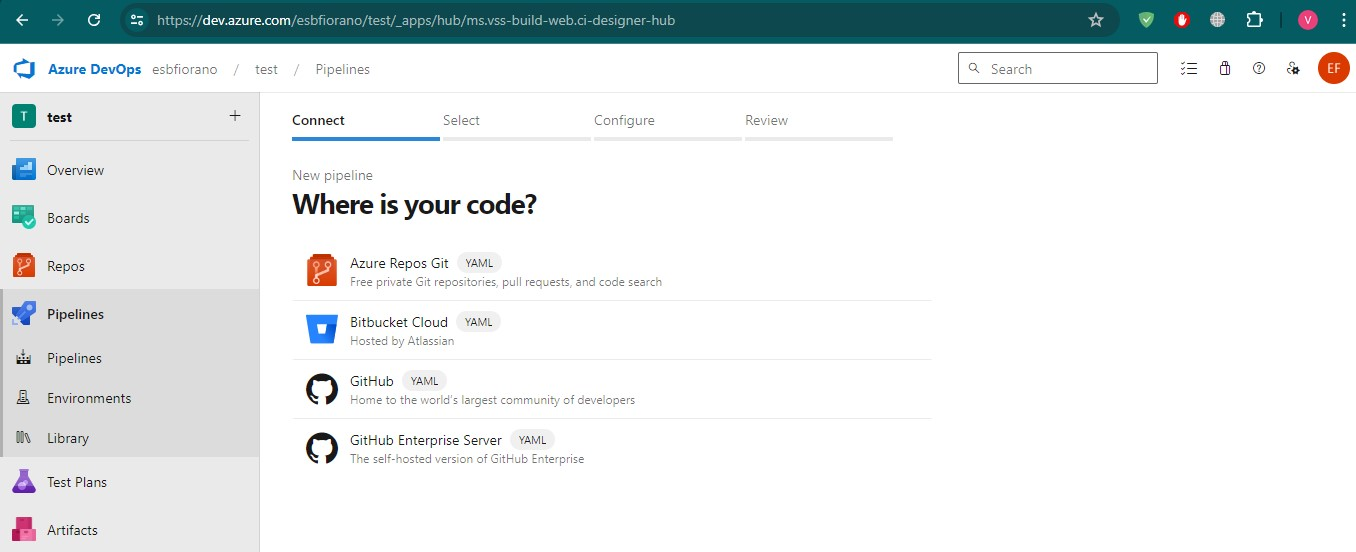
Click the Pipelines option on the left navigation panel. The page gives the option to create the first pipeline.
-
Click the Create Pipeline button and select GitHub as the type of repository.
-
Then select your repository name. It will automatically fetch the contents of the .azure-pipelines.yml.
-
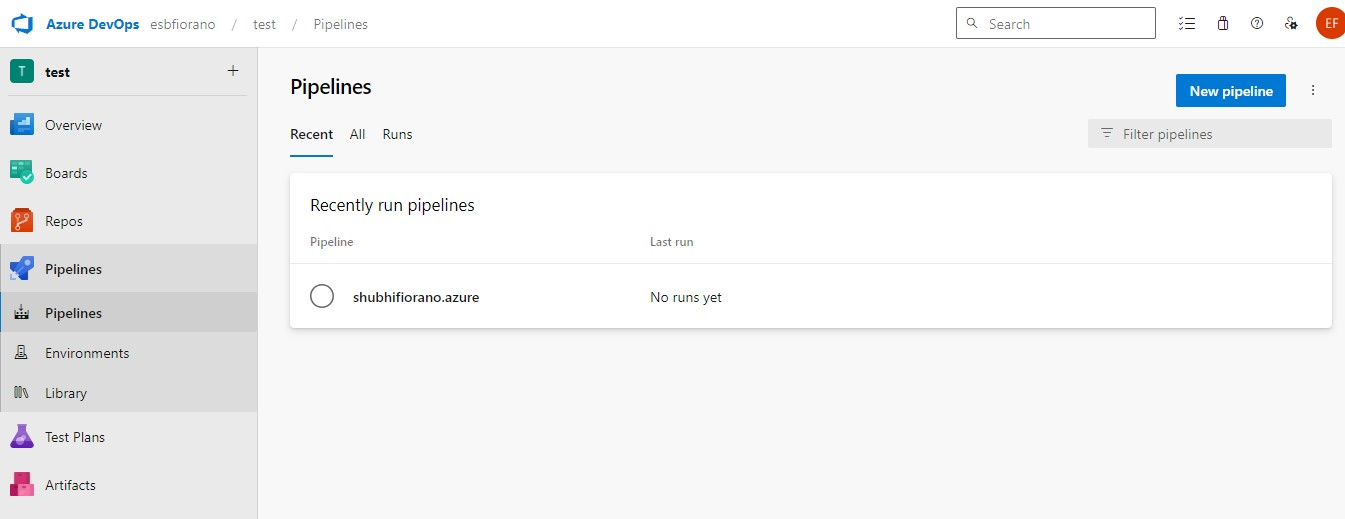
From the Run drop-down button, select Save; it will list the pipeline.
Production Machine
Creating Self hosted agent
On the P environment, we need to setup and run a self-hosted agent by following the steps below:
-
Create a directory named “AzureCICD”.
-
Download the agent inside this directory and install it.
Follow the Microsoft guide for Linux; follow the URL below:
Points to remember while setting up the agent
-
Server URL= https://dev.azure.com/{your-organization}
-
Get azure devops Personal Access Tokens from the following page: https://learn.microsoft.com/en-us/azure/devops/pipelines/agents/personal-access-token-agent-registration?view=azure-devops
-
When prompted for the Agent pool name, leave it as Default and press Enter.
-
Create a directory named “workingDir” inside the AzureCICD directory.
-
Place the provided shell script “CI-CD_azure.sh” inside this directory.
-
Verifying if the self-hosted runner is connected
-
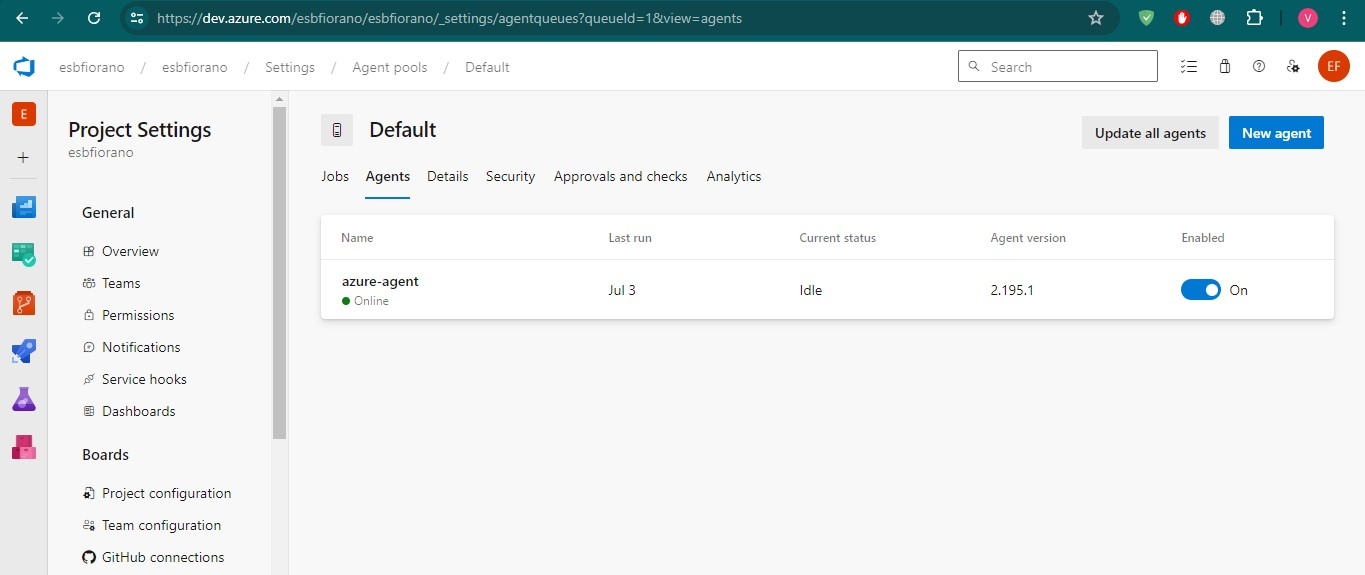
In Project Settings, under the Agent pools option, click Default.
-
Click the Agents tab; this lists the runner and its running status.
-
Go to eStudio on the D environment and push some flows.
-
Pushing from the D machine triggers a CI/CD job which causes the server to queue the job. During its next poll, the agent picks up the job and executes it on the P machine.
-
The results, logs, and status will be sent back to the Azure DevOps server by the agent.
-
As the runner is constantly polling the server, whenever there is a commit from the D machine to GitHub, the pipeline will be triggered automatically by the agent.
-
Managing Logs and Notifications
Viewing Logs of the executed job
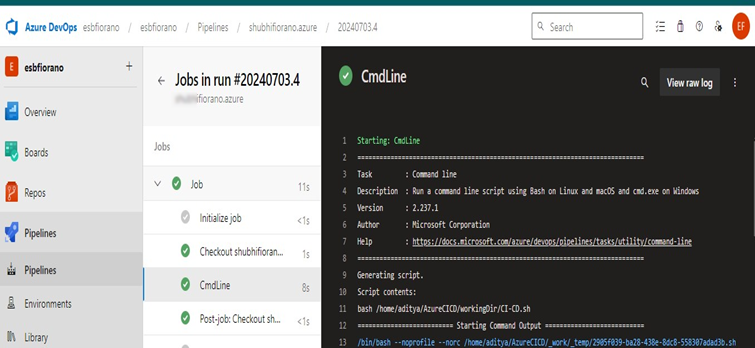
To view the job logs,
-
Go to the Pipelines tab and then select All pipelines.
-
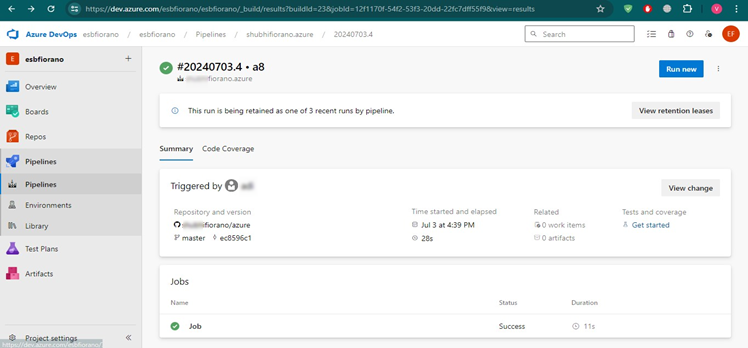
Choose the name of the pipeline; this lists all the runs.
-
Select the run for which you want to see the logs.
-
Select the job from the Jobs section.
Triggering Notifications/Emails
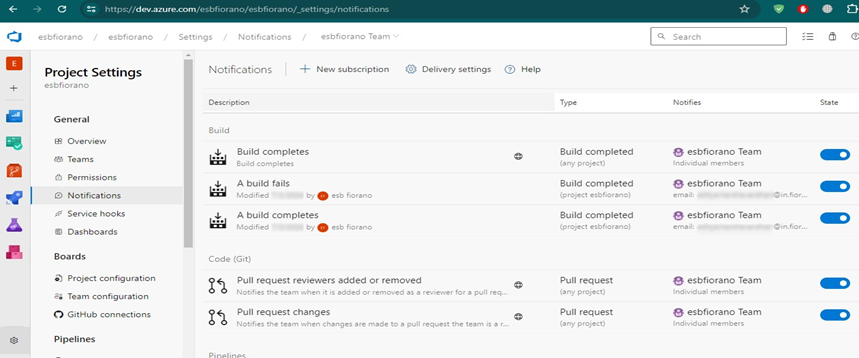
To get email notifications on build success and failure,
-
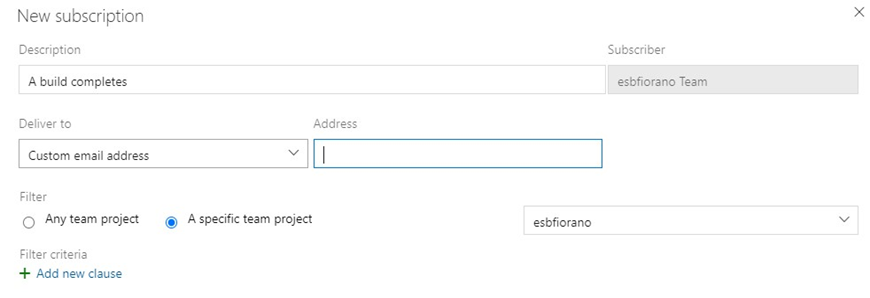
Go to Project Settings > Notifications > New Subscription.
-
Choose the template.
-
Click the Deliver to option and choose “Custom email address”; provide the email address.