An Input/Output Structure can be loaded in one of the following ways:
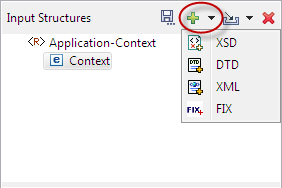
Click the Add Structure button from the tool bar in the Input/Output Structure Panel and choose the structure type from the drop down list.
Figure 1: Choosing from Add Structure dropdown list
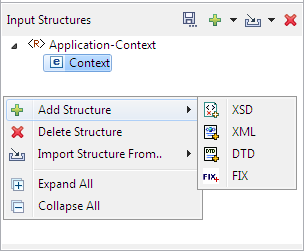
Right-click on the Input/Output Structure Panel and select Add Structure and choose the structure type from the sub-menu.
Figure 2: Choosing from right-click menu
The drop-down list or the sub-menu has the following options:
XSD for loading structure from an XSD document
DTD for loading structure from a DTD document
XML for loading structure from an XML document
FIX for loading structure from a FIX message
Load Input/Output Structure From an XSD document
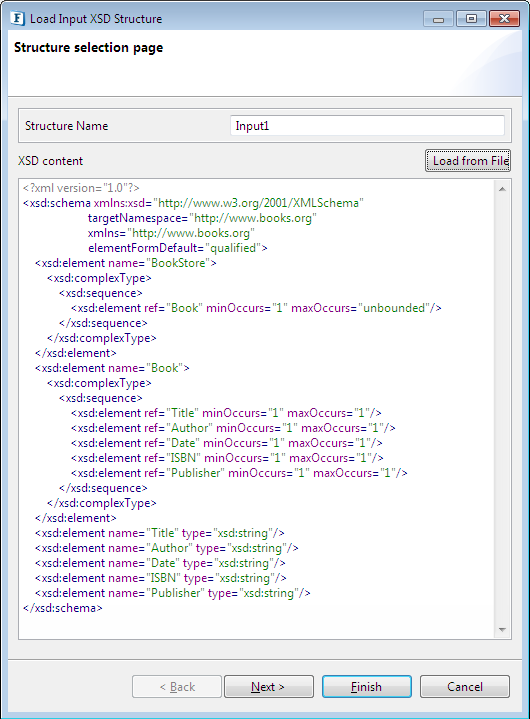
Select XSD from the Add Structure menu. The Load Input/Output XSD Structure Wizard appears. The wizard contains two pages, Structure Selection page and External XSDs page.
Figure 3: Structure Selection Page
Structure Selection Page
The name of the structure can be specified in the Structure Name text field at the top of the page.
The structure name cannot contain special characters. Only alphabets, numbers and '_' are allowed in a structure name. Two structures with the same name are not allowed.
The XSD content can be defined in the text area provided in this page.
The schema can also be loaded from an existing file using the Load from File button. Clicking this button will open a file dialog through which you can browse through the file system to choose an existing file. Modifications, if any, to the schema are loaded from the file from this page.
External XSDs Page
Any external XSDs used by a structure can be added from this page. External XSDs can be added by performing the following steps:
Click Next in the Structure selection pane to move to the next panel.
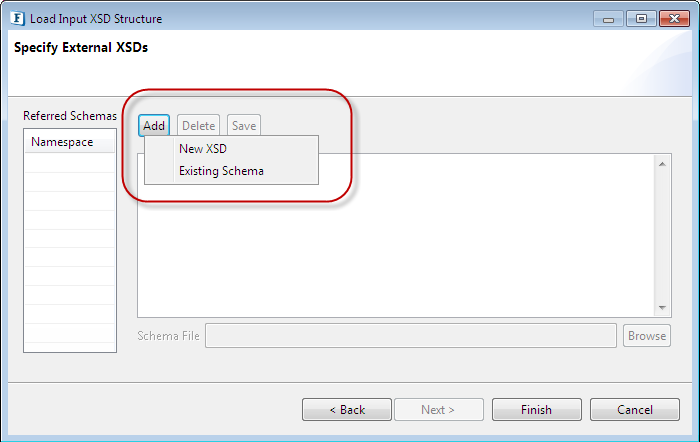
In the Specify External XSDs panel, click the Add button to add a new external schema.
Choose any one of the following:
New XSD: to add an external schema by providing it or by adding the xsd file available in the database.
Existing Schema: to select a schema that is already present in the eMapper Project.
Figure 4: Options of adding XSD
Adding a new XSD
Click New XSD. This will enable the Schema Content Area where the content of the schema can be entered.
Perform any one of the following actions:
Provide a valid file name in the Schema File field. The provided XSD will be saved with the name specified in the PROJECT_HOME/resources/schemas directory.
Click the Browse button, browse through the file system and select the required file.
After providing the XSD, click the Save button to save it as an external XSD for the structure.
As specified earlier, the XSD will be saved in the PROJECT_HOME/resources/schemas folder with the name specified in the Schema File field.
The target name space of the schema is added to the list of Referenced URIs present on the left end of the page.
Adding an existing schema
To use an XSD which is already present in the eMapper Project, click Existing Schema in the New context menu. A list of all the XSD present in the PROJECT_HOME/resources/schemas directory is shown. Choose an XSD and it will be saved as an external schema to the current structure.
As target name space is used in referring to these schemas, saving an XSD without a target name space is not allowed. Two schemas with same target name space cannot be added.
External schemas can be removed by selecting the namespace of the structure to be deleted and clicking the Delete button.
Load Input/Output Structure from a DTD document
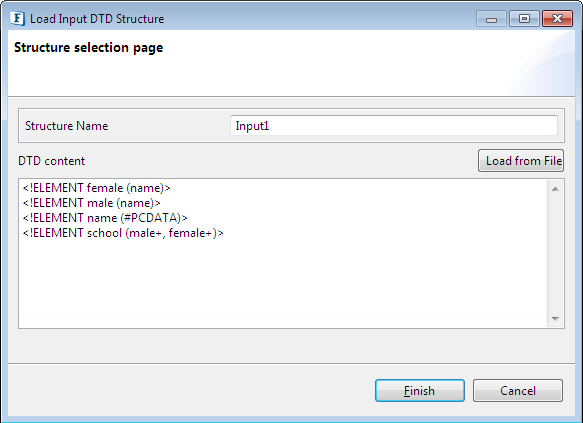
Select DTD from the Add Structure menu. The Load Input/Output DTD Structure wizard appears. The DTD content can be specified from the Structure Selection Page present in this wizard. Similar to the Structure Selection Page in Load Input/Output XSD Structure Wizard, this page allows the user to enter the structure content directly or by loading it from an existing file. To load content from an existing DTD document, click the Load From File button.
Figure 5: Load Input DTD Structure
Load Input/Output Structure from an XML document
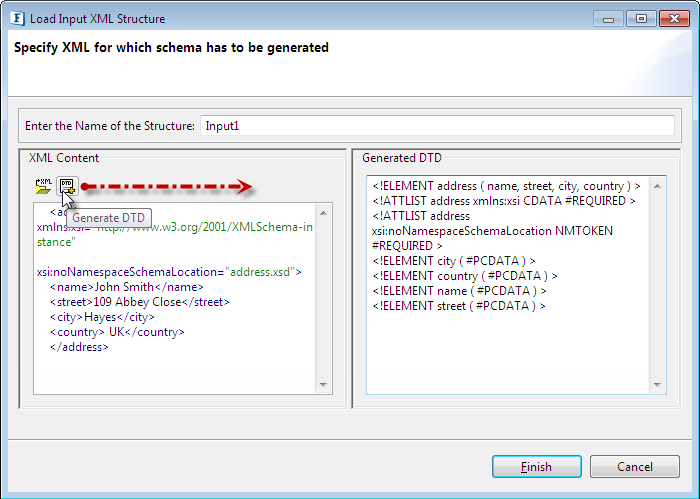
Select XML from the Add Structure menu. The Load Input/Output XML Structure wizard appears. The dialog contains two panes: XML Content and Generated DTD.
The name of the structure can be specified in the Structure Name field. The structure name cannot contain special characters. Only alphabets, numbers and '_' are allowed in a structure name. Two structures with the same name are not allowed.
The XML can be provided in the text area present in the XML Content pane. This text area has a tool bar with two buttons, Load From File and Generate DTD. The content can be loaded from an existing file by clicking the Load From File button. Click the Generate DTD button to generate a DTD from this XML document. The DTD is shown in the text area present in the Generated DTD pane. This DTD document is used to load the structure. Modifications, if needed, can be made to this DTD.
The structure can be saved and loaded in the Input/Output Structure panel by clicking the Finish button. The content is saved in a file with name <Structure_Name>.<Mime_Type> in the PROJECT_HOME/resources/schemas directory. If the schema is not valid an exception is logged in the Error Log view.
Figure 6: Load Input XML Structure
Load a FIX message as an Input/Output Structure
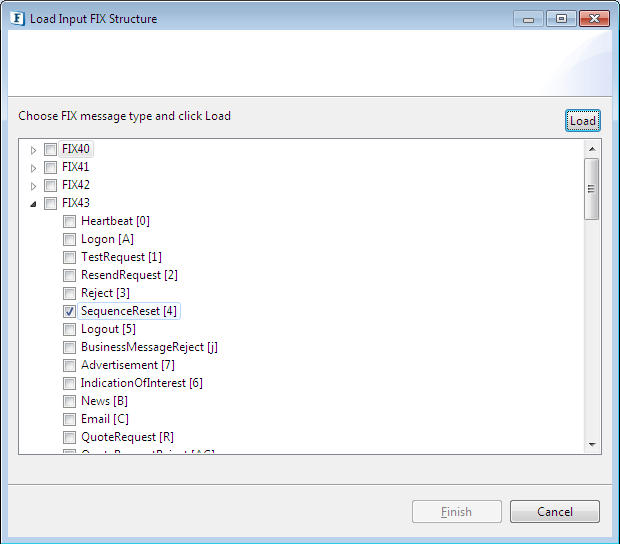
Select FIX from the Add Structure menu A list of different FIX versions and message types is displayed where the messages to be loaded can be chosen. Select the message types and click the Load button to load the messages types in to the workspace. Click Finish in the Add Structure wizard and the FIX message structure is loaded in Mapper.
Figure 7: Loading a Fix Message
More information on FIX-XML transformation is provided in the FIX-XML Transformations section.
Delete Structure
A structure can be deleted from the Input/Output Structure Panel by clicking the Delete Structure panel present in the structure panel's tool bar. This will delete the selected structure and will clear all the mappings associated with this structure.
Edit Structure
To edit Input/Output Structure:
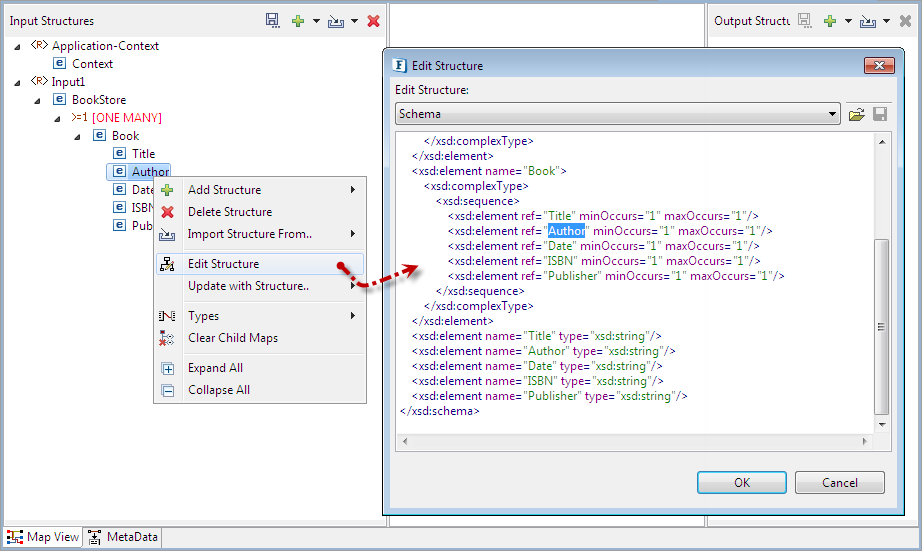
Right-click the structure and click the Edit Structure option. The Edit Structure dialog opens.
The selected structure is shown in the text area. A drop-down in the top lists all the imported schemas added to the structure. Selecting a schema from the drop-down will populate its content in the text area. Modifications to the structure can be done here.
The (Load From File) button can be used to load structure from a file
The (Save) button to save the modifications in the current schema.
Click the OK button to save the modifications to the structure and to refresh the tree structure in the mapper with the modified structure.
Figure 8: Edit Structure Dialog
If the new structure is valid, it gets saved and loaded in its corresponding panel. Otherwise, an error dialog box is shown and the modifications are ignored. Upon editing a structure, mappings defined to the affected elements/attributes are discarded.
JavaScript errors detected
Please note, these errors can depend on your browser setup.
If this problem persists, please contact our support.