
Sections below illustrate how to setup and deploy Fiorano API servers in a Kubernetes cluster on a local system using Minikube:
Installing Virtual Box
Download and Install the virtual box from https://www.virtualbox.org/wiki/Downloads
Installing Minikube (for Debian-based Linux)
Install and setup kubectl
$ curl -LO {+}https://storage.googleapis.com/kubernetes-release/release/+$(curl -s {+}https://storage.googleapis.com/kubernetes-release/release/stable.txt)/bin/linux/amd64/kubectl+
$ chmod +x ./kubectl
$ sudo mv ./kubectl /usr/local/bin/kubectl
Install Minikube
$ curl -Lo minikube https://storage.googleapis.com/minikube/releases/v0.29.0/minikube-linux-amd64 && chmod +x minikube && sudo cp minikube /usr/local/bin/ && rm minikube
Start Minikube and check
$ minikube start
Sample of of Kubectl configuration status
Starting local Kubernetes v1.10.0 cluster...
Starting VM...
Downloading Minikube ISO
171.87 MB / 171.87 MB [============================================] 100.00% 0s
Getting VM IP address...
Moving files into cluster...
Downloading kubeadm v1.10.0
Downloading kubelet v1.10.0
Finished Downloading kubelet v1.10.0
Finished Downloading kubeadm v1.10.0
Setting up certs...
Connecting to cluster...
Setting up kubeconfig...
Starting cluster components...
Kubectl is now configured to use the cluster.
Loading cached images from config file.
Minikube
-
Command to ssh into the VM
$ minikube ssh
-
Command to stop
$ minikube stop
-
Command to delete VM
$ minikube delete
Setting up a Kubernetes cluster
Set up a Network File System for persisting data
-
Install nfs-server in the host machine and nfs-client in the client machine to access the files.
-
To link a host directory to mount point, edit /etc/fstab and then give the command below:
$ sudo mount -a -t none -
To mount a directory, edit /etc/exports and set the directory.
-
Use the command below to export all directories mentioned in the /etc/exports:
$ exportfs -ra -
Check if it is mounted successfully using the command below:
$ showmount -e
Start Minikube
-
For Windows 10 Professional Edition
-
Install Chocolatey package manager for ease.
-
Enable Hyper-V from Windows Features
-
Using chocolatey, install kubernetes-cli using the command:
choco install kubernetes-cli -
Using chocolatey, install minikube using the command:
choco install minikube -
To set where the VM needs to be created, add MINIKUBE_HOME=<pathofVMdir> to system properties.
-
After it creates VM in the path, configure Hyper-V Switch Manager to allow internet access for the VM.
-
Start minikube vm using the command:
minikube start --vm-driver=hyperv --cpus=4 --memory=6144 --hyperv-virtual-switch="Primary" -disk-size=40GB
-
-
For Debian based Linux
-
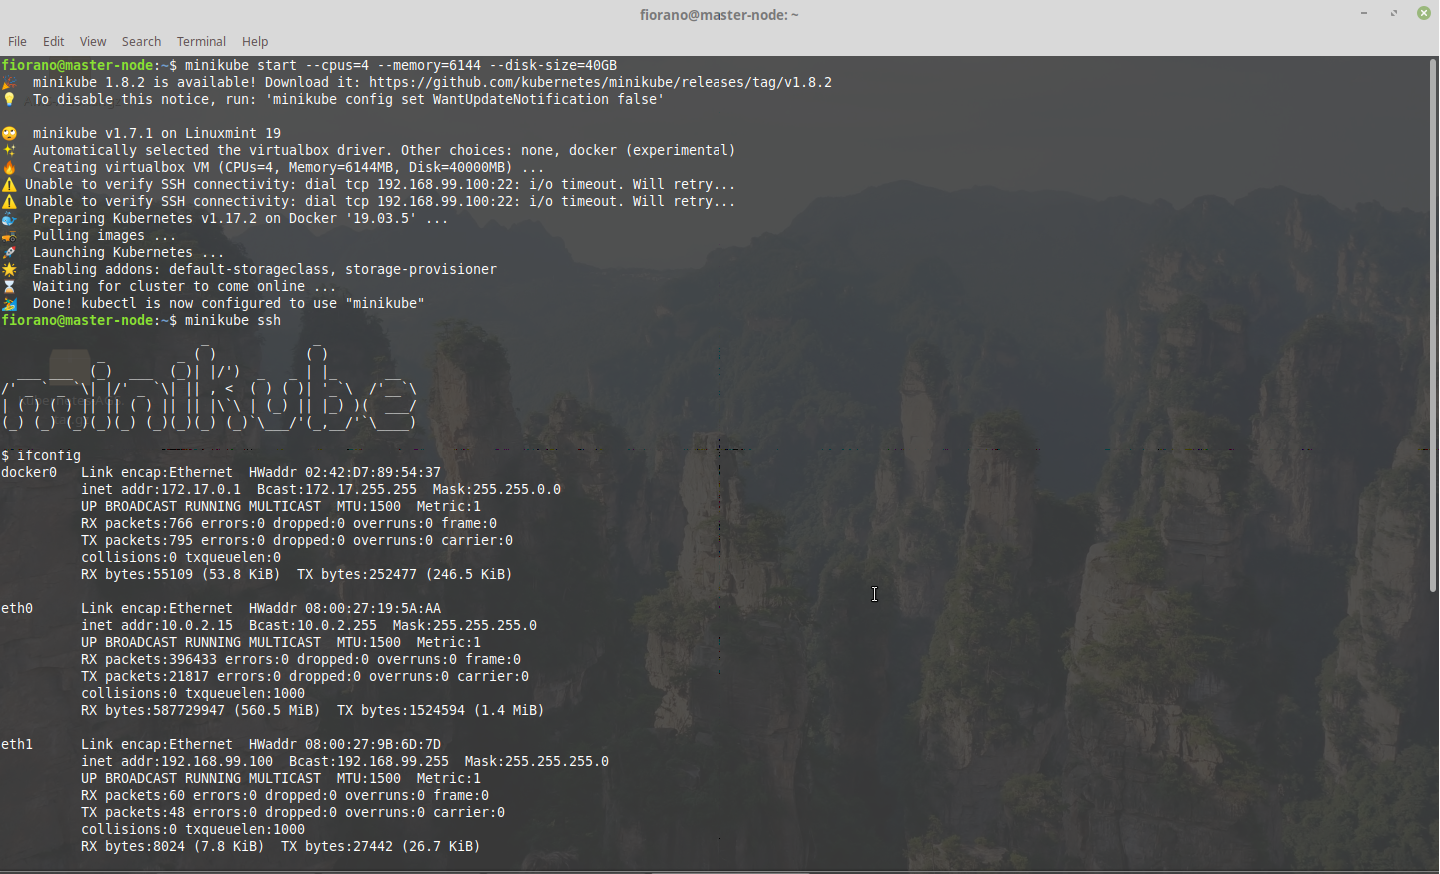
Start minikube and set up resources as per requirement
$ minikube start --cpus=4 --memory=6144 --disk-size=40GB -
Open dashboard using the command:
$ minikube dashboard
-
Minikube file setup
-
Ssh into the VM
$ minikube ssh -
Set user permissions in the data folder in minikube
$ su - $ chmod -R 777 /mnt/sda1/data -
Also note the <VM_IP> of the minikube node
$ ifconfig
Transfer the .tar files saved from docker
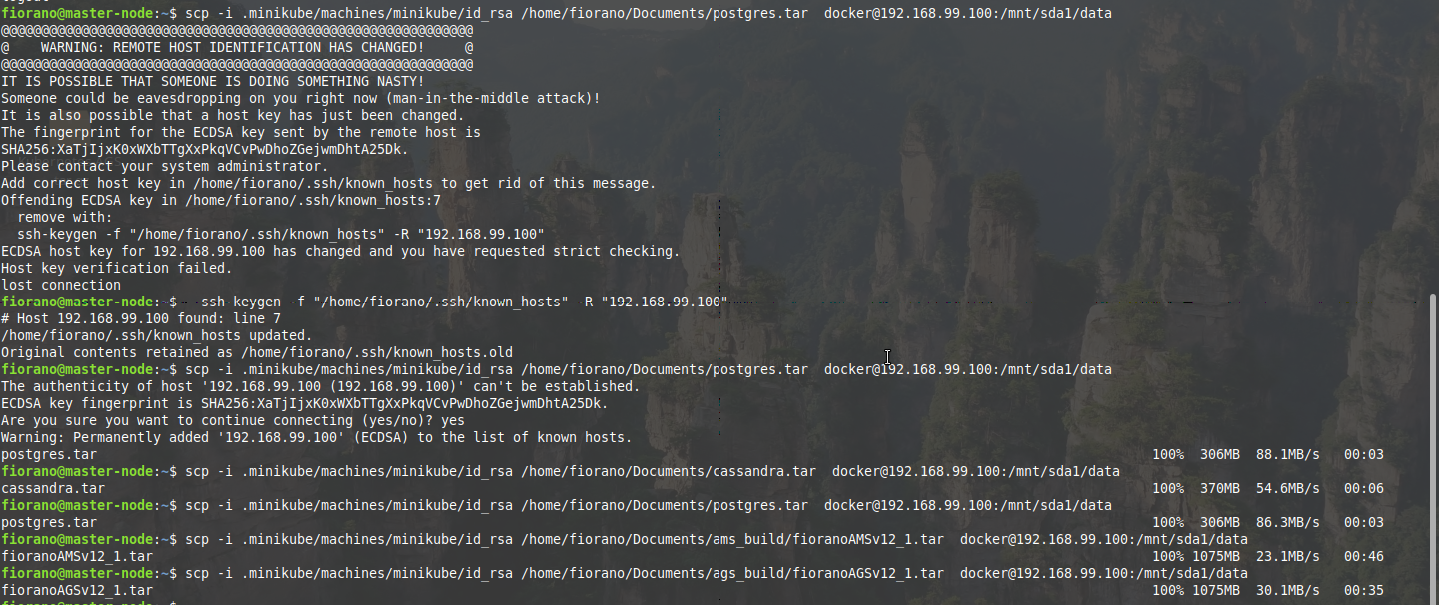
The tar file can be copied using scp command
$ cd
$ scp -i .minikube/machines/minikube/id_rsa <tar_file_location> docker@<VM_IP>:/mnt/sda1/data
Example
scp -i .minikube/machines/minikube/id_rsa /home/fiorano/Documents/postgres.tar docker@192.168.99.100:/mnt/sda1/data
Load the docker images
$ minikube ssh
$ cd /mnt/sda1/data
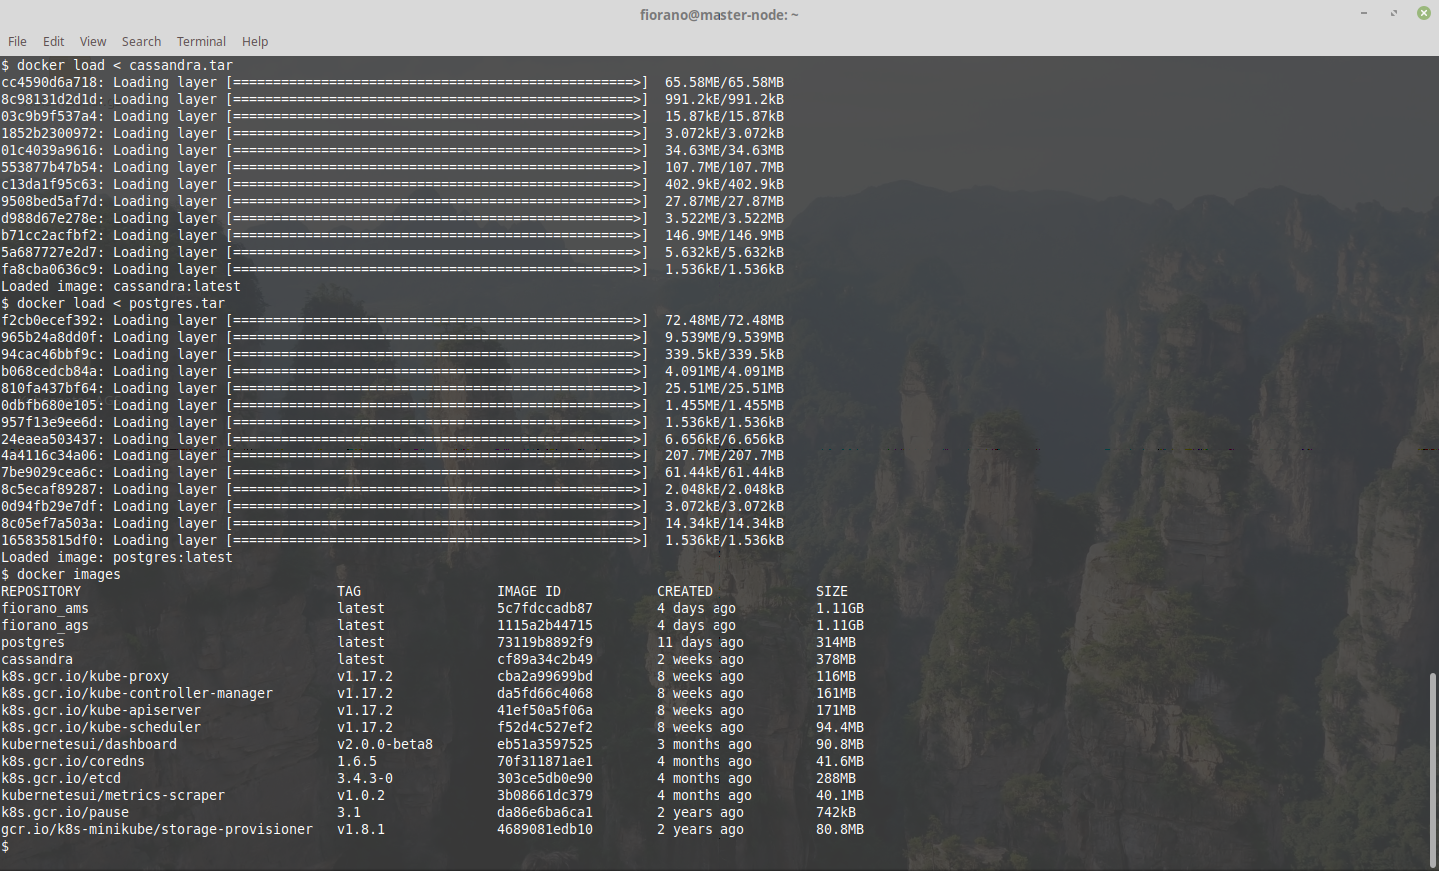
$ docker load < <tar_file>
Usage
docker load < fioranoAGSv12_1.tar
Load the cassandra, postgres, AMS and AGS images
Enable port-forwarding in the minikube
$ minikube stop
Create a script with contents as below and execute the script to open port forwarding:
VBoxManage modifyvm "minikube" --natpf1 "cassandra,tcp,,9042,,31042"
VBoxManage modifyvm "minikube" --natpf1 "peer,tcp,,1880,,31880"
VBoxManage modifyvm "minikube" --natpf1 "postgres,tcp,,5432,,31432"
VBoxManage modifyvm "minikube" --natpf1 "server,tcp,,2147,,32147"
VBoxManage modifyvm "minikube" --natpf1 "soa dashboard,tcp,,1980,,31980"
VBoxManage modifyvm "minikube" --natpf1 "tls-intra,tcp,,7001,,31001"
VBoxManage modifyvm "minikube" --natpf1 "jmx,tcp,,7199,,31099"
VBoxManage modifyvm "minikube" --natpf1 "intra-node,tcp,,7000,,31000"
VBoxManage modifyvm "minikube" --natpf1 "https,tcp,,14401,,443"
VBoxManage modifyvm "minikube" --natpf1 "http,tcp,,14400,,80"
VBoxManage modifyvm "minikube" --natpf1 "backup,tcp,,2148,,32148"
VBoxManage modifyvm "minikube" --natpf1 "apimgmt,tcp,,1981,,31981"
VBoxManage modifyvm "minikube" --natpf1 "resources,tcp,,2160,,32160"
VBoxManage modifyvm "minikube" --natpf1 "rmi,tcp,,2367,,32367"
VBoxManage modifyvm "minikube" --natpf1 "conn,tcp,,2167,,32167"
Restart the minikube with existing configurations
$ minikube start
$ minikube dashboard
Execute the yaml files in the order mentioned below
-
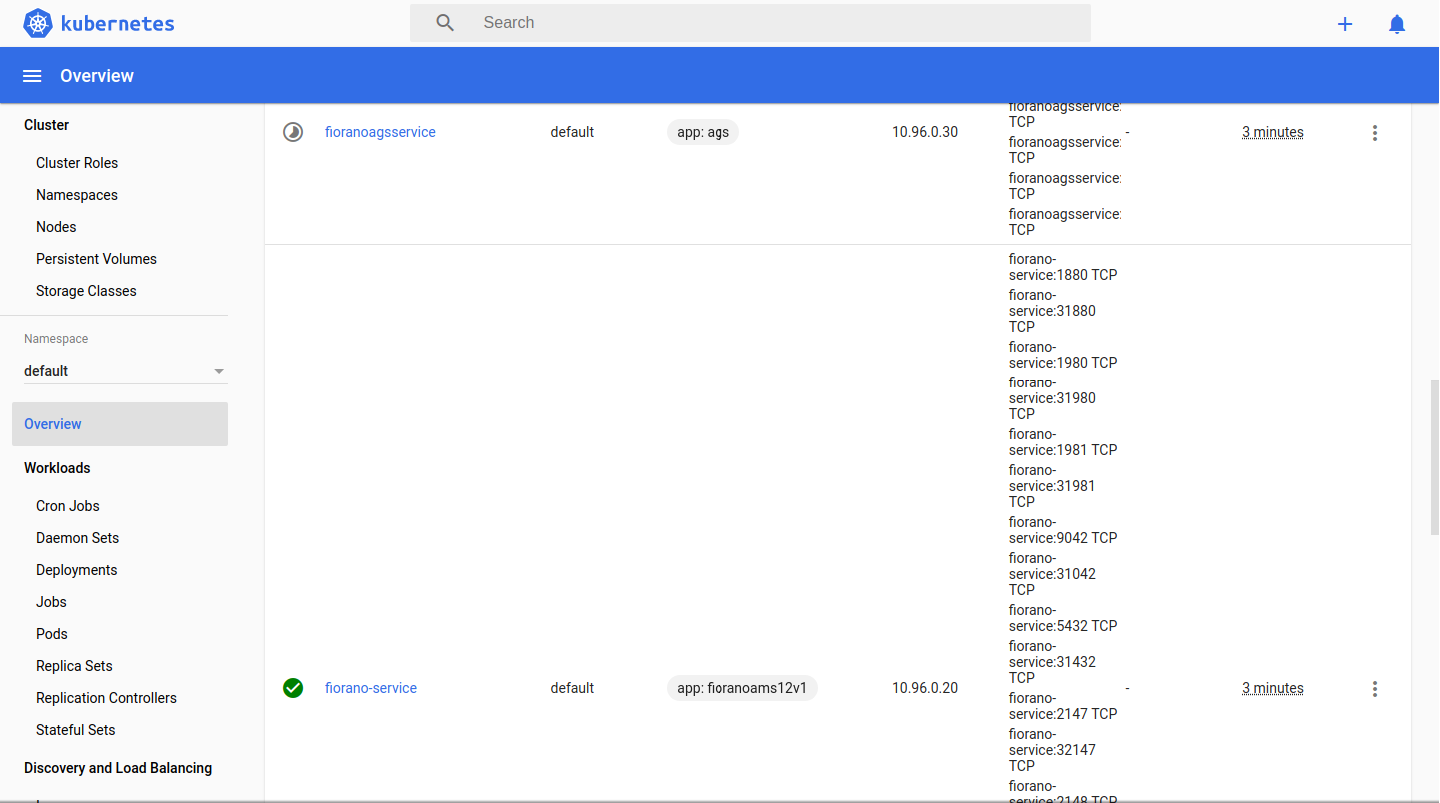
services.yaml file contains the ports required to be exposed by the node for AMS servers and database while also taking care of directing requests. It is of type NodePort and has cluster IP 10.96.0.20
$ kubectl apply -f services.yaml -
ags-services.yaml contains the ports for accessing resource created by a project. It is of type LoadBalancer and has cluster IP 10.96.0.30
$ kubectl apply -f ags-services.yamlEnsure that the service name in yaml corresponds to the app name of the deployment or stateful set to be created; otherwise it may not work properly.
-
Set the login credentials for postgres comprising of username, password in postgres-config.yaml
$ kubectl apply -f postgres-config.yaml -
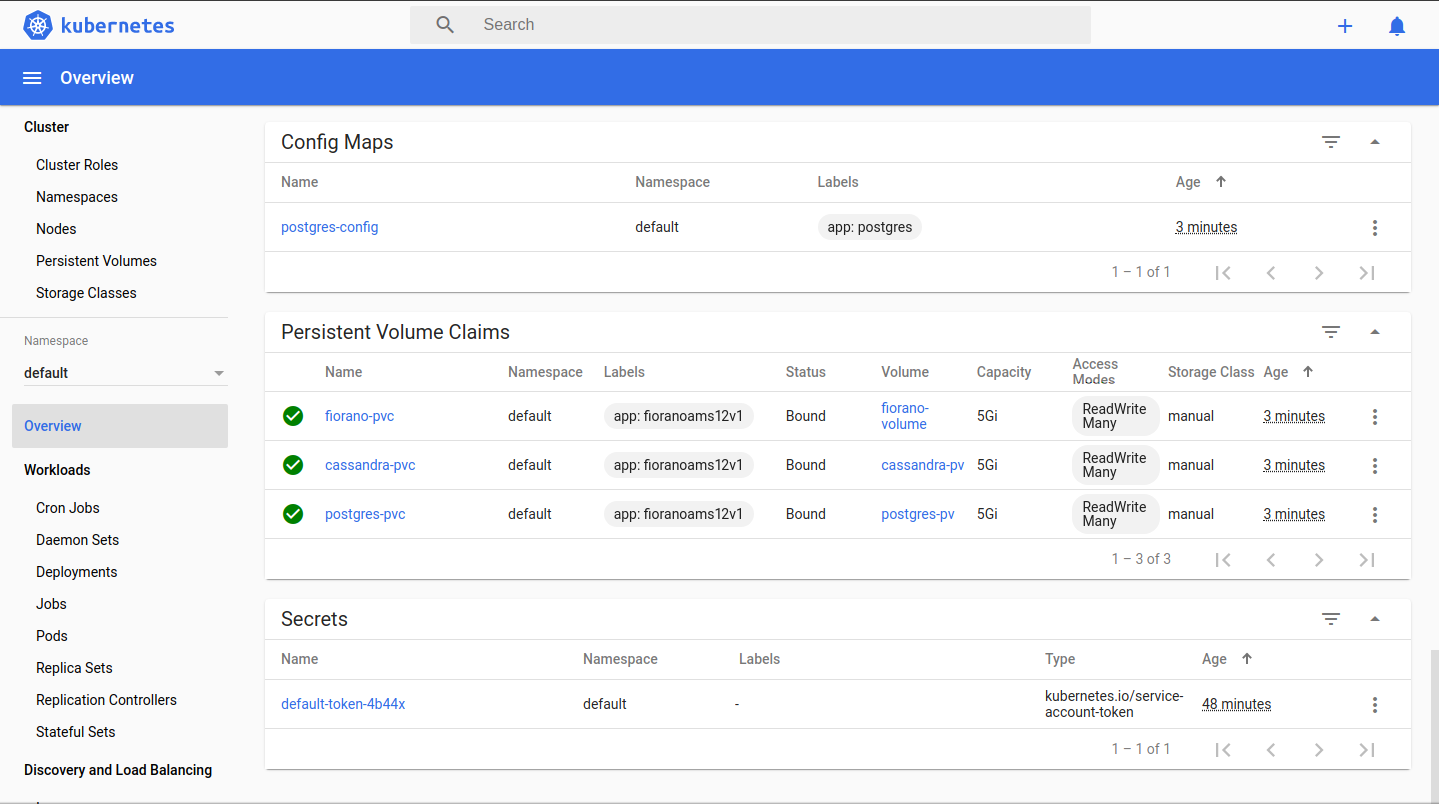
Create persistent volumes and their respective claims for Cassandra, Postgres and Fiorano AMS runtimedata.
$ kubectl apply -f cassandra_pv_pvc.yaml
$ kubectl apply -f postgres_pv_pvc.yaml
$ kubectl apply -f fiorano_pv_pvc.yaml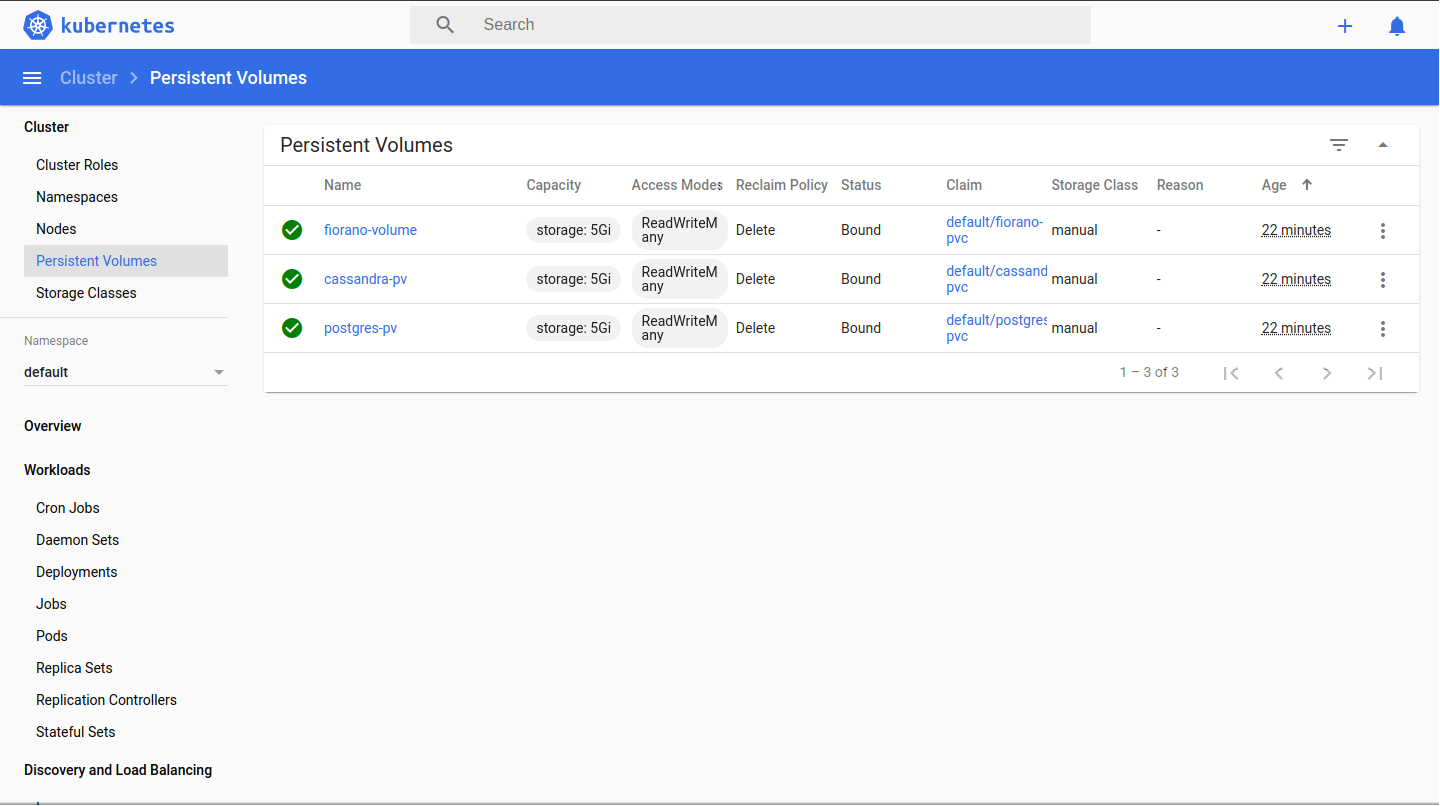
-
Create deployment for multicontainer pods containing Fiorano AMS and databases.
$ kubectl apply -f fiorano-cassandra-deployments.yaml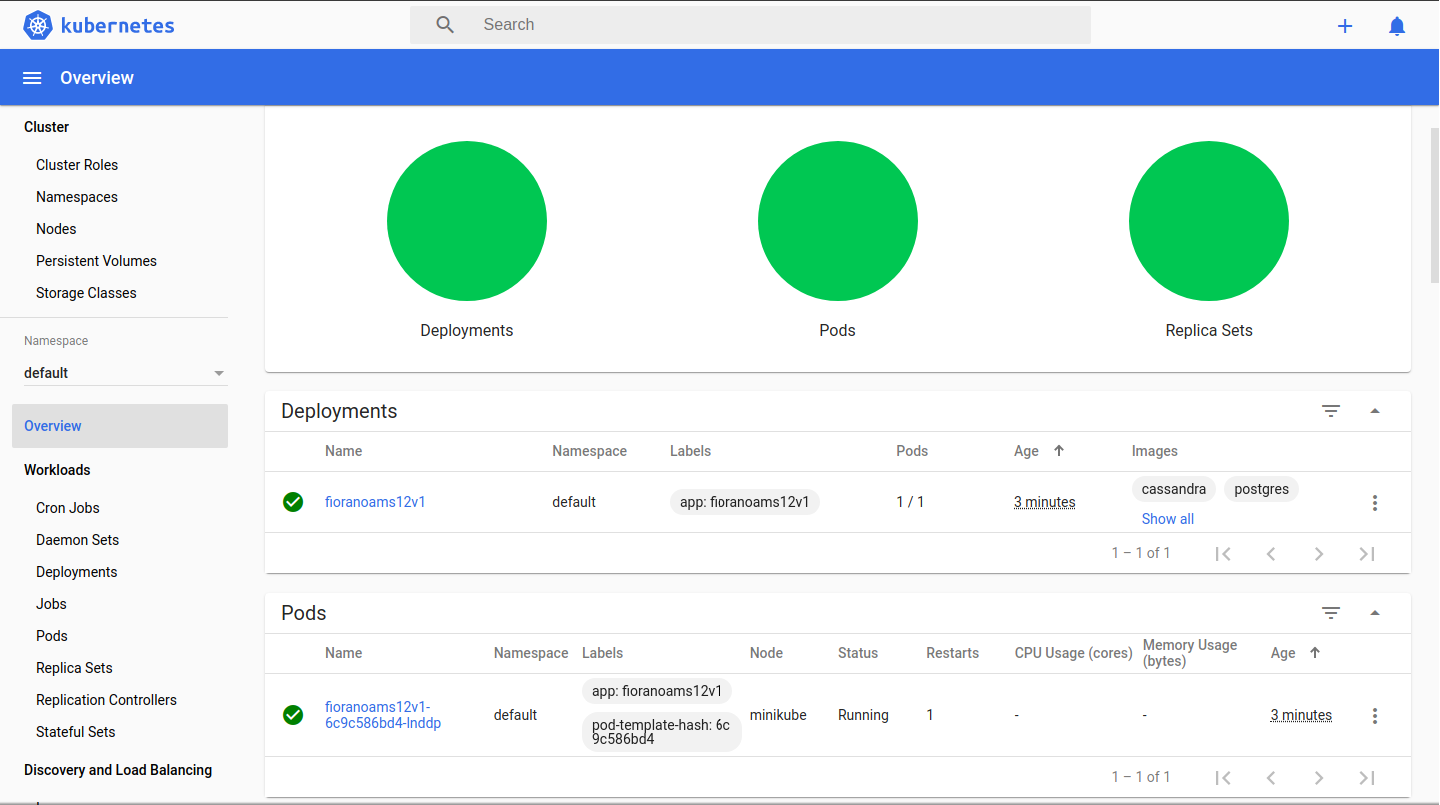
Wait for 5 minutes to get all the containers running and the workloads to turn green from yellow which means deployments are successful.
Check if deployment successful by opening the apimgmt dashboard in the browser.
Common causes of deployment failure:-
Fiorano Installer License Expiry
-
Unable to link to the persistent volume which may be due to unavailability of NFS-server
-
Ensure that the docker image is loaded in minikube ssh and the docker image name correctly corresponds in the yaml file.
-
-
Create a stateful set for AGS servers. ( Ensure port forwarding has been enabled in VM before this step)
$ kubectl apply -f ags-stateful.yaml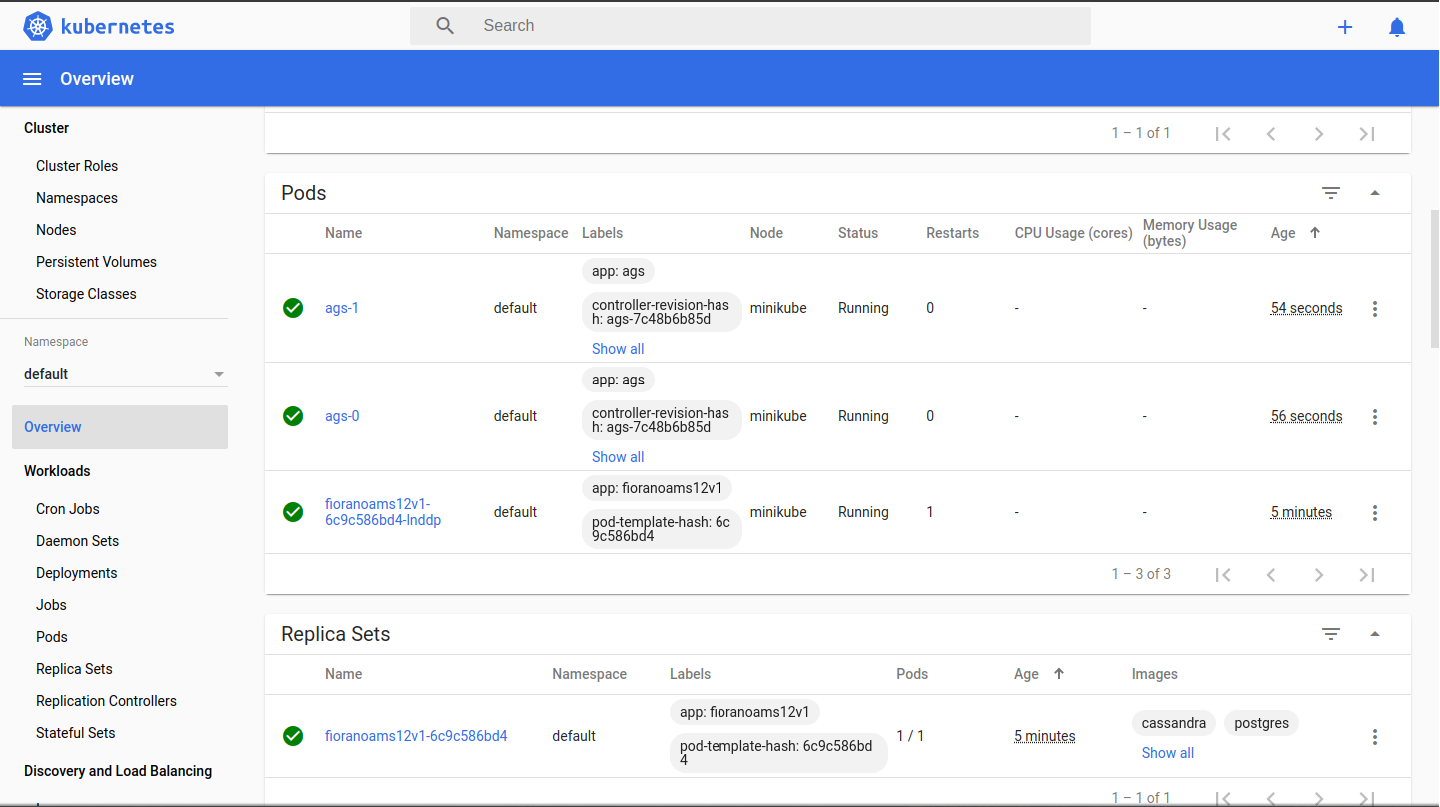
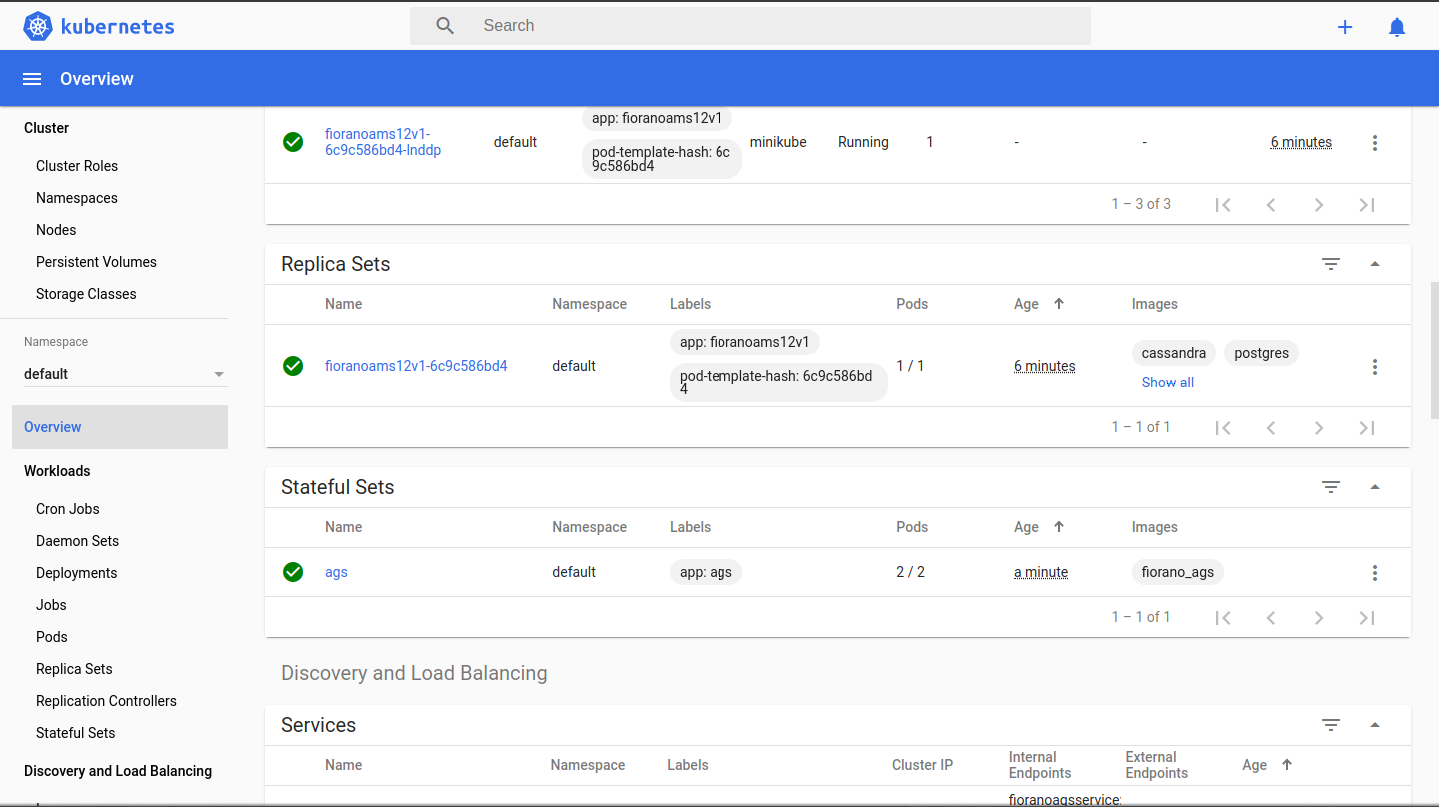
Login to the API management dashboard and check for the servers ags_0 etc. available in the server group - serverGroup1.
Deploy projects and check the accessibility of the resource hosted by the gateway servers by changing the IP to localhost:2160
This would work provided 2160 has been port forwarded in VM and the ags-service is deployed
Scaling
Manual Scaling
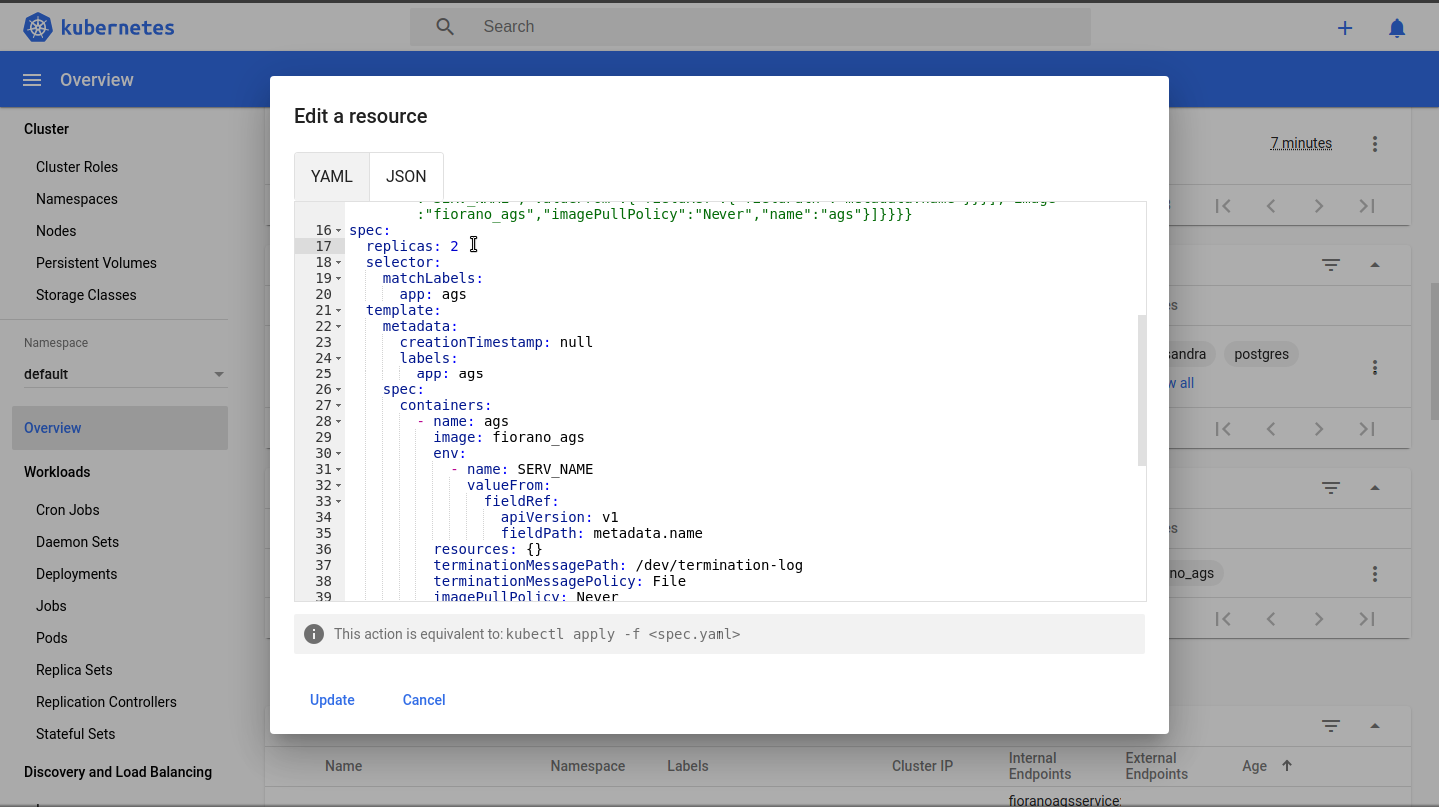
Change the number of replicas manually by clicking "Edit" option in stateful sets in dashboard.
Autoscaling
-
For auto-scaling add resource request and limit value in AGS stateful sets.
resources:
  limits:
    cpu: '4'
    memory: 4G
  requests:
    cpu: '1'
    memory: 2G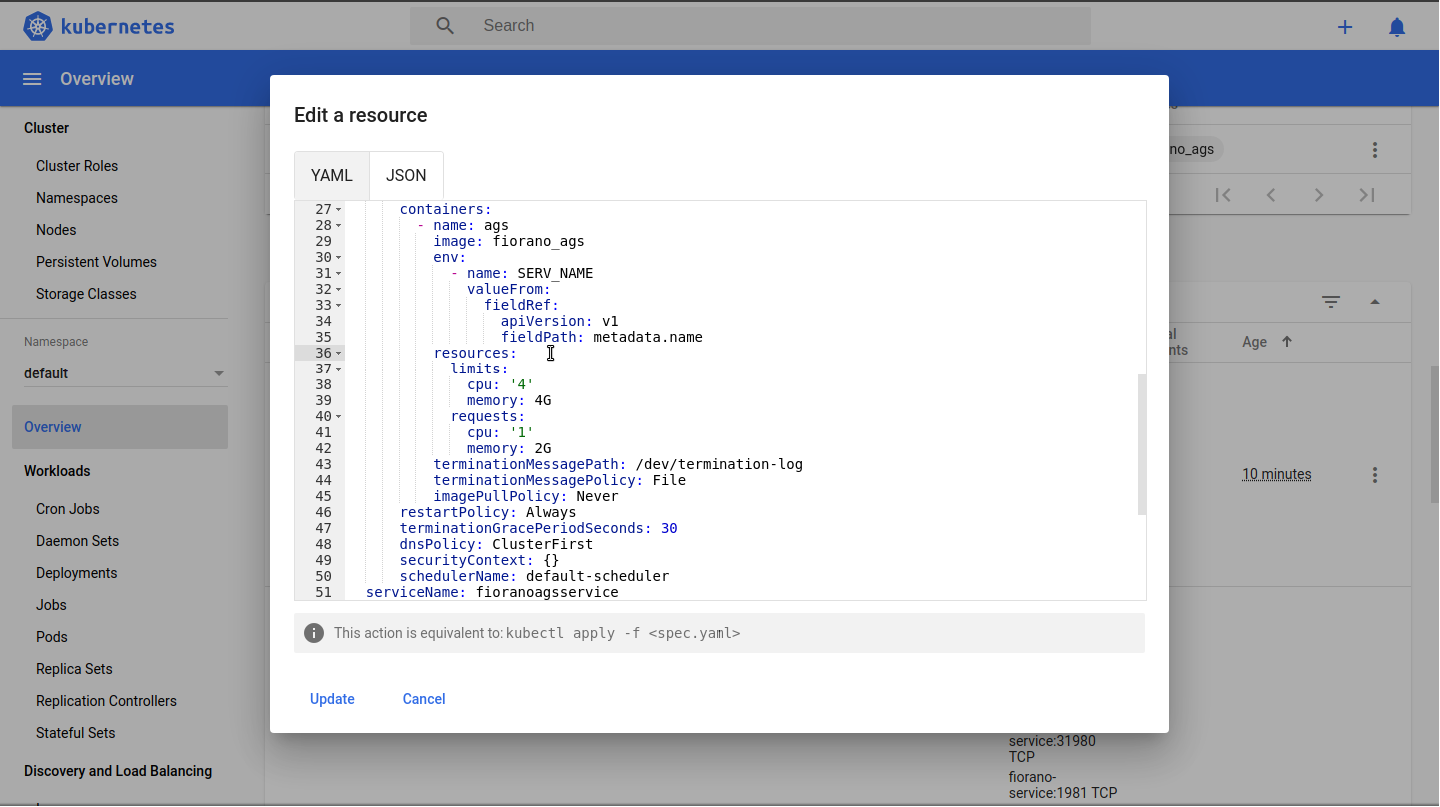
-
Now stop minikube in current configuration
$ minikube stop -
Start minikube with the following arguments.
-
For Debian based Linux:
minikube start --extra-config=controller-manager.horizontal-pod-autoscaler-upscale-delay=1m --extra-config=controller-manager.horizontal-pod-autoscaler-downscale-delay=1m --extra-config=controller-manager.horizontal-pod-autoscaler-sync-period=10s --extra-config=controller-manager.horizontal-pod-autoscaler-downscale-stabilization=1m -
For Windows:
minikube start --vm-driver=hyperv -hyperv-virtual-switch="Primary" --extra-config=controller-manager.horizontal-pod-autoscaler-upscale-delay=1m --extra-config=controller-manager.horizontal-pod-autoscaler-downscale-delay=1m --extra-config=controller-manager.horizontal-pod-autoscaler-sync-period=10s -extra-config=controller-manager.horizontal-pod-autoscaler-downscale-stabilization=1m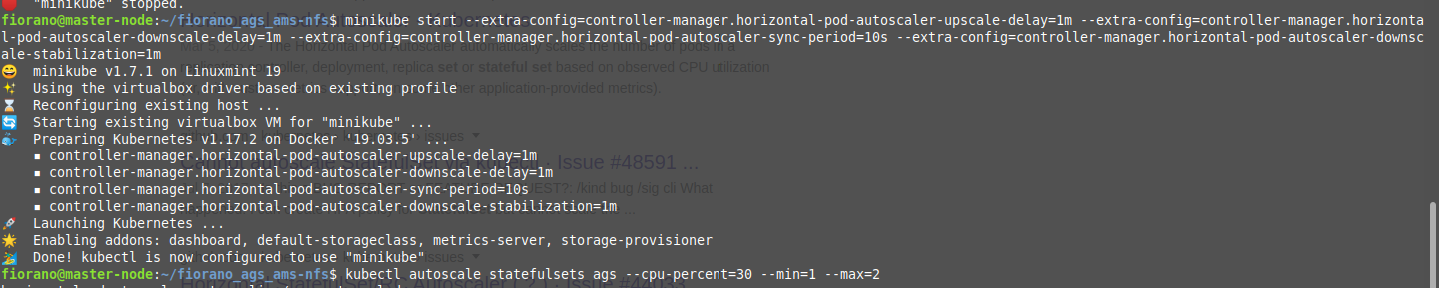
-
-
Enable the metrics-server add on using the following command:
minikube addons enable metrics-server -
Then wait for some time and create the autoscaler
kubectl autoscale statefulsets ags --cpu-percent=30 --min=1 -max=2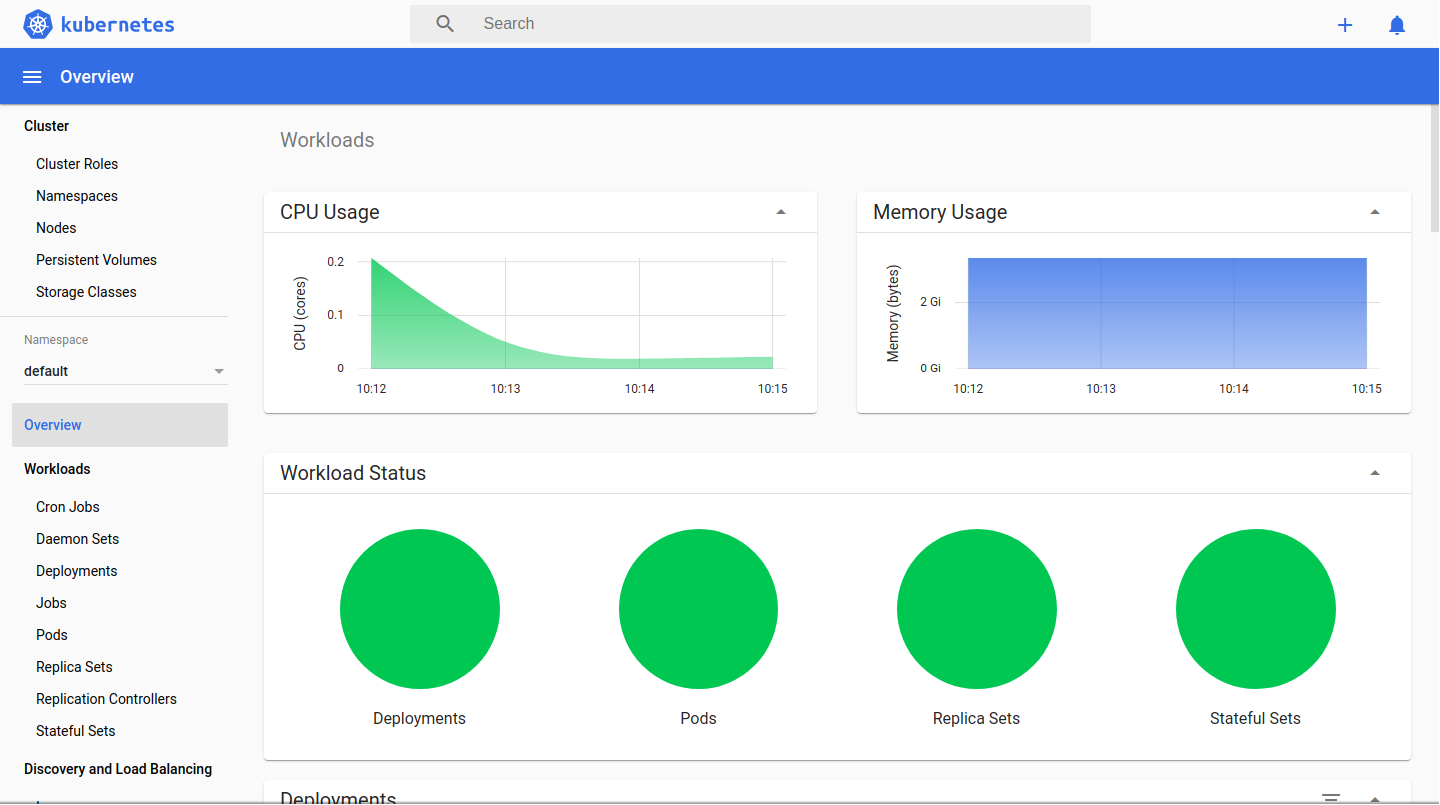
For system details:
kubectl top nodeFor container details:
kubectl top podFor the above-mentioned autoscaler details:
kubectl describe hpa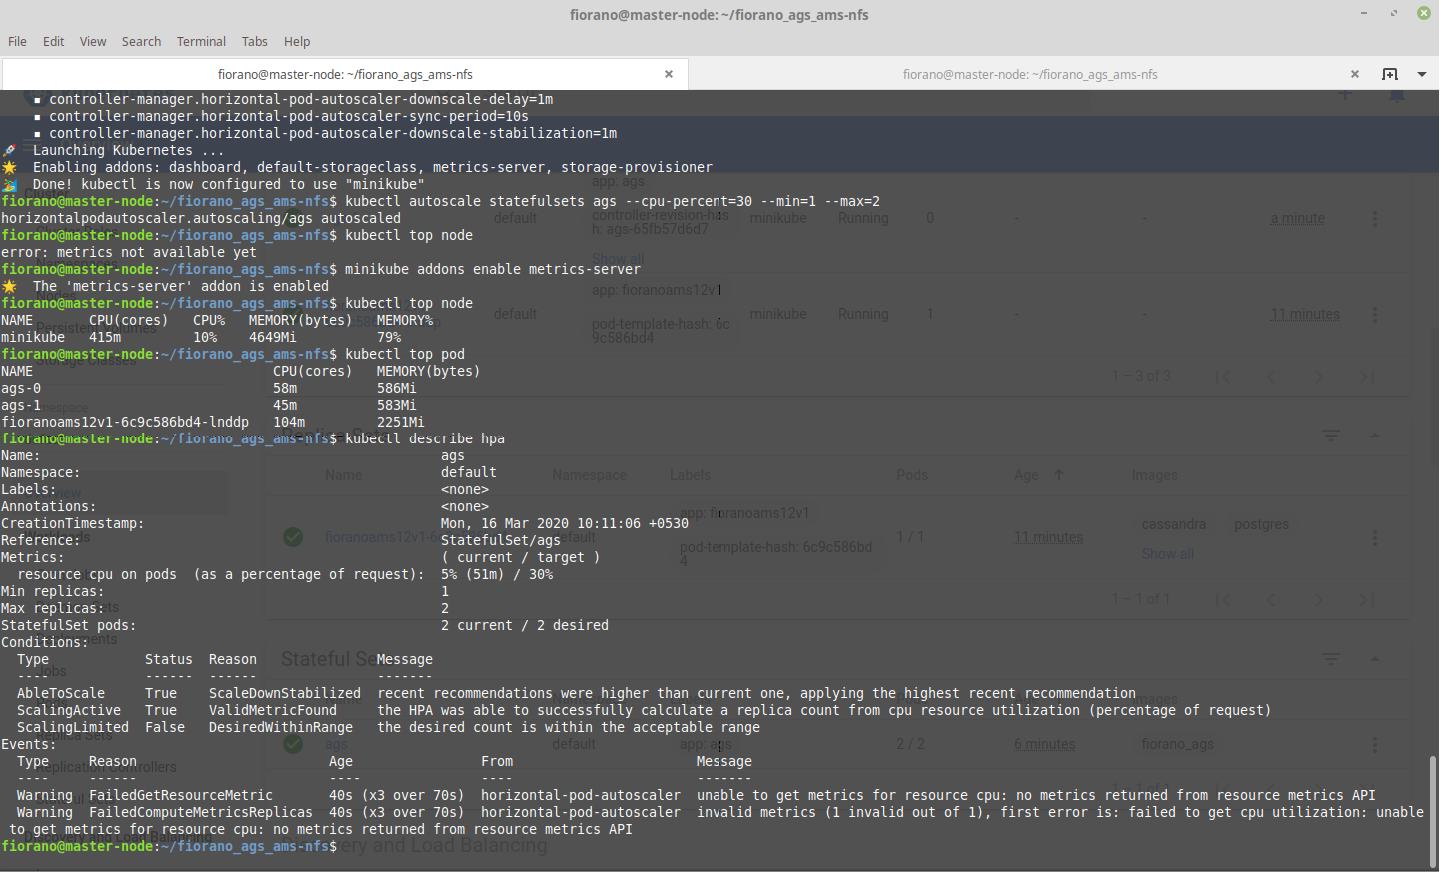
-
For memory-based autoscaling, create a yaml file with the content below and set targetAverageUtilization in it as per requirement:
apiVersion: autoscaling/v2beta1 kind: HorizontalPodAutoscaler metadata: name: fioranoapi12v1mem namespace: default spec: scaleTargetRef: apiVersion: apps/v1beta1 kind: StatefulSet name: ags minReplicas: 1 maxReplicas: 2 metrics: - type: Resource resource: name: memory targetAverageUtilization: 40 -
To deploy this autoscaler use the command below:
$ kubectl apply -f <fileName>.yaml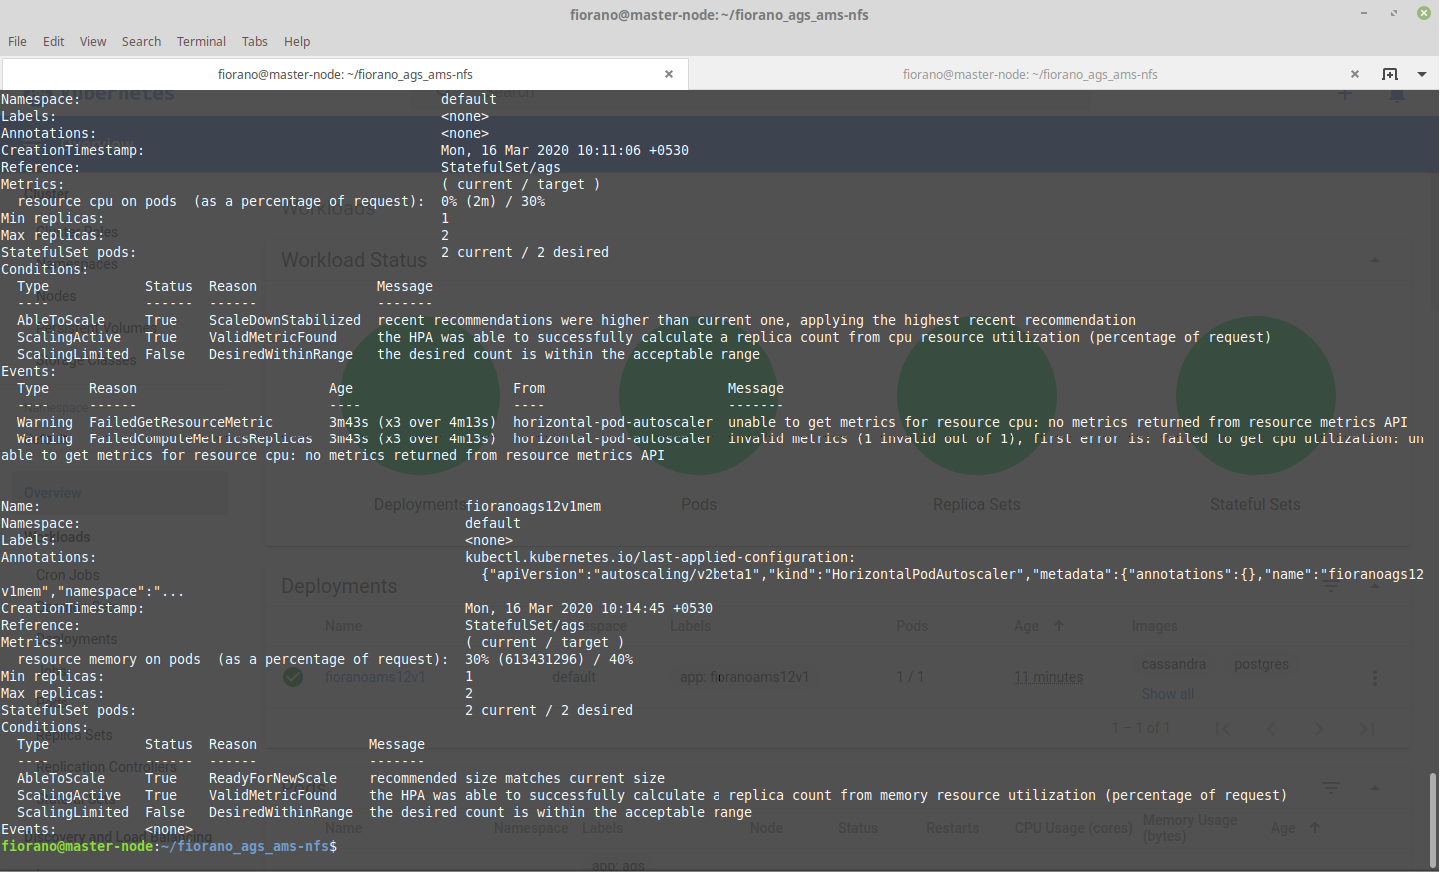
-
Use kubectl describe hpa to see what its doing
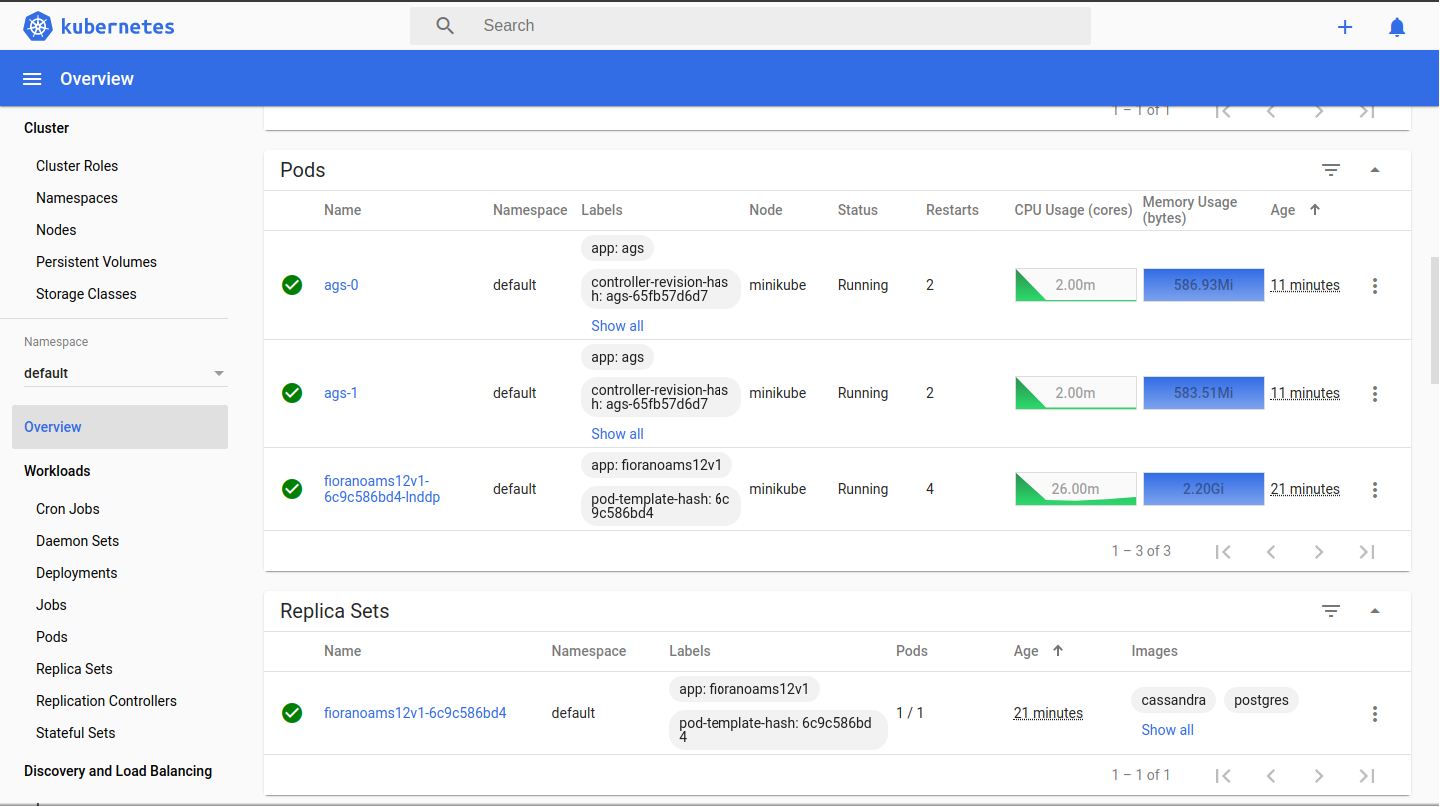
To delete hpa, use:
$ kubectl delete hpa fioranoapi12v1memThis would work provided 2160 has been port forwarded in VM and the ags-service is deployed