Setting up the Web Server
Contents
Requirements
Refer to PHP requirements in the below link to determine the web server compatible with Drupal Developer Portal:
https://www.drupal.org/docs/7/system-requirements/drupal-7-php-requirementsMinimum PHP version required is 5.6.1 or above.
- MySQL recommended version is 5.x. Please do not use My SQL 8.x, as there are certain issues in installation with this version.
MySQL requires some Perl modules in order to install properly. You can find more information on how to install these modules below:
https://docs.bitnami.com/installer/faq/linux-faq/administration/install-perl-linux/
Recommended Webservers
Use the following web server based on the platform being used:
- Windows: WAMP https://downloads.bitnami.com/files/stacks/wampstack/7.1.33-0/bitnami-wampstack-7.1.33-0-windows-x64-installer.exe
- Linux: LAMP https://downloads.bitnami.com/files/stacks/lampstack/7.1.33-0/bitnami-lampstack-7.1.33-0-linux-x64-installer.run
- Mac: MAMP https://bitnami.com/download/files/stacks/mampstack/7.1.33-0/bitnami-mampstack-7.1.33-0-osx-x86_64-installer.dmg
Cross Platform: XAMPP https://www.apachefriends.org/download.html
We recommend you to use webservers version 7.1.33-0.
Setting up AMP Server
Below sections illustrate the installation of web servers in Windows and Linux platforms respectively:
Bitnami Web Stack provides a complete PHP, MySQL and Apache development environment that can be launched in one click.
Perform the following actions based on the operating system as below:
Windows: Double-click the downloaded executable file.
- Mac: Double-click the .dmg file to make its content available (name shows up in the Finder sidebar and usually a window opens showing the content as well) or drag the application from the .dmg window into /Applications to install (may need an administrator password).
Linux: Give permissions to the executable file and run the executable in the command line by typing the below commands:
CODEcd <path-to-folder-where-executable-exists> ./<executable-name>.runThe following wizard appears.
The wizard below is pertaining to Linux; Windows and Mac wizard would be similar to this.
Figure 1: LAMP Setup wizard
Click Next twice and provide the installation folder and click Next.
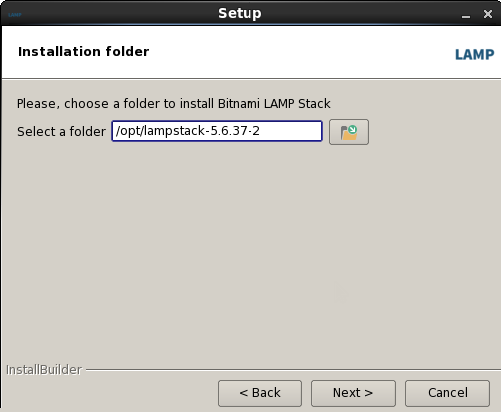
Figure 2: Setting the installation folderTo access the MySQL database, it requires an account with credentials. Type in the password and click Next.
The default username is 'root'.
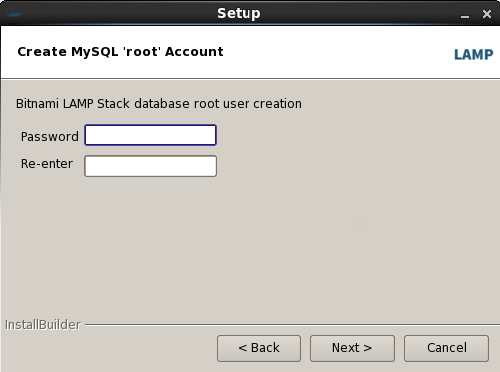
Figure 3: Setting the MySQL passwordProvide an unused port to the Apache Web server and click Next.
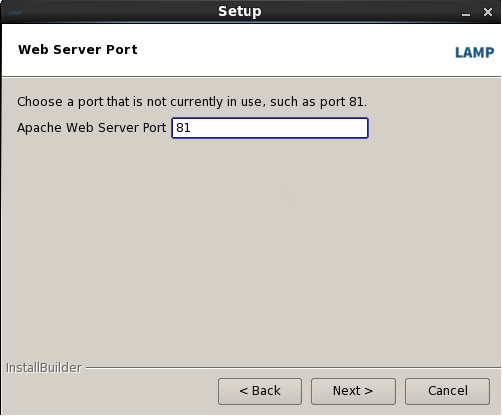
Figure 4: Providing the Apache Webserver port numberProvide an unused port to the SSL configuration and click Next.
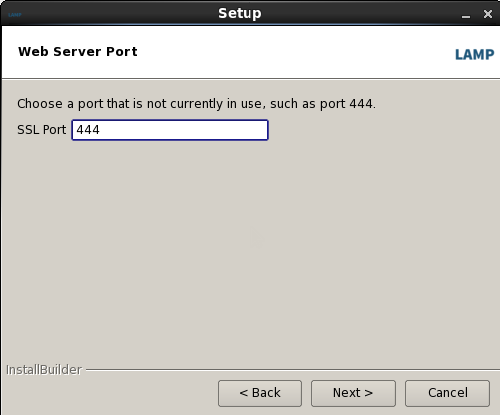
Figure 5: Providing the SSL Port numberProvide an unused port to the MySQL server and click Next twice.
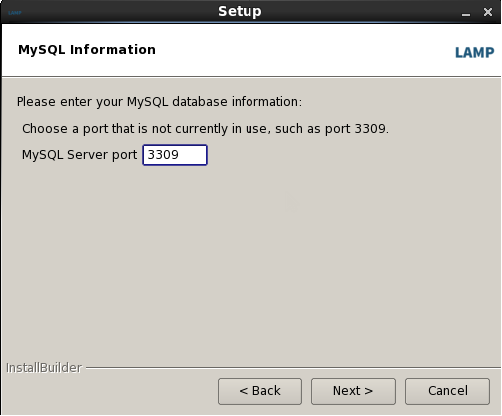
Figure 6: Providing the MySQL server port number
Installation starts.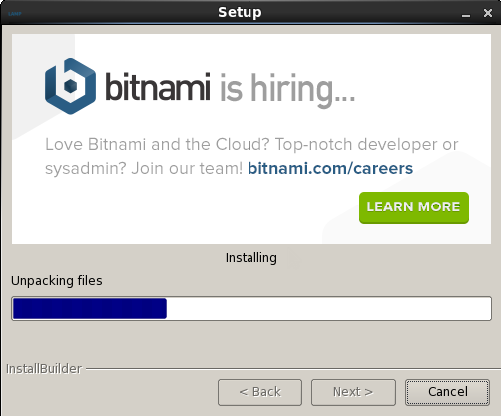
Figure 7: Installation status screenAfter the installation is completed, click Finish.
To start the apache and web servers, go to the LAMP installation folder and type in the following command in the command line:
CODE./manager-linux-x64.runGo to Manage Servers and click Start All in the bottom to start the servers.
- Status of the servers can be seen in the Status column in the dialog box.
- The default configuration for servers can be changed by clicking the Configure button against the server.
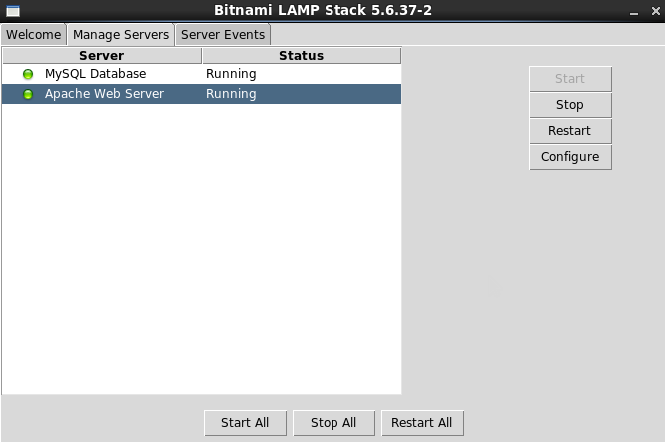
Figure 8: Starting the servers
Creating a database in the database server
Open the LAMPP database portal by using the URL in the following format:
CODEhttp://<IPAddress>:<PortNumber>/phpmyadmin/- Provide the default Username "root" and the password created in the previous steps, and click Go.

Figure 9: Logging on to the PHP database - Click the Databases tab, provide a database name in the Create database field and click Create.
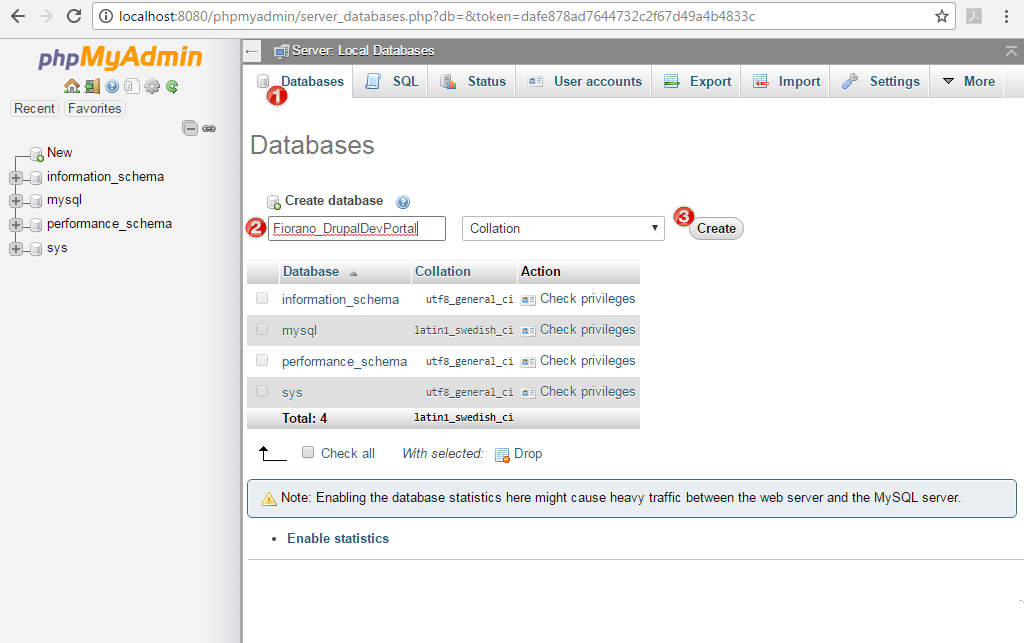
Figure 10: Creating a Developer Portal Drupal database - The database that is created appears in the left navigation pane.
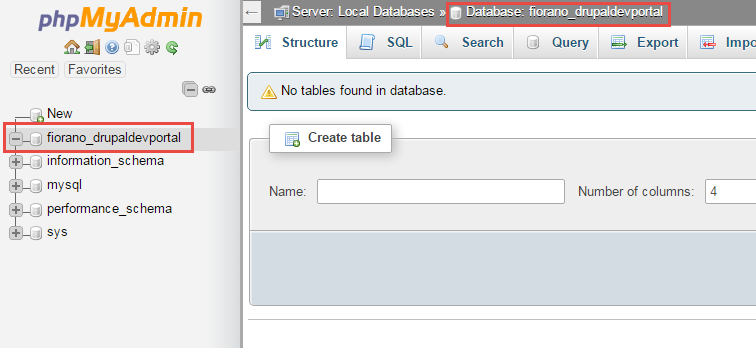
Figure 11: Newly created Developer Portal Drupal database